I often find myself eyeing front doors whenever I drive through neighborhoods. Each one tells a story about the people inside – some love their traditional looks, and others aren’t afraid to get bold.
What’s more, studies show that picking the right door color can boost your home’s value by about $6,000 when selling. It makes sense – first impressions really stick.
But choosing the right paint isn’t quite as simple as you’d think. You’ve got to consider several things: paint type, finish, and how it’ll hold up against the weather. Get these wrong, and your door might look great for a month instead of years.
Let’s explore how to make the right choices to achieve that perfect finish!
What Makes a Great Exterior Door Paint?
Your front door takes a beating from everything Mother Nature throws at it – rain, snow, scorching heat, freezing cold – and regular paint just won’t do. Rule number one: don’t try to save money by going cheap.

Acrylic latex paint is your best bet. Not only does it protect your door, but it’s also super easy to maintain – just soap and water will do the trick. Plus, it works great on both wood and fiberglass doors.
Metal doors are a different story – you’ll want oil-based paint unless you want to make friends with rust.

Always check for “exterior” or “interior/exterior” on the label. These are the only paints that pack special additives to fight off fading and cracking.
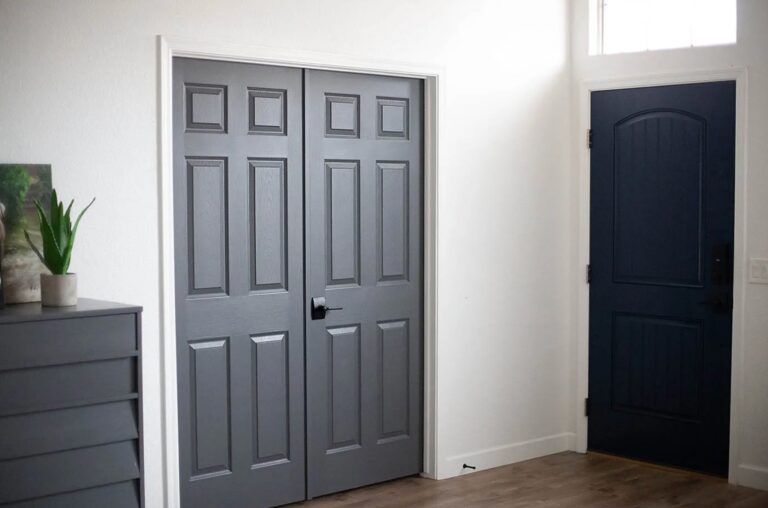
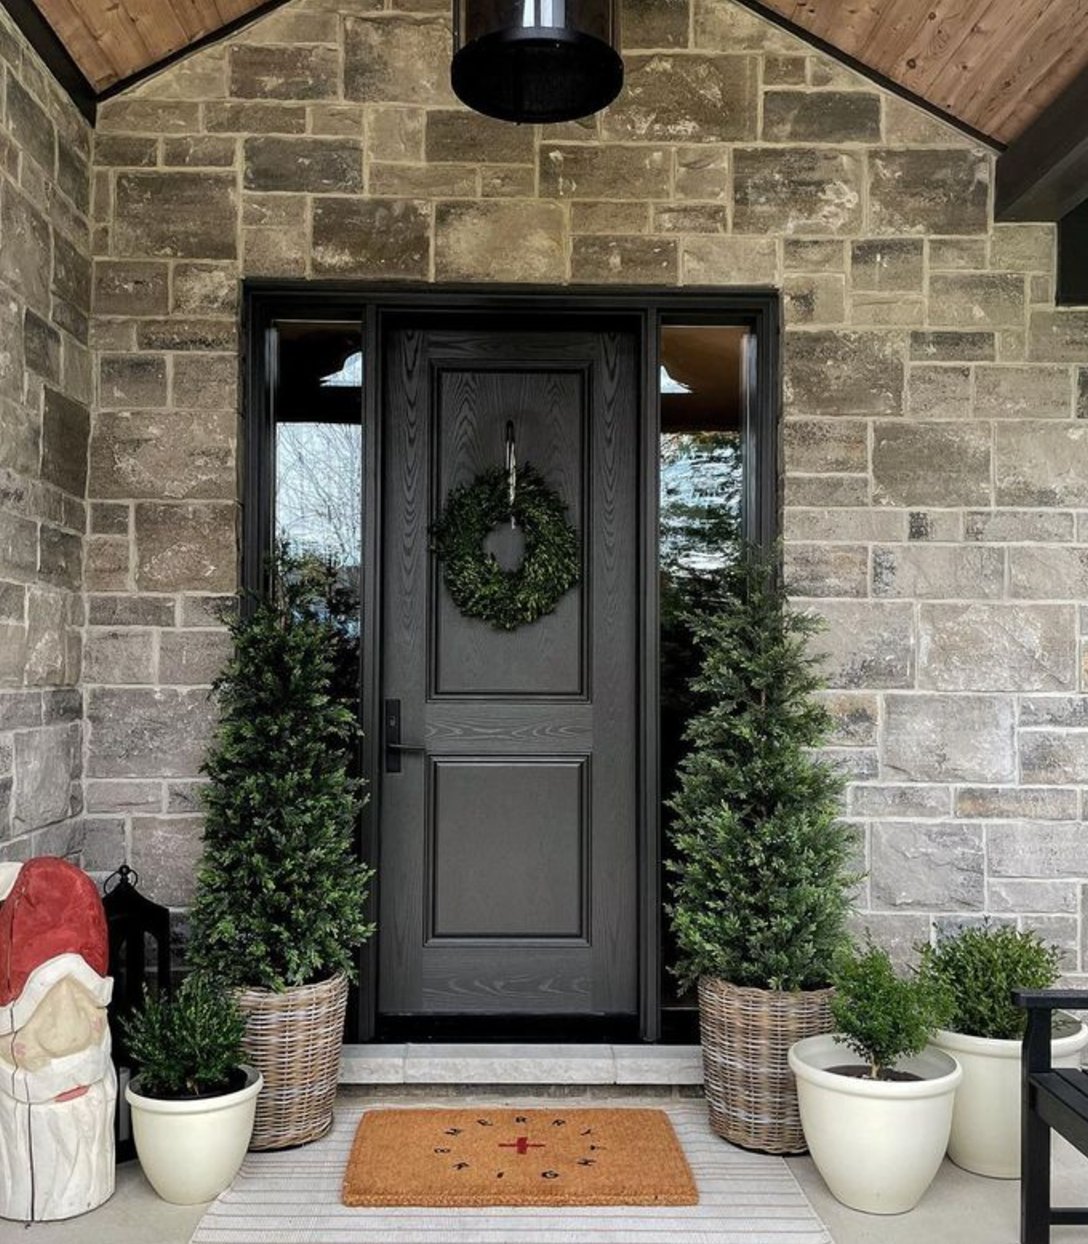
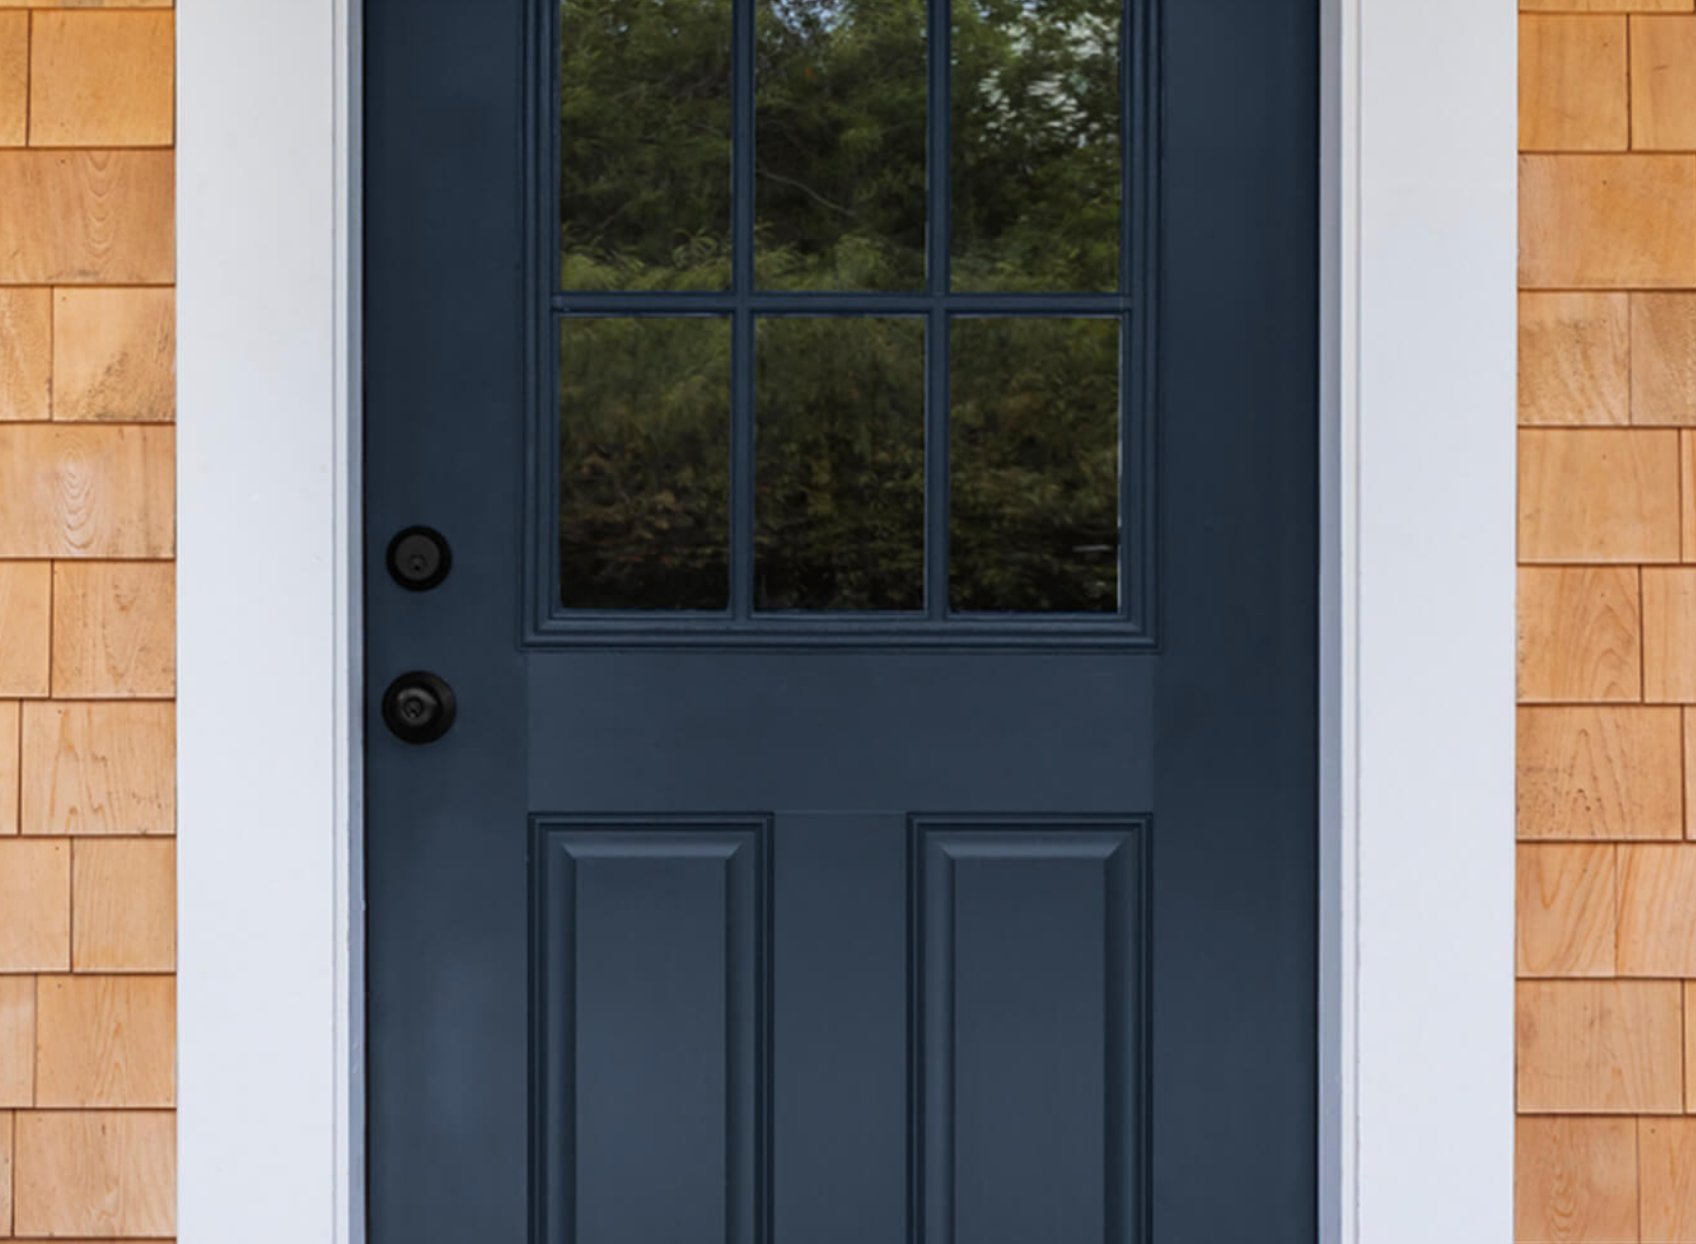
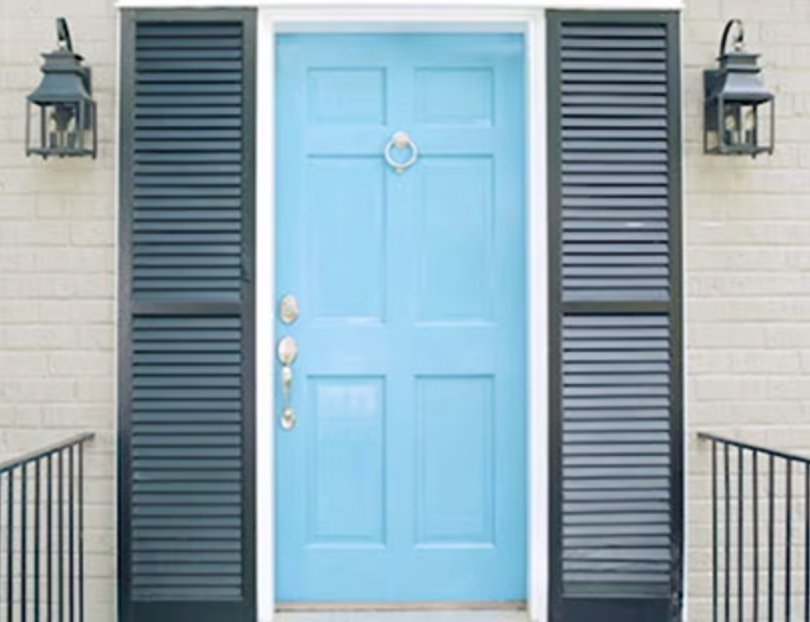
What Sheen to Paint Exterior Doors
For most front doors, semi-gloss is the way to go. And it’s not just about the nice shine.
source
Semi-gloss is a practical choice – dirt doesn’t stick as much, cleaning is a breeze, and it holds up better over time. It’s also pretty forgiving – if your brushwork isn’t perfect or the surface has some flaws, they won’t stand out too much.
Here’s a tip: designers often suggest using semi-gloss on the trim around the door too. It creates this really nice contrast with the rest of your house’s exterior.
source
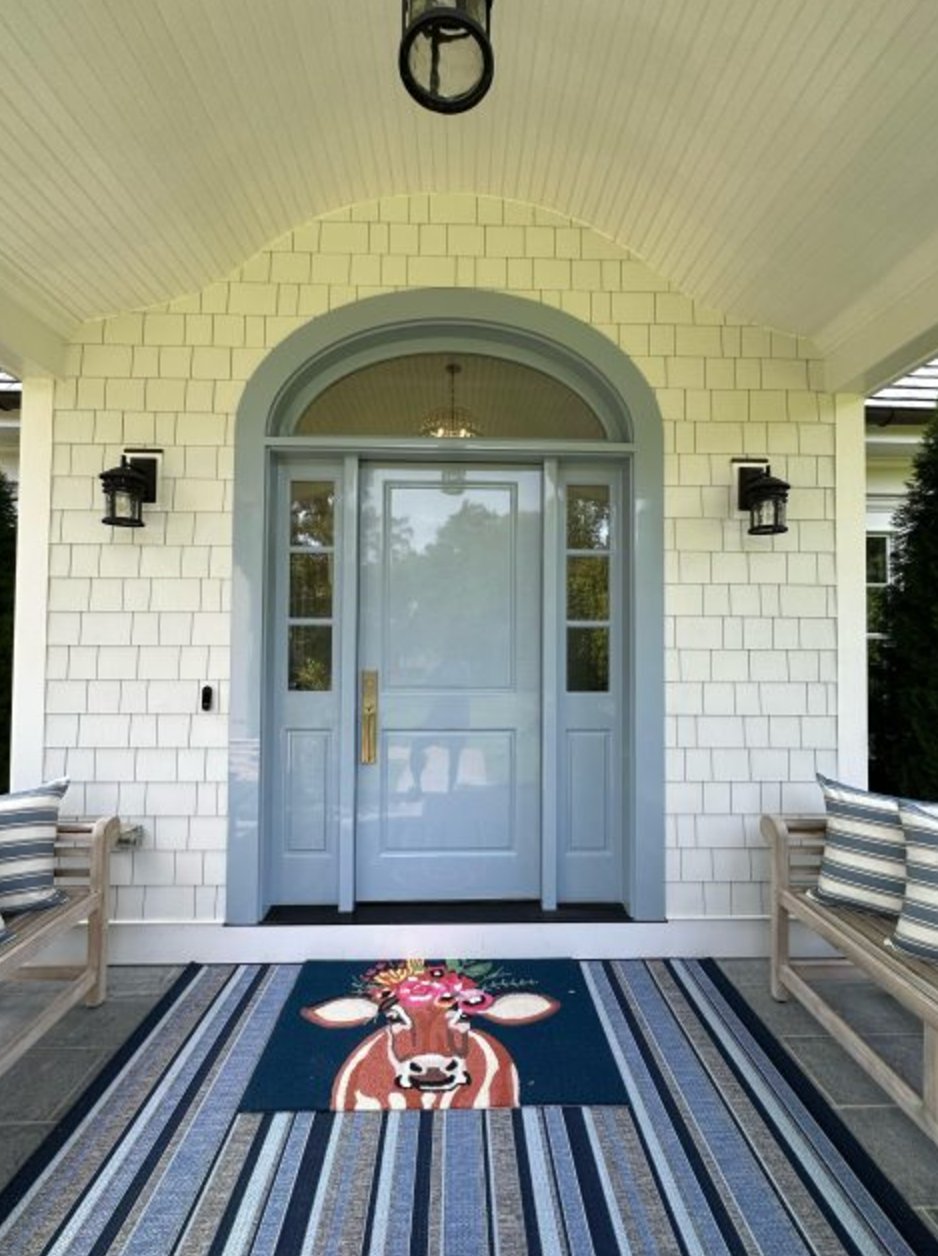
Satin finish is another solid option. It gives you a softer, more sophisticated look and makes colors pop more. It’s also more user-friendly when painting – goes on smoother. The trade-off? It’s a bit less durable.
source
source
Let’s be honest – matte paint on a front door isn’t your friend. It shows dirt more easily, scratches faster, and is a pain to clean. And while high-gloss might sound fancy, it’s actually too showy and highlights every little imperfection.
Best Exterior Door Paints and Why
Benjamin Moore Aura and Sherwin Williams Duration are the top options when it comes to exterior door paint. And let me tell you – Aura is absolutely incredible.
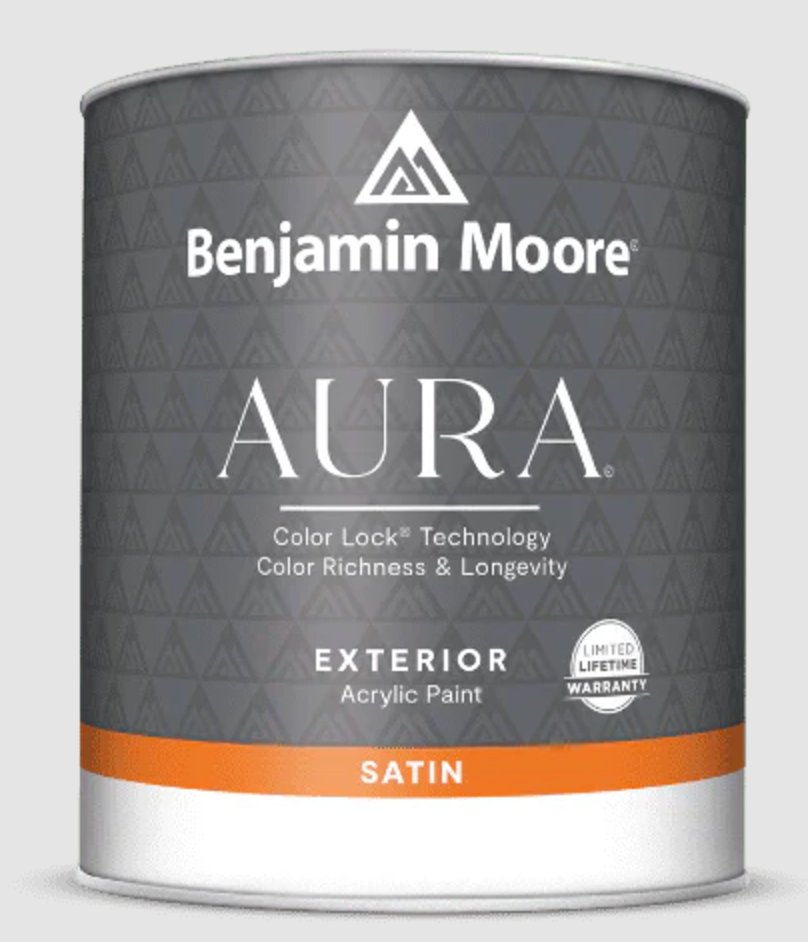
Benjamin Moore Aura isn’t just marketing hype – it’s the real deal. Their Color Lock® technology actually delivers what it promises. Your door will keep looking fresh even after years of sun exposure.
The way this paint goes on is amazing – no drips, no mess, just smooth coverage. It’s super efficient too – one coat gives you rich, deep color. That said, I still recommend two coats for best results.
One of the best features is that the paint breathes. This means no bubbling or peeling down the road. Plus, once it dries, there’s no stickiness – you can close your door right away without worrying about it sticking.
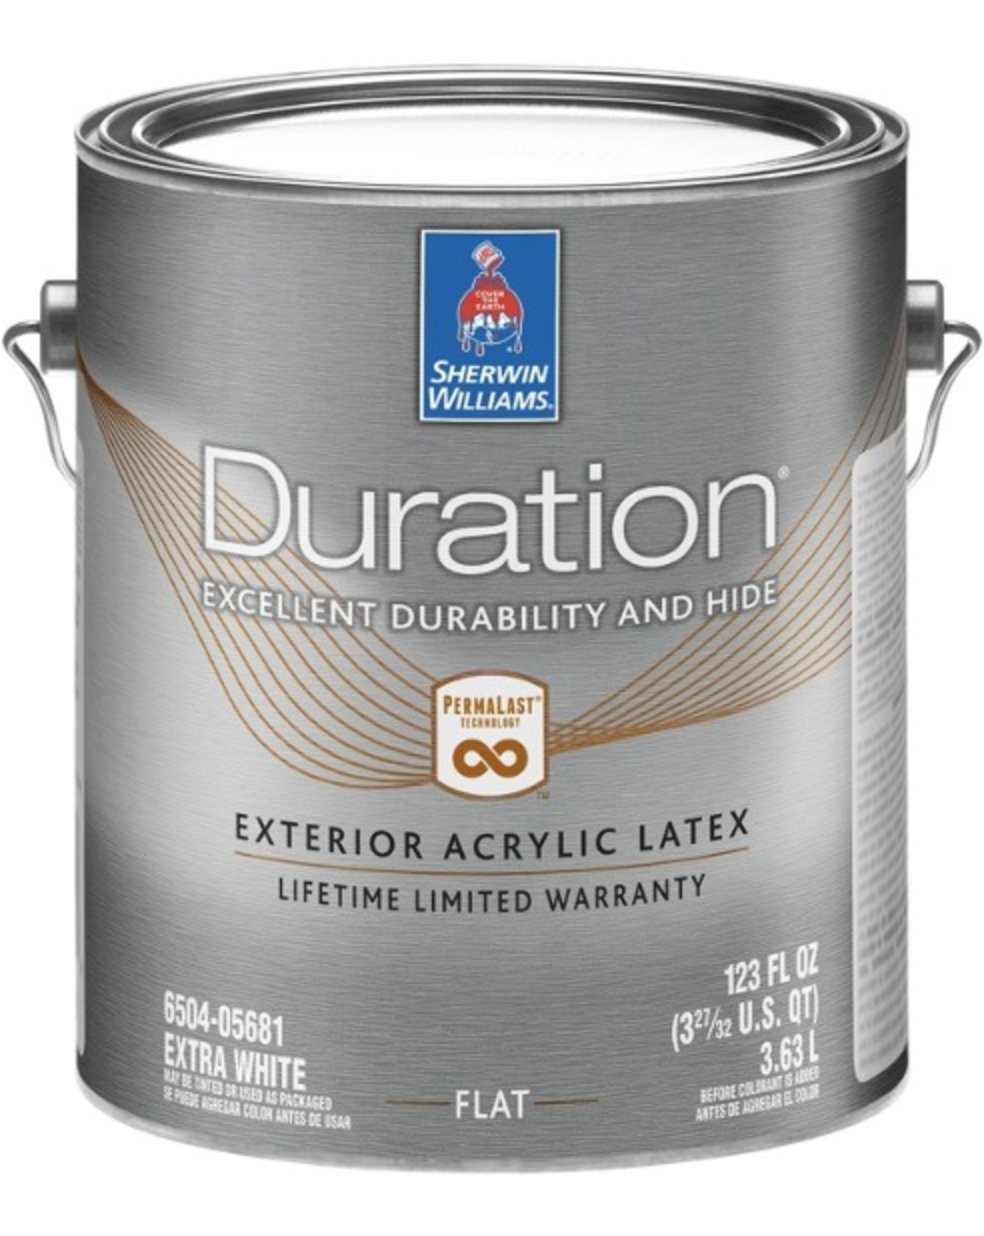
Sherwin Williams Duration is my close second choice. Sure, it’s pricey, but you definitely get what you pay for. It’s got great consistency – thick but spreads like a dream with both brush and roller. The hour-long dry time is a huge plus too.
Both paints fight off mold and rust like champions. Duration’s PermaLast® technology and Aura’s special resin formula really do make these paints last forever.
Duration works even in temperatures as low as 35°F (about 2°C). And if you’re particular about the finish, both paints come in everything from matte to high gloss.
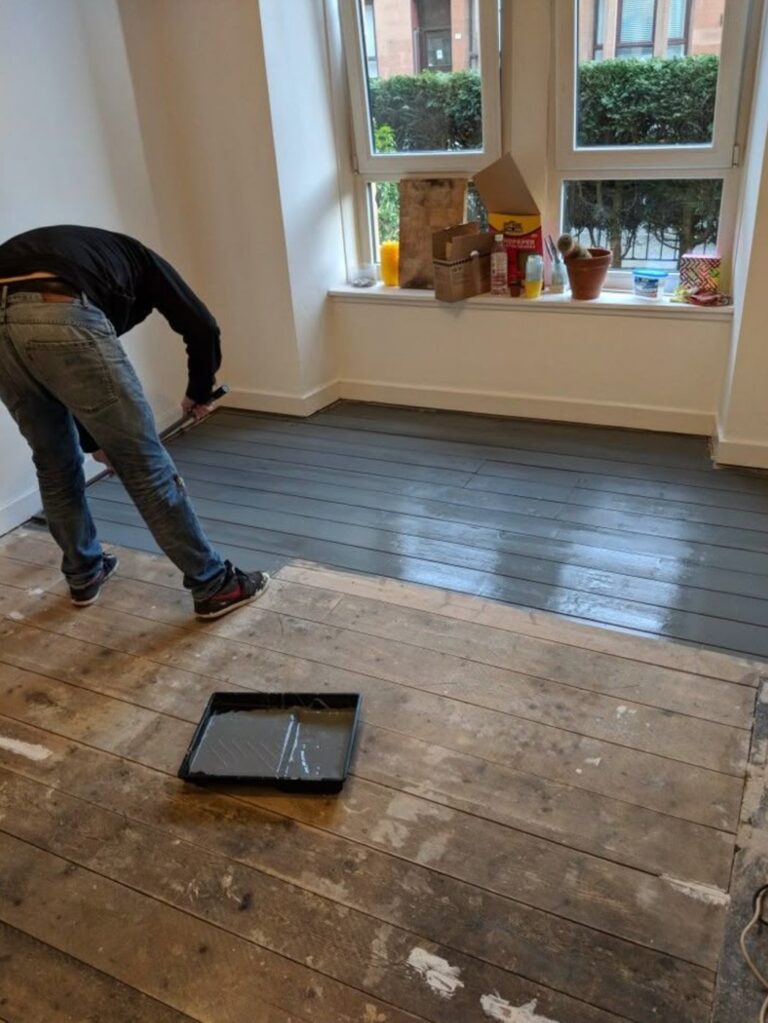
How to Paint Exterior Doors
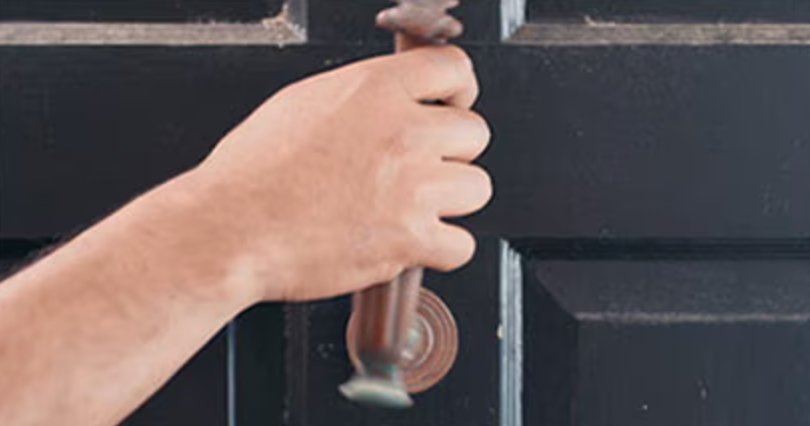
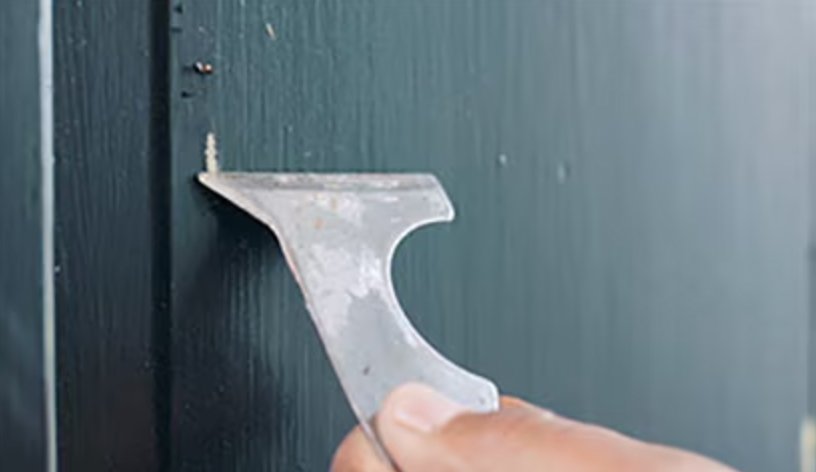
Step 1: Remove Hardware. Start by taking off all the hardware – handles, locks, house numbers, everything. I know it’s tempting to just tape them up, but trust me – removing them protects the metal and gives you a much cleaner finish.
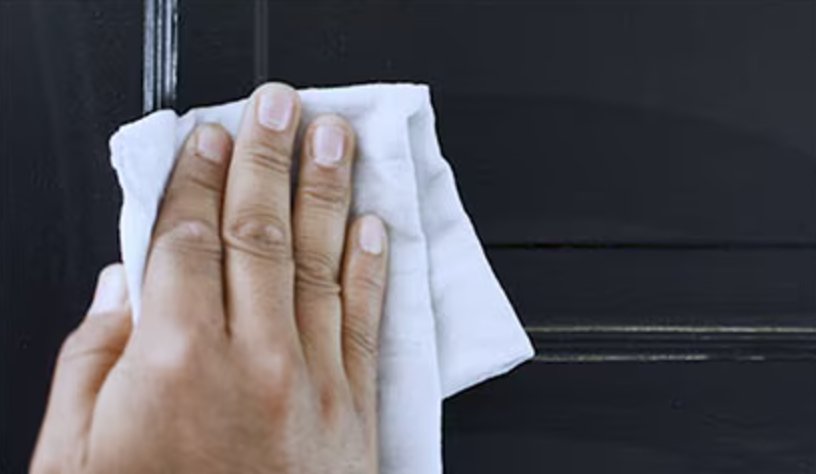
Step 2: Clean. Give that door a good cleaning – it’s amazing how much dirt and grime build up over time. Let it dry completely before moving on.
Step 3: Scrape & Check. Look for any peeling paint, especially around the door frame, and scrape it off carefully. Do a quick paint test with denatured alcohol on a cotton pad – if the paint comes off, it’s water-based; if it stays put, you’re dealing with oil-based paint.
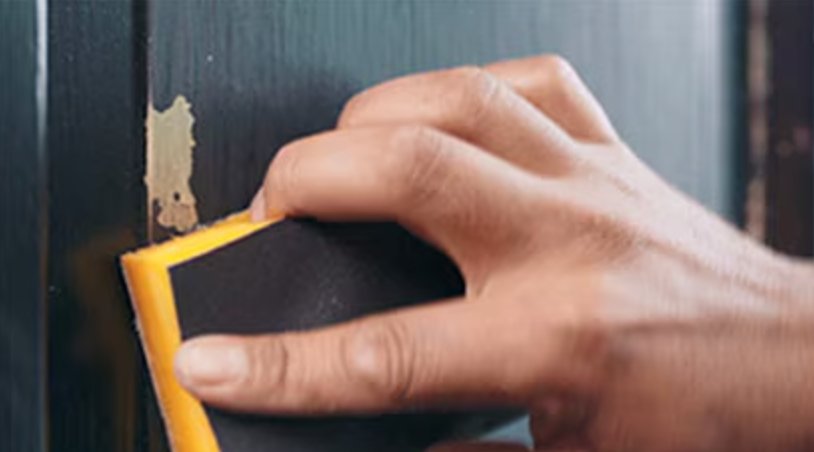
Step 4: Sand. Here comes the elbow grease – sanding! Go with fine-grit for water-based paint or medium (100-150) for oil-based. Don’t skip this step – it’s crucial for that smooth, professional finish.
Step 5: Protect & Prep. Tape off everything you don’t want painted. Lay down some drop cloths or old newspapers – paint has a way of finding the most inconvenient places to drip.
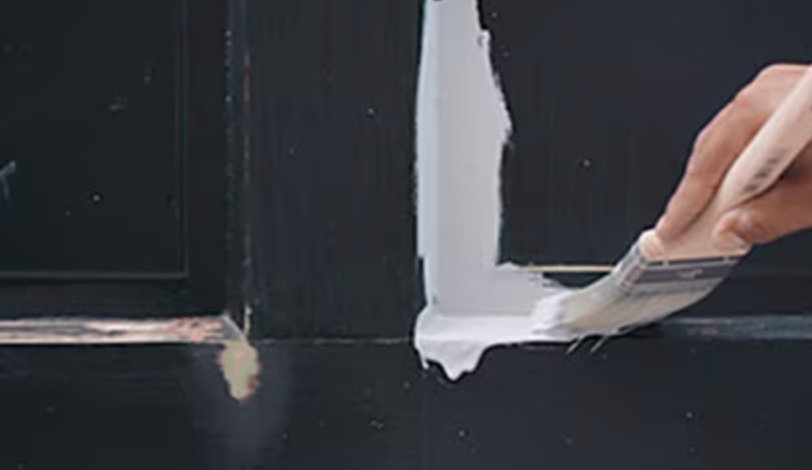
Step 6: Prime. Get the ZINSSER Bulls Eye 1-2-3 primer on there – it’s amazing for covering old colors. Keep an eye out for drips and give it at least 24 hours to dry (longer in humid weather).
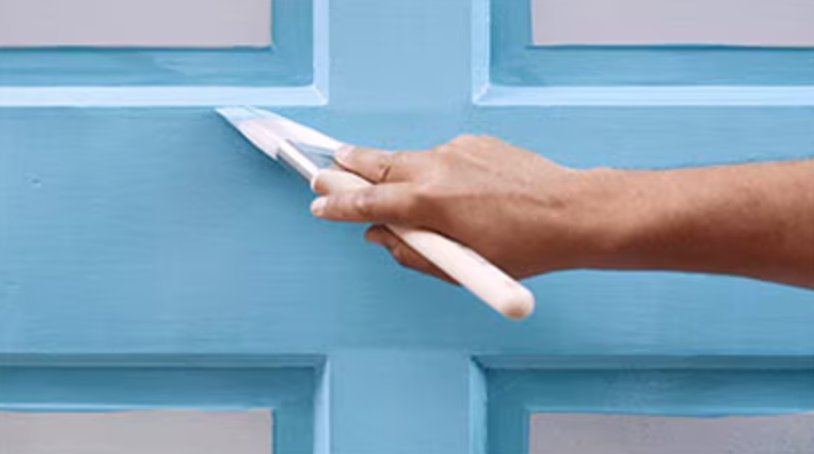
Step 7: Paint. Now for the fun part! Start with the tricky spots – corners and edges – using a brush (angled brushes are perfect for this). Then, roll the main surfaces. Do two coats, waiting 24 hours between them. If you spot any issues, fix them right away while the paint’s wet.
Step 8: Reassemble. After everything’s completely dry (I like to wait a couple days just to be safe), pull off the tape and put all the hardware back on. Voilà – your door looks brand new!