Know those moments when you paint a door and just can’t stop staring at it? Happens to me all the time! Though I guess that might be just an occupational thing…
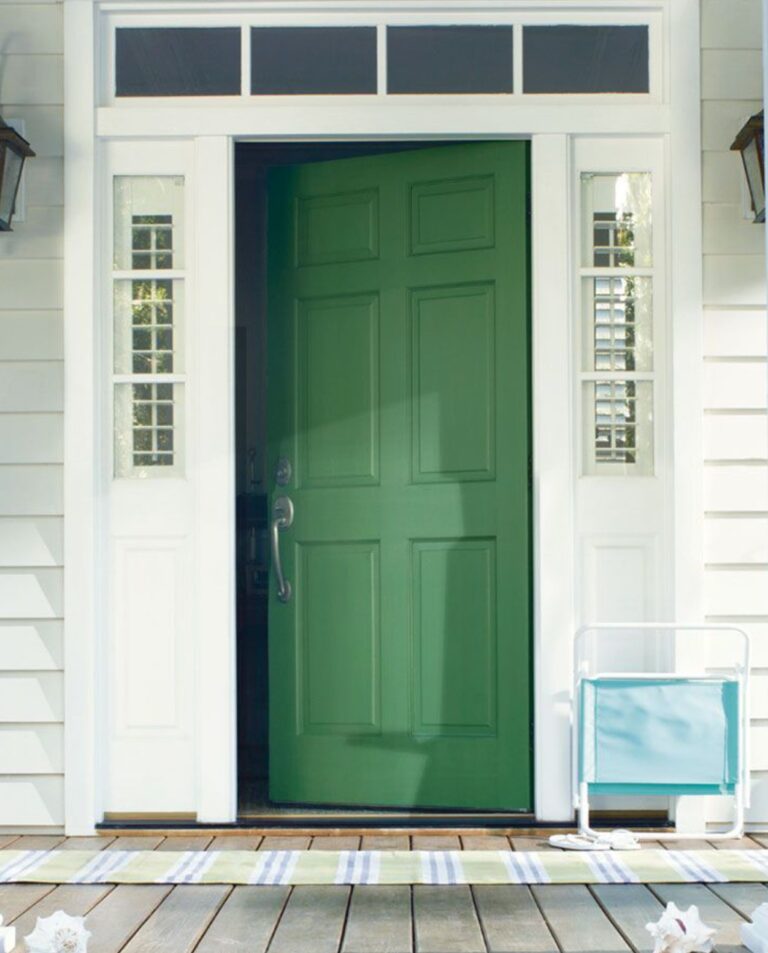
The right paint and door color can totally transform how a space feels. A nicely painted door can make ceilings look higher, make a hallway feel bigger, or create this cozy contrast with the walls. But picking the right paint can be super confusing – there are tons of options out there. So, let’s figure this out!
In this article, I’ll tell you about paints that really work and walk you through all the ins and outs of painting interior doors – from prep work to finishing touches.
What Makes a Great Interior Door Paint?
When picking paint for interior doors, you’ve got to be smart about it. I’ll admit, I used to only care about color, but quality paint needs to tick quite a few boxes.
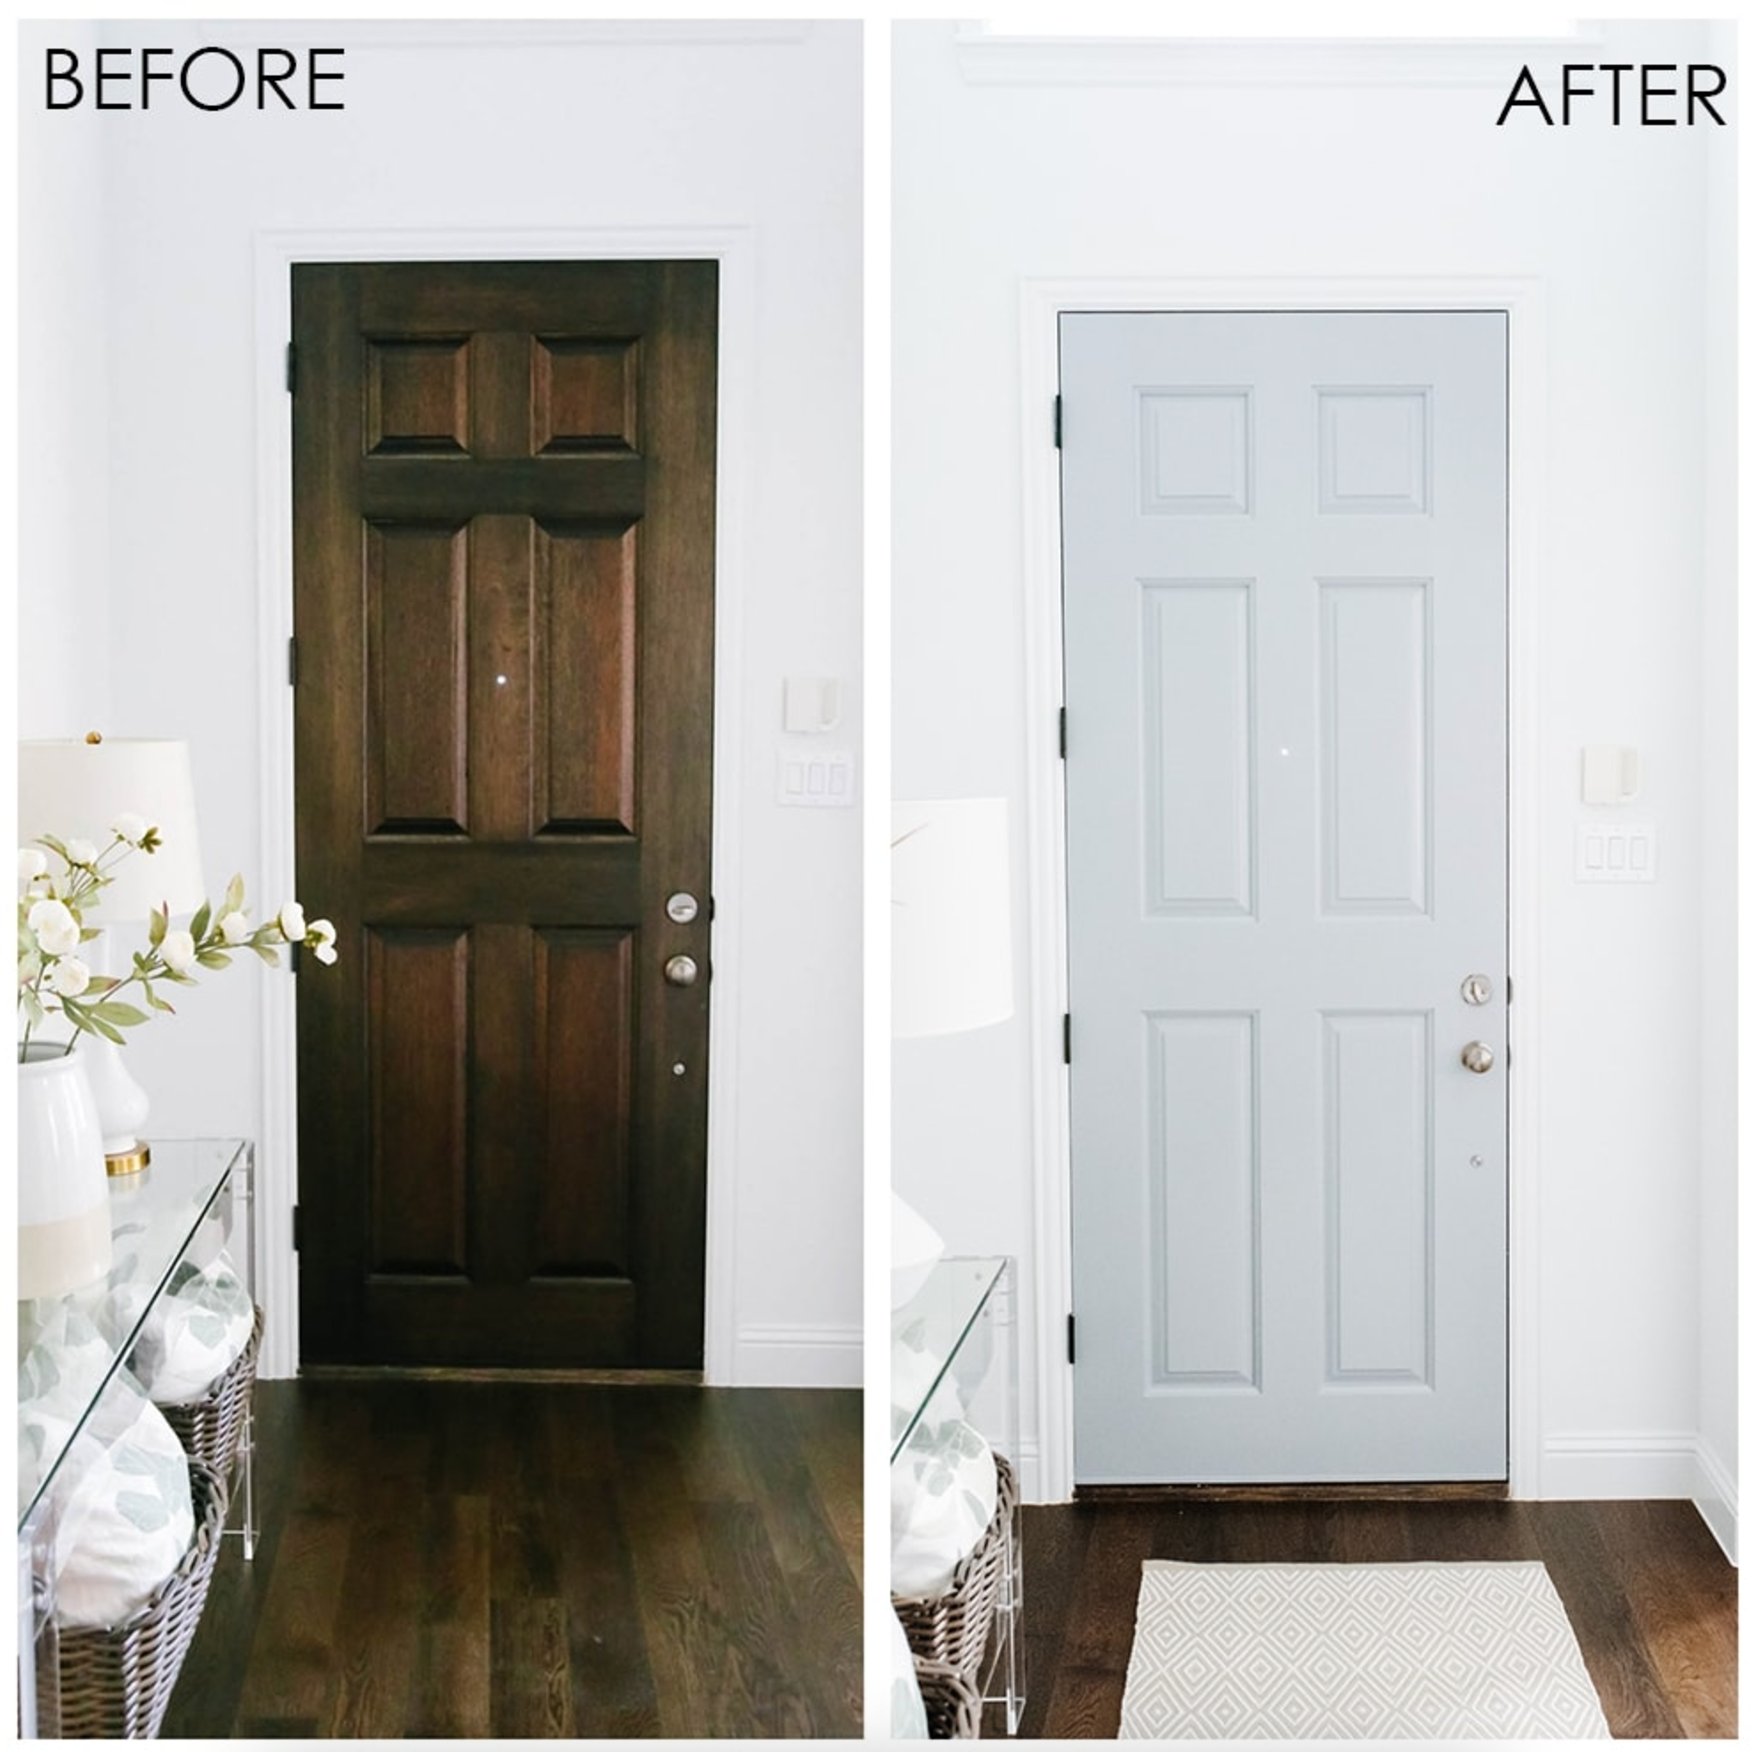
Most importantly, the paint must be tough enough to handle constant touching and the occasional bump. Doors are always getting knocked by furniture when you’re moving things around, they collect handprints, and kids… oh those kids, they’ll always find a way to leave their mark!
You really want a coating that’s easy to clean. Especially around the handles – they’re like fingerprint magnets. Having a washable surface makes cleaning so much easier and keeps everything looking neat.
Plus, good paint should cover everything in 2-3 coats and dry within 4-6 hours, so you can actually use the door the same day.
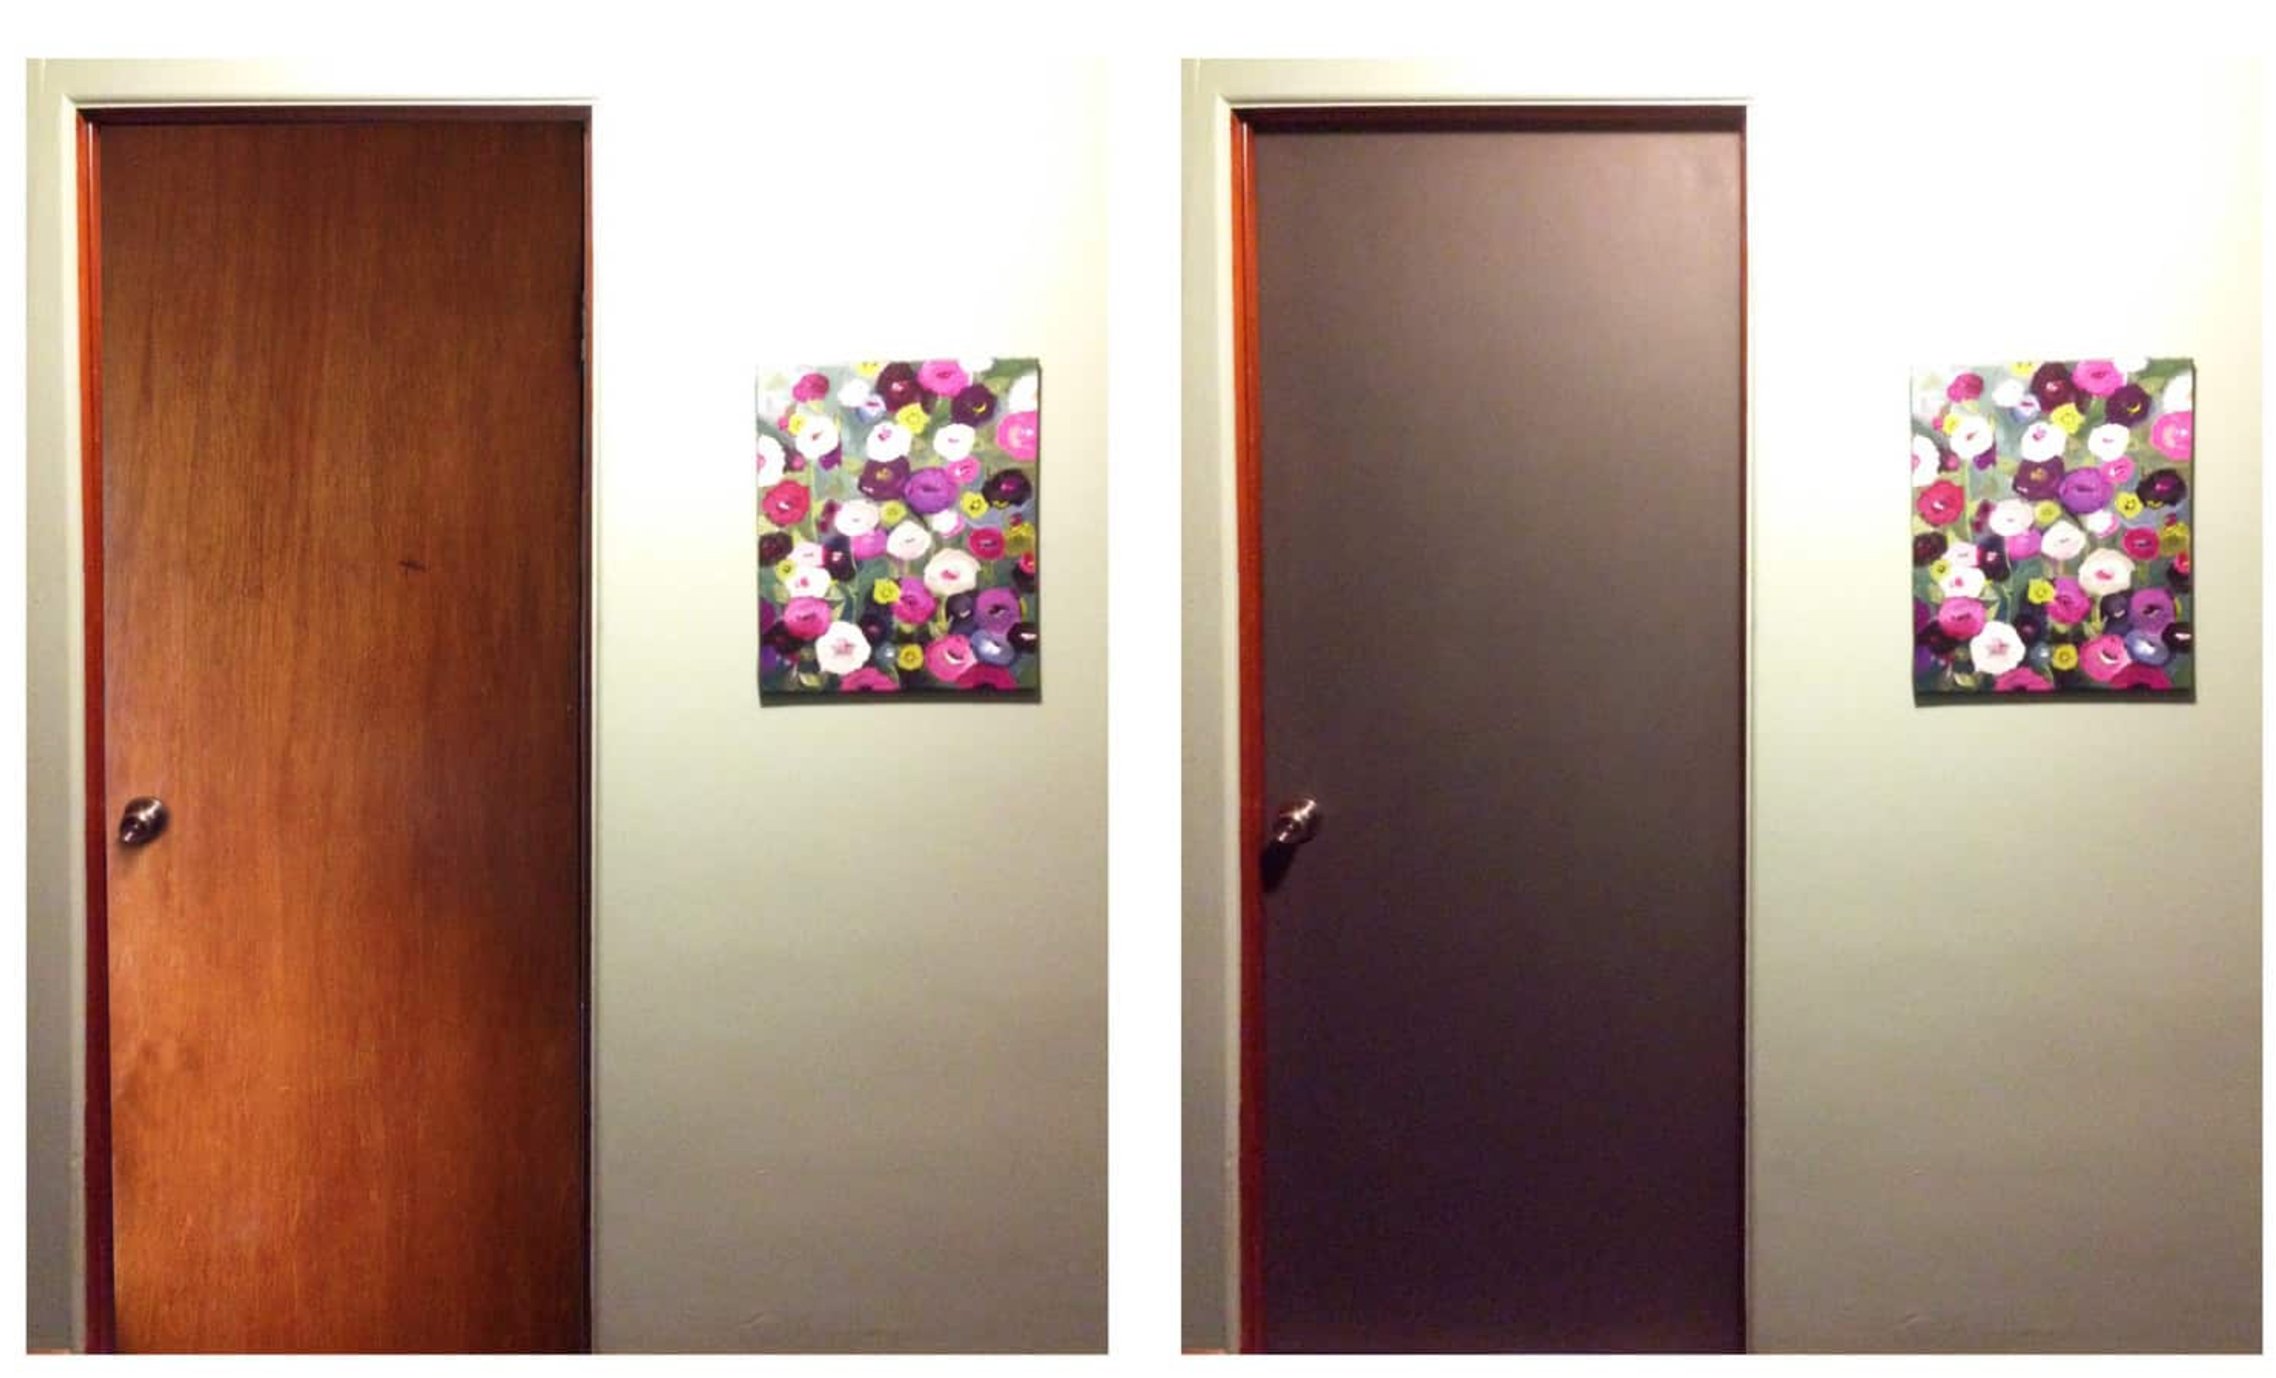
The door material is a big deal when choosing paint. Wooden doors need something that soaks in well and keeps moisture out – especially in bathrooms and kitchens. Metal doors need special anti-rust paints, and composite doors need something that really sticks, or the paint will just start peeling off.
Best Interior Door Paints and Why
After tons of experimenting with door paints, I’ve landed on two clear winners. Benjamin Moore Advance takes the crown – and here’s why.
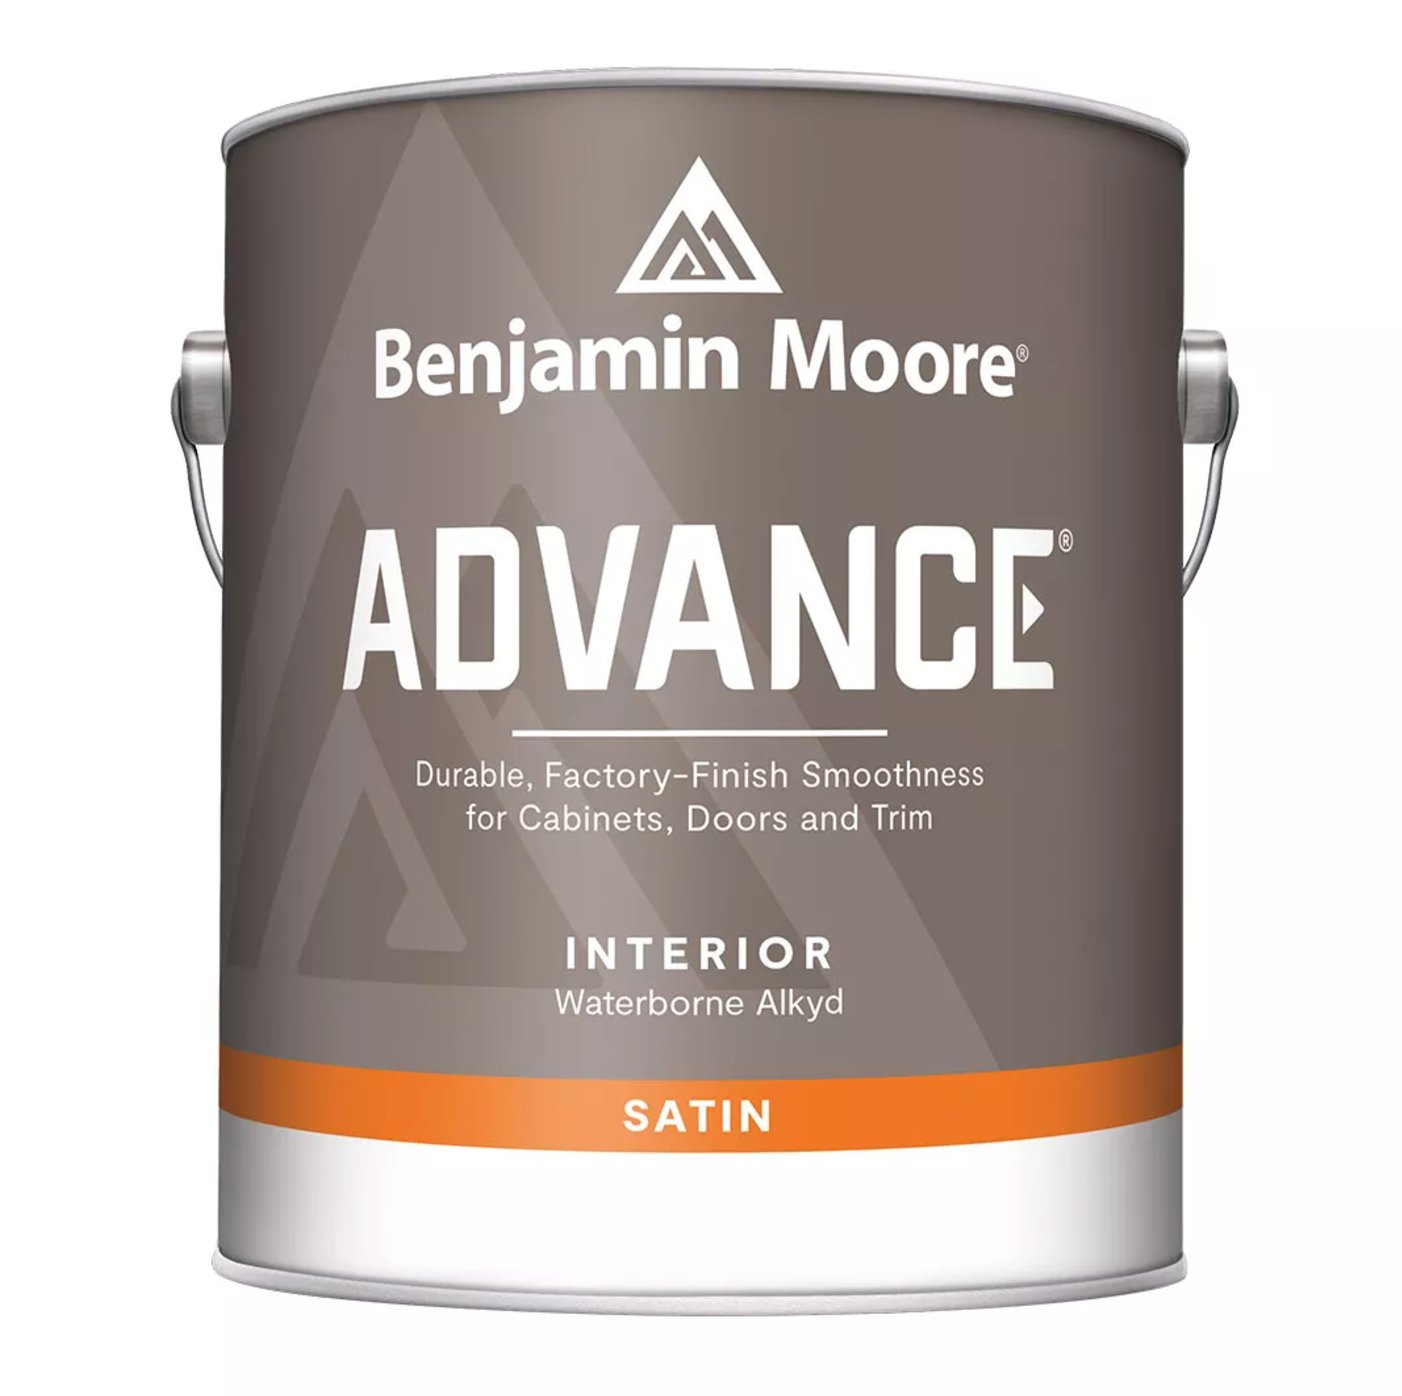
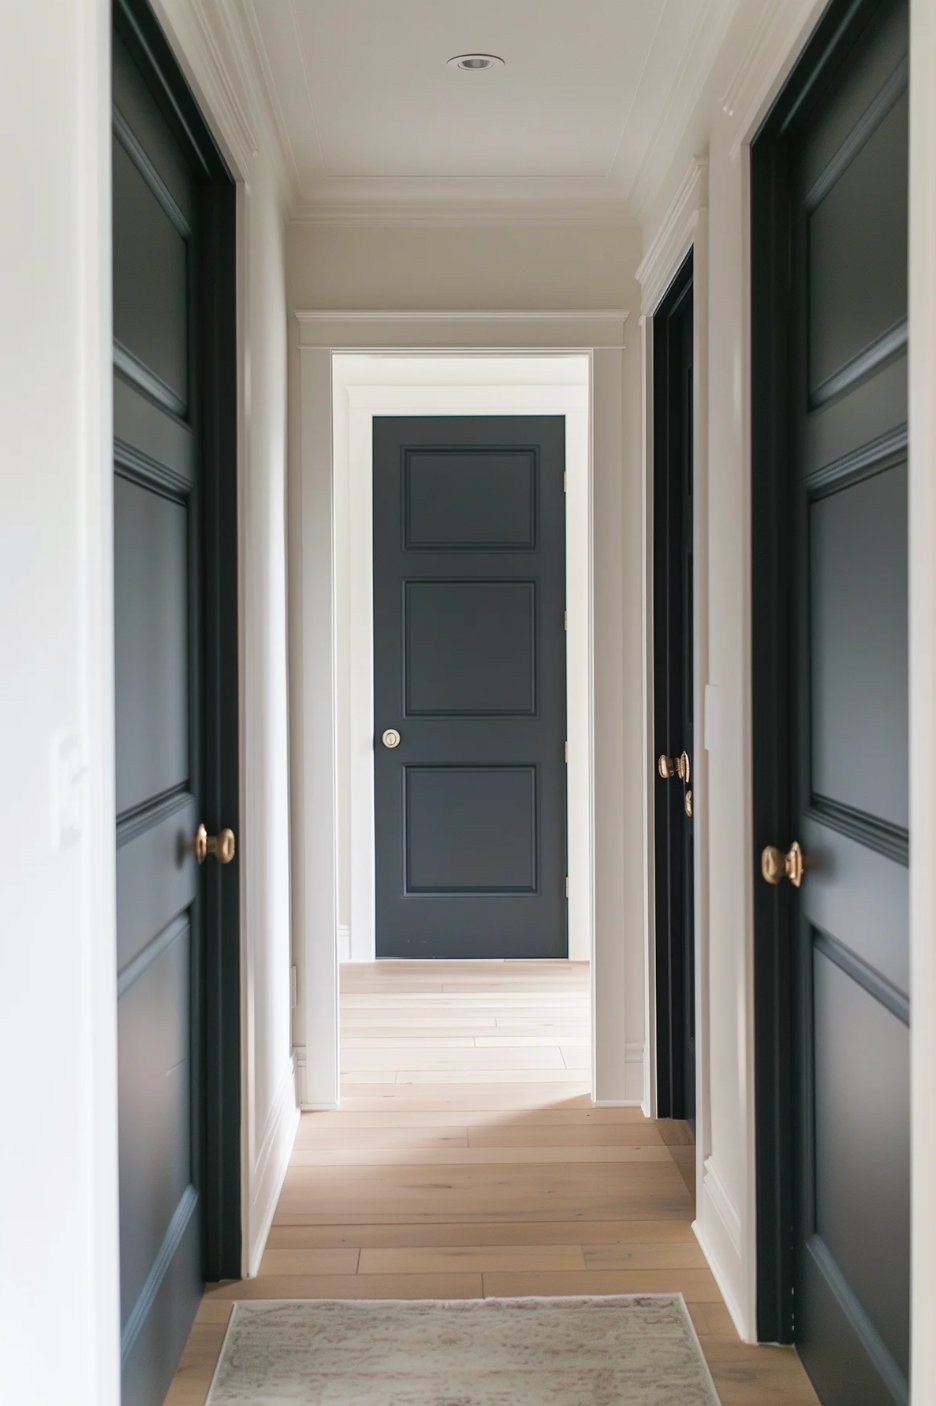
Advance is this clever mix of alkyd resins and acrylic. What this means in real life is that the paint just smooths itself out as you apply it, and brush marks basically vanish like magic.
Yeah, you’ll need to be patient while it dries, but trust me, it’s worth the wait – you end up with a surface that looks like glass.
Unlike those old-school oil paints, Advance keeps its color instead of going yellowish over time. Plus, the finish is tough as nails – which really matters for doors you’re swinging open a hundred times a day.
Cleanup’s a breeze, too – just soap and water do the trick, and you don’t get those nasty chemical smells.
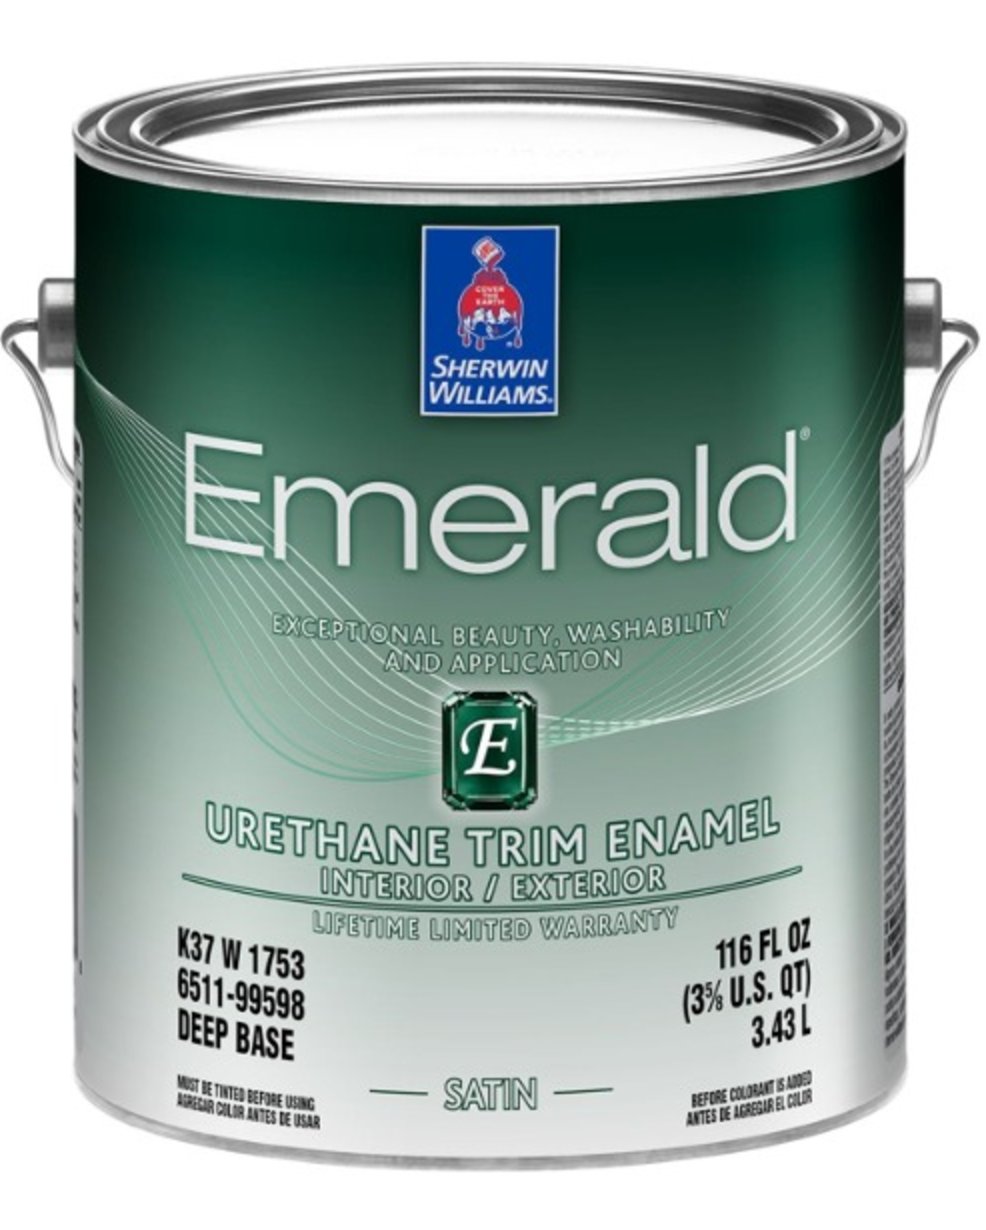
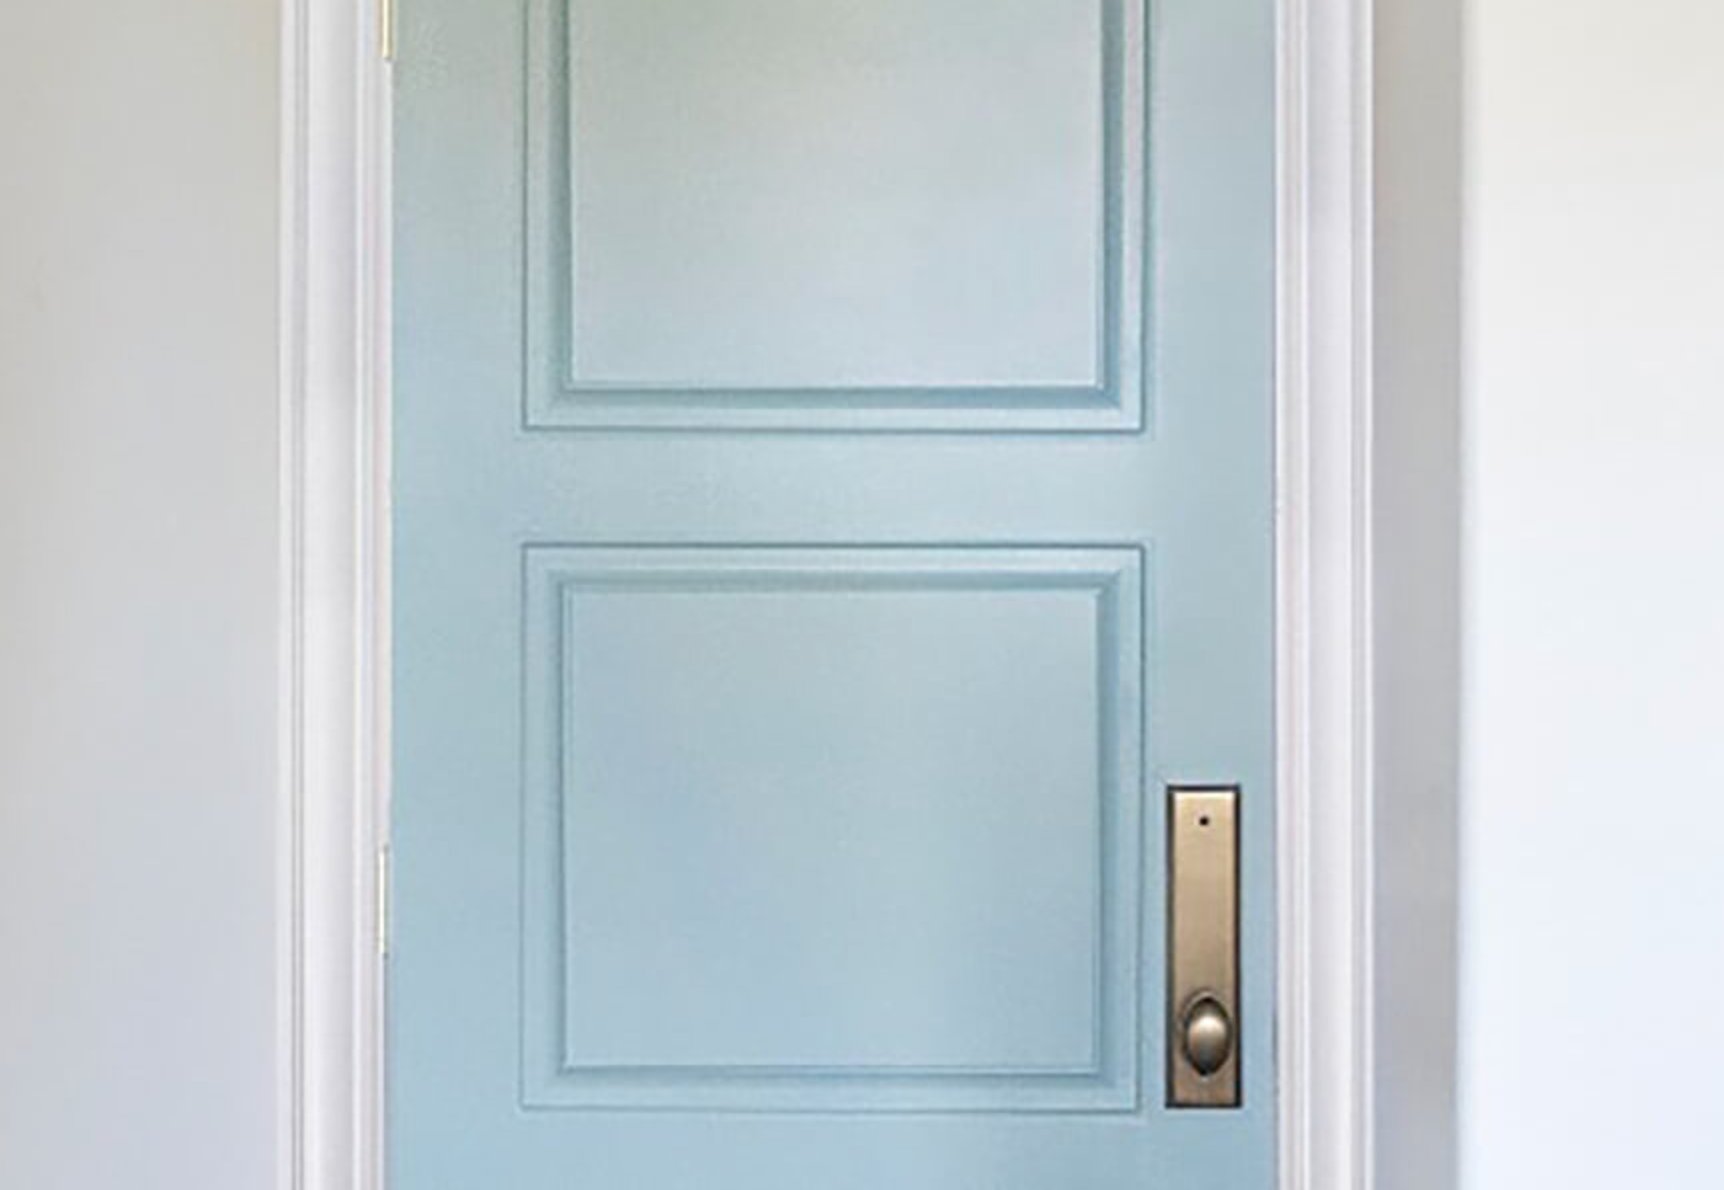
Coming in second is Sherwin Williams Emerald Urethane. It dries quicker than Advance and gives you a more matte look – their semi-gloss actually looks more like satin.
It’s super durable and laughs off scratches. The only real bummer is the price tag – $120 per gallon, which is quite a jump from BM Advance.
Here’s a lesson I learned the hard way – don’t even think about using regular latex paint on doors. It’ll start peeling wherever people touch it most.
Just bite the bullet and spring for good water-based alkyd paint – you’ll save yourself headaches (and money) down the road.
What Sheen to Paint Interior Doors
Picking the right sheen for doors can really make your head spin! There’s no perfect answer for everyone, but let me break it down into two simple groups.
Higher Sheen Paints
source
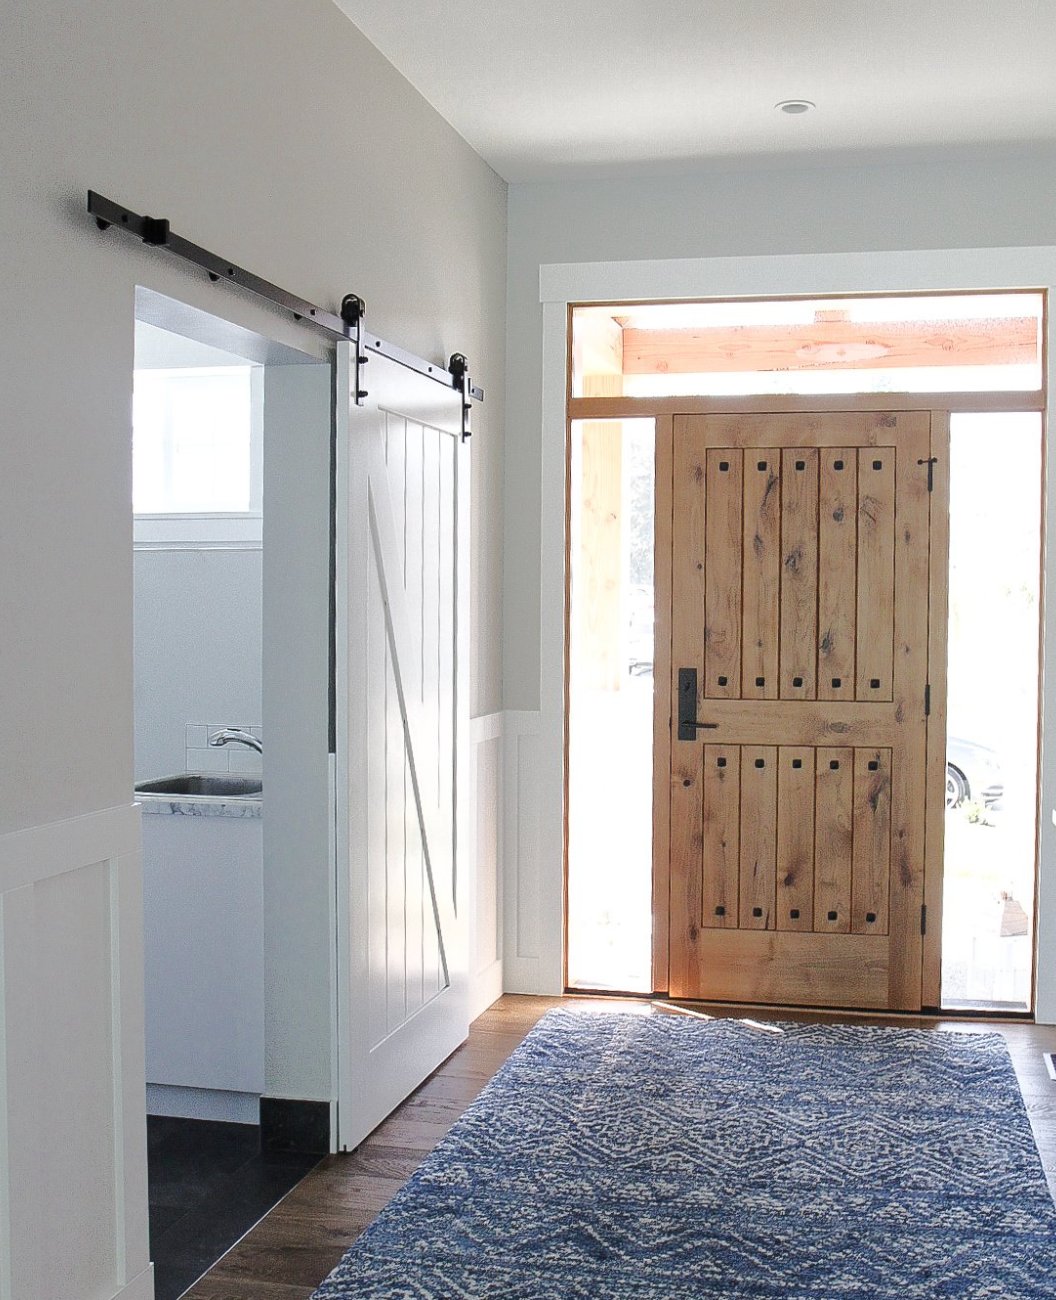
Semi-gloss is the go-to for doors. It makes sense – it’s super easy to clean and protects against scratches. I’m especially grateful for this when friends bring over their kids or pets.
source
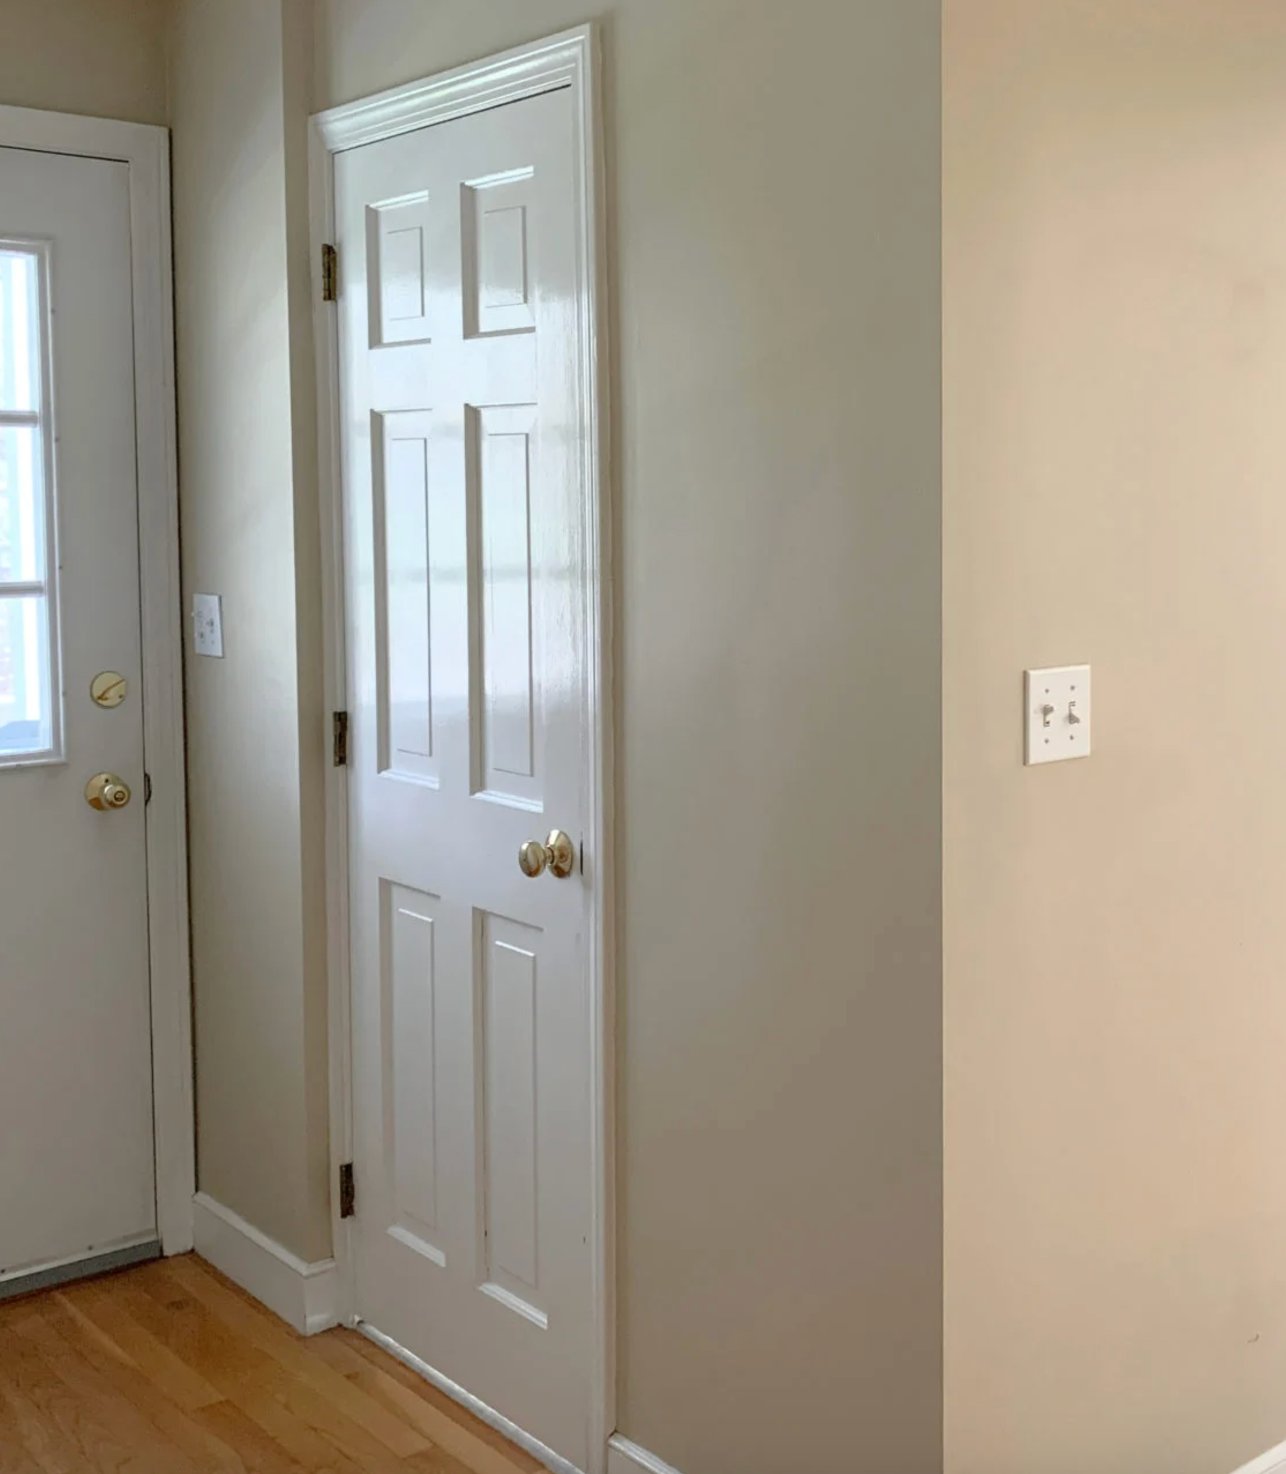
If you want the ultimate protection, there’s high gloss. It looks pretty spectacular and wipes clean like a dream. Just keep in mind – it’ll show every tiny bump and dent, so your door better be smooth as butter before you start.
source
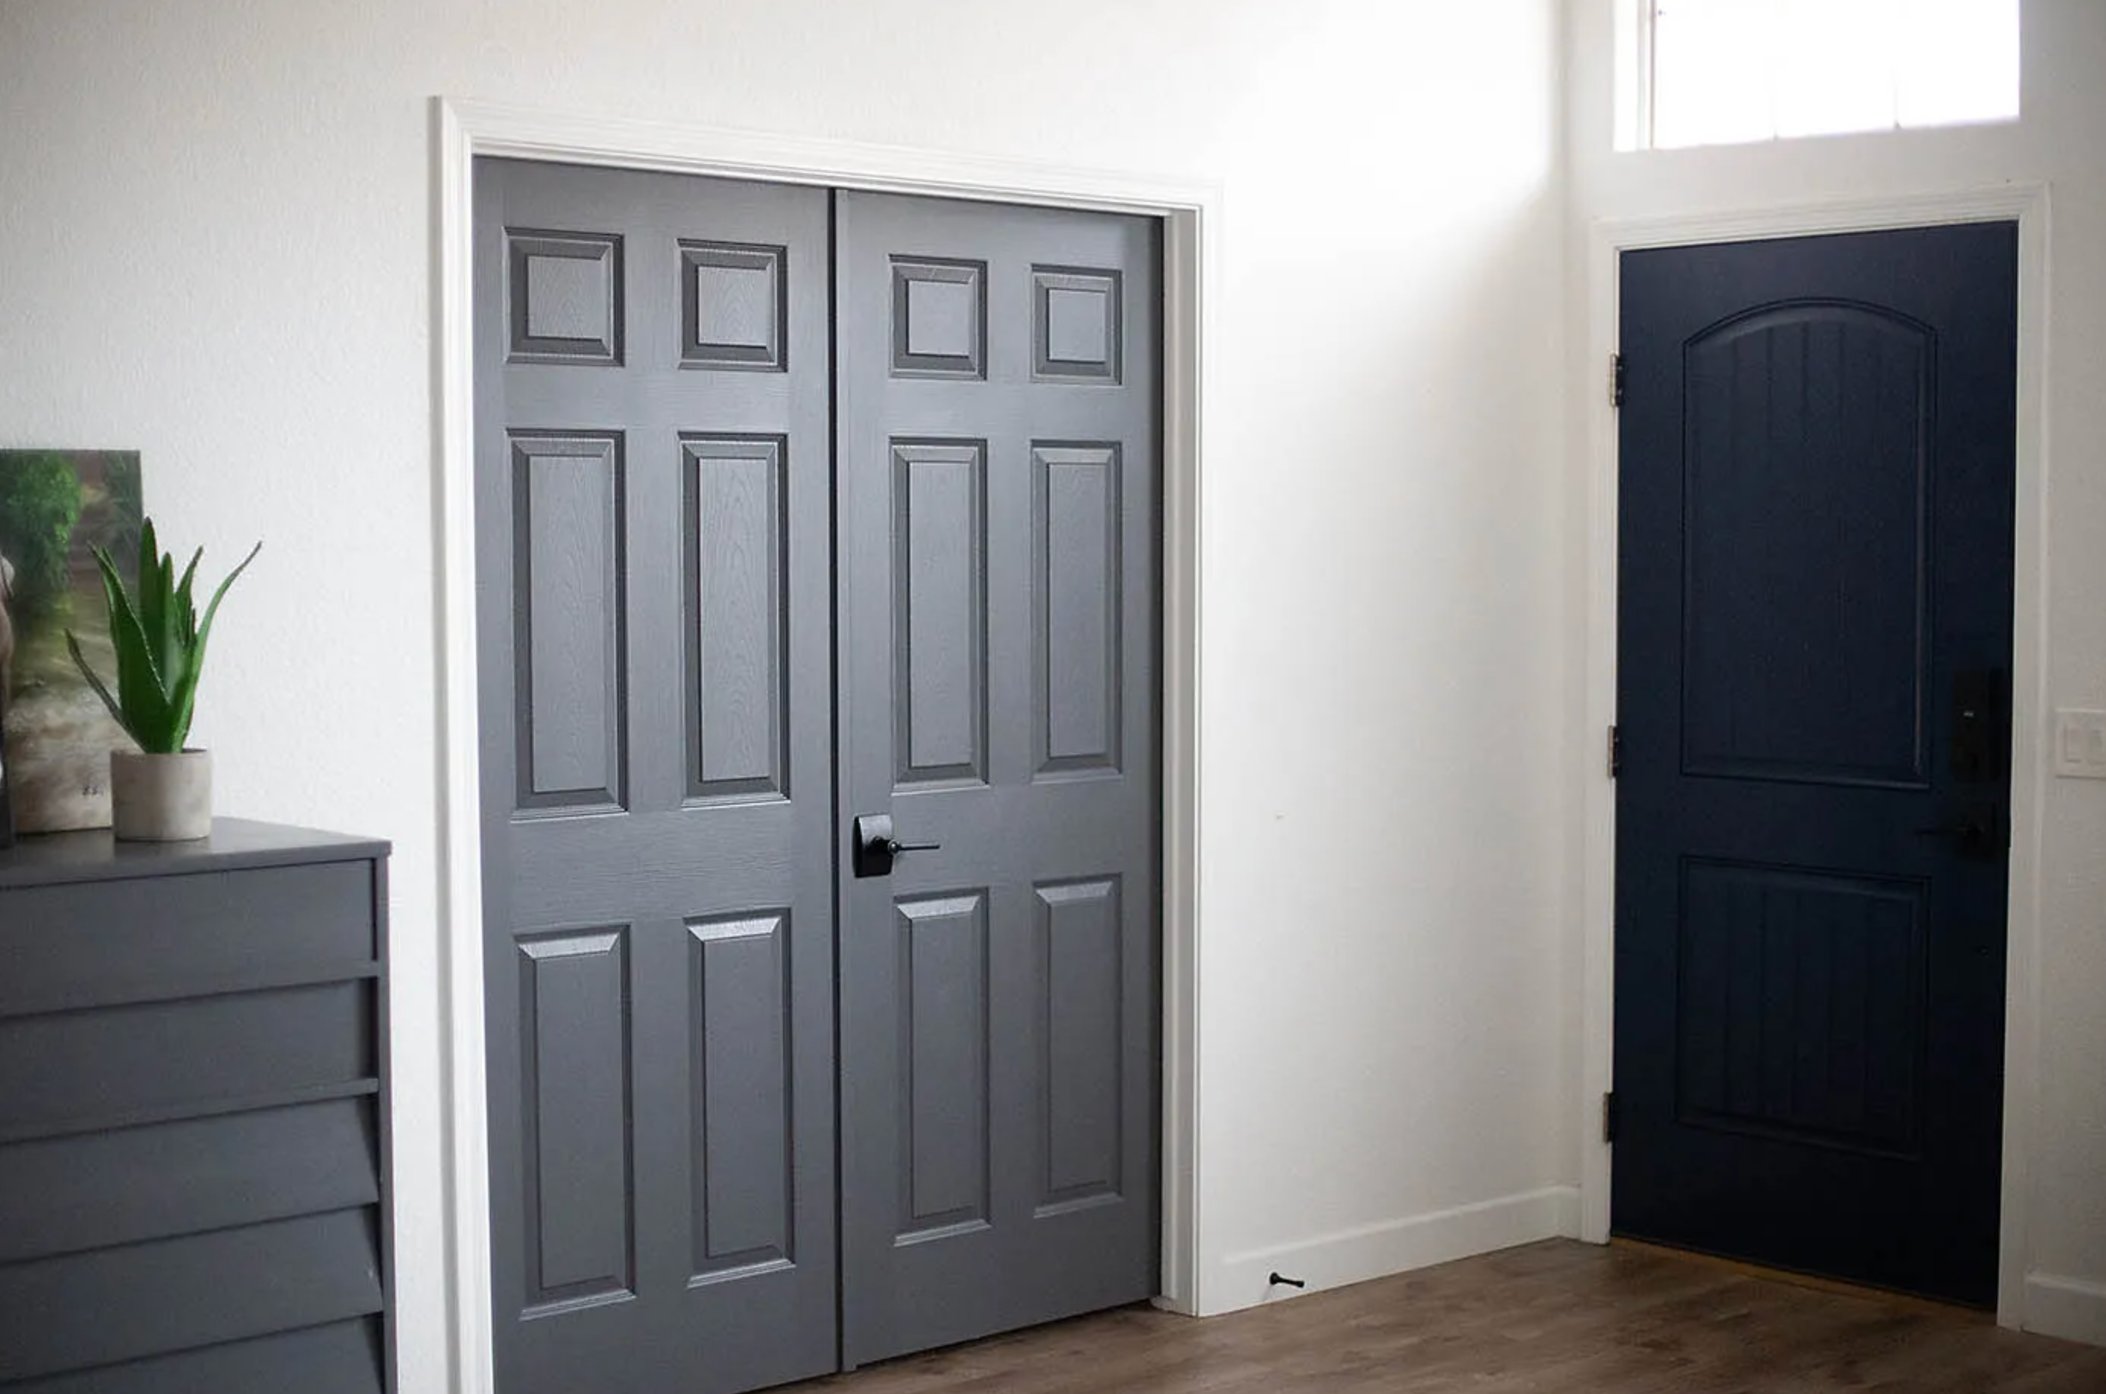
For modern spaces, lots of folks go with satin. It’s got this lovely silky look and still cleans up pretty well.
Lower Sheen Paints
Now, matte finishes like eggshell or flat look gorgeous but can be a bit high-maintenance.
Everyone says you’ve got to use semi-gloss on doors, but hey – rules are meant to be broken! Just know what you’re getting yourself into with each finish.
Need something practical? Stick with semi-gloss or gloss. Going for that minimalist vibe? Satin’s your friend. Got a door that doesn’t see much action? You can totally get away with matte.
How to Paint Interior Doors
Don’t let door painting intimidate you – with the right game plan, you can get results that look totally pro. The secret? Take your time prepping, and don’t rush the paint job.

What you’ll need:
- Interior paint
- Angled trim brush (2-3 inch)
- Mini foam roller with frame
- Primer
- Degreasing cleaner
- Medium-grit sandpaper (120-150)
- Tack cloth
- Drop cloth
- Painter’s tape
- Screwdriver for removing hardware
1) Preparation
- This is where the magic happens, folks – even though it’s the step most people want to skip.
- Start by cleaning everything well with a degreaser or warm, soapy water. Not gonna lie – I was pretty grossed out when I saw how much gunk builds up on doors over time!
- Once it’s dry, grab your medium-grit sandpaper. You’re not trying to strip it down to bare wood – just rough it up enough so the paint has something to grab onto. Pay extra attention to any scratches or dings – you want those nice and smooth.
- Wipe away all the dust with a damp cloth and let it dry.
- While you’re waiting, lay down your drop cloths and tape everything off. Pro tip: don’t cheap out on the tape – the bargain stuff usually lets paint seep through or leaves sticky gunk behind.
- I always take off all the hardware, hinges, and everything else. Yeah, it’s an extra 15 minutes of work, but you’ll thank yourself later – no weird paint edges around the handles! If it’s an older door, you might as well check if those hinges need tightening while you’re at it.
2) Priming
- You don’t always need a primer – just for raw wood, major color changes, or when you’re covering oil paint.
- I usually splurge on bonding primer – it costs more, but man, does that paint stick well afterward. Start at the top, getting into all those nooks and crannies with your brush. Keep an eye on the corners – the paint loves to pool up there and make drips.
- For the flat parts, grab a short-nap roller – it’ll leave the smoothest finish.
- Give that first coat about 2-3 hours to dry, then take a look. Still, see the old color peeking through? Time for round two.
- Here’s a little trick – once the primer’s totally dry, hit it super lightly with the finest sandpaper you’ve got. Makes the surface silky smooth for painting. Just go easy – you’re just knocking down the rough spots, not trying to strip it!
3) Painting
- Now for the fun part! Start at the top (sensing a pattern here?). Hit all those details with your brush first, trying to follow the wood grain.
- Don’t go cheap on brushes – a good synthetic brush is worth every penny for getting that smooth finish.
- For the main panels, your roller is your best friend. Long, steady strokes, top to bottom. Think thin layers – two or three light coats beat one thick one any day of the week.
- Give it at least 4 hours between coats (make that 6-8 if it’s humid). Pro move: paint each new coat at a right angle to the last one – it evens everything out nicely.
- After your final coat, hands off for 24 hours before putting the hardware back on. And here’s a tip learned the hard way – baby that door for about a week. The paint might feel dry, but it needs time to get really tough.
And there you have it – everything you need to know to paint a door like a pro. Take your time, follow these steps, and you’ll end up with something that looks like you paid someone big bucks to do it!

