Special ceiling paint isn’t easy to find in stores, but it’s absolutely essential if you want great results.
Unlike regular interior paint, ceiling paint is specially formulated to be thicker and stickier, which means less dripping while you work. Many people make the common mistake of using regular wall paint on their ceilings and then wonder why they end up with drips and patchy coverage.
I’ll walk you through the best ceiling paints out there, break down the different types of coatings, and help you pick the perfect color and finish for your ceiling.
What Makes a Great Ceiling Paint?
While you can use regular paint in a pinch, ceiling-specific paint makes the job much easier. It’s designed with overhead work in mind – it’s less drippy, keeps a wet edge longer for smooth application, and works great with both rollers and sprayers. Unlike standard latex paint, it won’t create that fine mist that seems to float everywhere beyond your drop cloths.
Good ceiling paint has a consistency similar to thinned honey – thick enough to stay put overhead but still spreadable. The high solid content helps it fight gravity and keeps splatter to a minimum.
| Paint Type | Viscosity (KU) | Weight of 1 Gallon (lbs) | Solids by Weight (%) |
| Premium Ceiling Paint | 105-110 | 11.8 | 55 |
| Standard Ceiling Paint | 95-100 | 11.2 | 50 |
| Regular Latex Wall Paint | 85-90 | 10.5 | 45 |
You’ll get better coverage with ceiling paint thanks to its higher pigment levels. Some brands, like Valspar, even include a color-changing feature – the paint goes on purple and dries white, making it easy to spot any missed spots. These features often mean you can get away with just one or two coats for full coverage.
Best Ceiling Paints and Why
When shopping for ceiling paint, think about your project needs, budget, and where you’ll be using it. While there are several top brands out there, the best choice really depends on what you’re doing – contractors often opt for premium paints for challenging projects, while DIYers might prefer more budget-friendly options for standard rooms.
- Benjamin Moore Waterborne Ceiling Paint tops the premium category. At $60 per gallon, it offers exceptional coverage, and its ultra-matte finish hides imperfections like a champ. Pros love it because it’s durable and doesn’t splatter much during application.
- Sherwin-Williams Eminence hits the sweet spot for value in the mid-range ($45/gallon). It’s purpose-built for ceilings and gives you professional-looking results in typical home settings. Update: Eminence has been discontinued and replaced by Premium Ceiling Paint for around $60, which hasn’t been getting great reviews so far.
- Behr Ultra Interior Ceiling Paint ($25-40/gallon) delivers solid coverage without breaking the bank. It’s an especially good deal in 5-gallon buckets, which is why contractors often reach for it.
- Valspar Color-Changing Ceiling Paint stands out with its clever purple-to-white color change as you paint. This feature is invaluable for DIYers since it makes missed spots obvious. Once dry, you’re left with a clean, matte-white finish.
Keep in mind that how you apply the paint and what tools you use (especially your roller choice) matter just as much as the paint itself. While premium paints like Benjamin Moore might cost more upfront, they often need fewer coats – something worth factoring into your total project cost.
Some pros actually prefer high-quality matte wall paint over dedicated ceiling paint, but that’s more of a personal preference thing.
Types of Ceiling Paint
Specialized Ceiling Paint
This is your best bet for ceiling work. Its thick consistency prevents drips and splatters while working overhead – which is absolutely crucial.
The specially formulated consistency makes for smoother application and reduces arm fatigue, making the job much easier whether you’re a DIY enthusiast or a pro.
While there are other options, specialized ceiling paint is still your best choice for most projects. Yes, it costs more upfront, but its superior performance and easier application make it worth the extra money, especially considering how much more comfortable it is to work with.
Standard Interior Latex Paint
You can use this for ceilings if it’s flat, white, and good quality. The catch is that it’s thinner, so you’ll likely deal with drips and splatters.
You’ll need to put on more coats and be extra careful while painting, which means the job will take longer.
It’s a decent option if you’re on a tight budget and don’t mind being more careful with the application.
Paint and Primer Combinations
These offer a good middle ground. Their honey-like thickness helps prevent drips and gives you better coverage in one coat.
They’re particularly great for large ceiling projects or when you’re working with tight deadlines. Since they splatter less, you’ll spend less time cleaning up – which can actually save you money when you factor in labor costs.
Choosing the Right Color
White ceilings are the most popular choice, and for good reason. Pure white bounces light around the room, makes your ceiling look higher and makes spaces feel bigger. Plus, it won’t clash with your wall decor, and you can change your room’s color scheme without having to touch the ceiling.

Pure white without any undertones gives you the brightest look. It reflects the most light and works well in spaces that need good lighting, like kitchens, bathrooms, and work areas.


Warm whites with a hint of cream create a softer feel. They look especially good with wooden furniture and warm color schemes. You’ll often see these in bedrooms and living rooms where coziness is key.

Cool whites with hints of gray or blue are trending in modern spaces. They give a fresh, clean vibe and pair nicely with chrome fixtures and glass surfaces. They’re perfect if you’re going for a minimalist or high-tech look.


Sometimes, it makes sense to go with a colored ceiling. This works particularly well in rooms where you want a more intimate feel – dining rooms, libraries, or home theaters. Darker or richer colors can make a ceiling feel lower, creating a more cozy space.
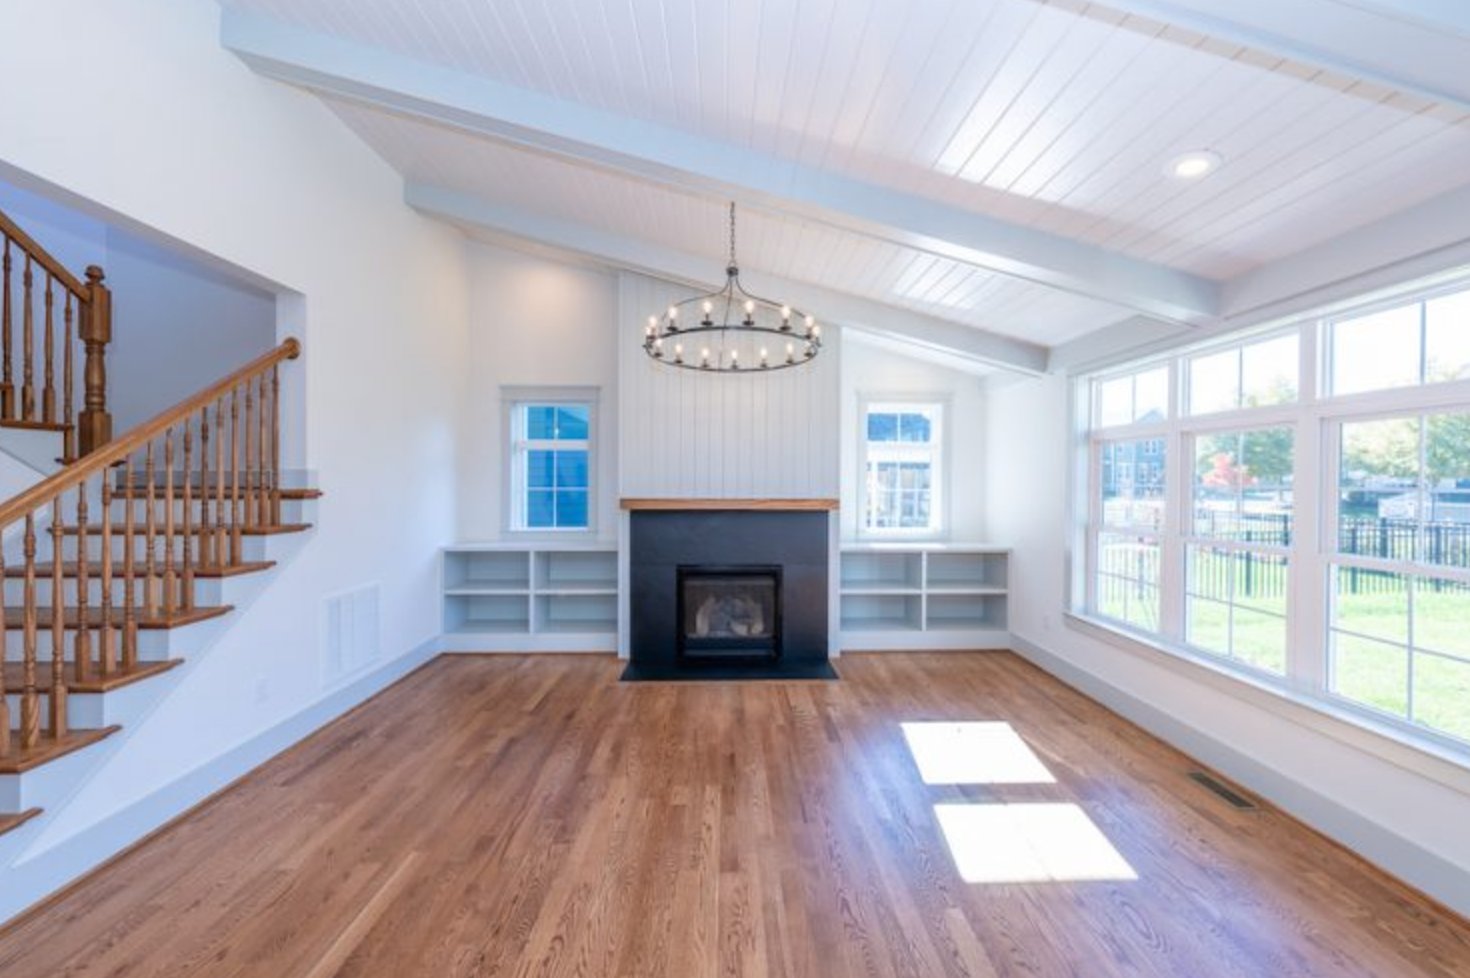
Colored ceilings are also great for showing off architectural details. They can make coffered ceilings pop, draw the eye to decorative moldings, highlight wooden beams, or emphasize different ceiling levels.
When picking your ceiling color, consider three things: how tall your room is, how much natural light you get, and your overall design style.
Going dark in rooms with high ceilings can create a cool contrast with light walls. If you’ve got low ceilings, stick to lighter shades with a matte finish – they’ll help hide those minor imperfections in the surface.
Best Ceiling Paint Finish
I always tell my clients to start with flat paint – there’s a reason it’s the industry standard.
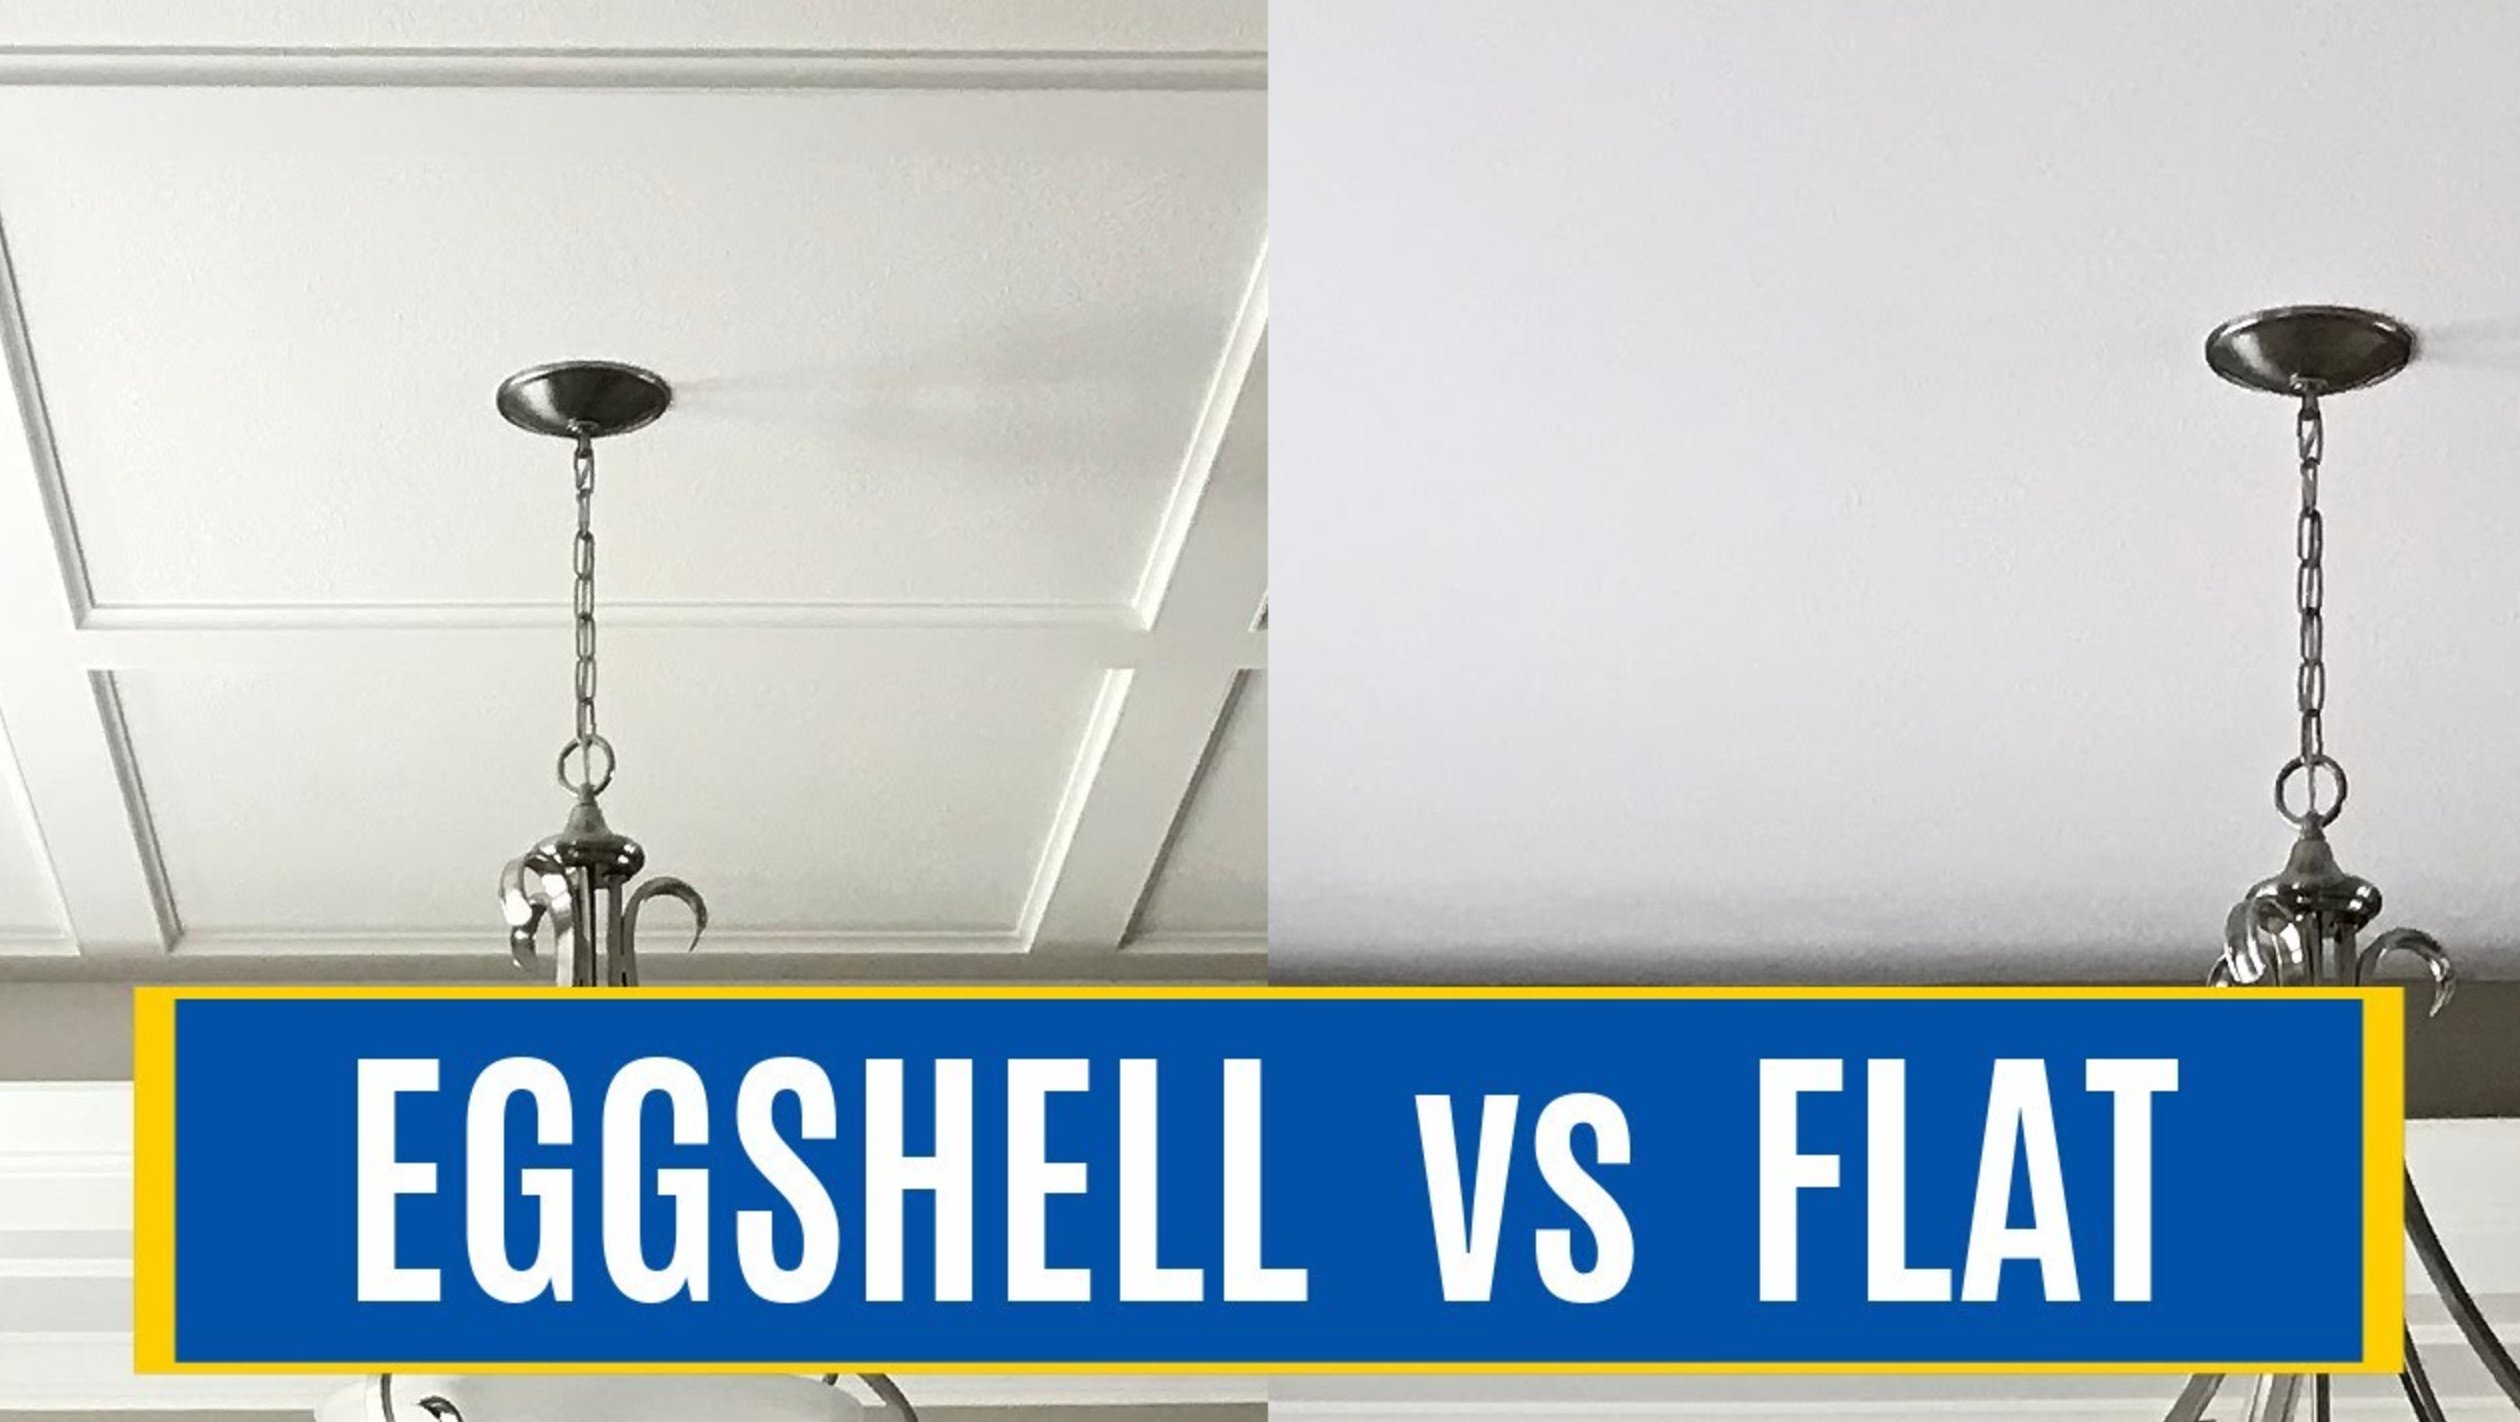
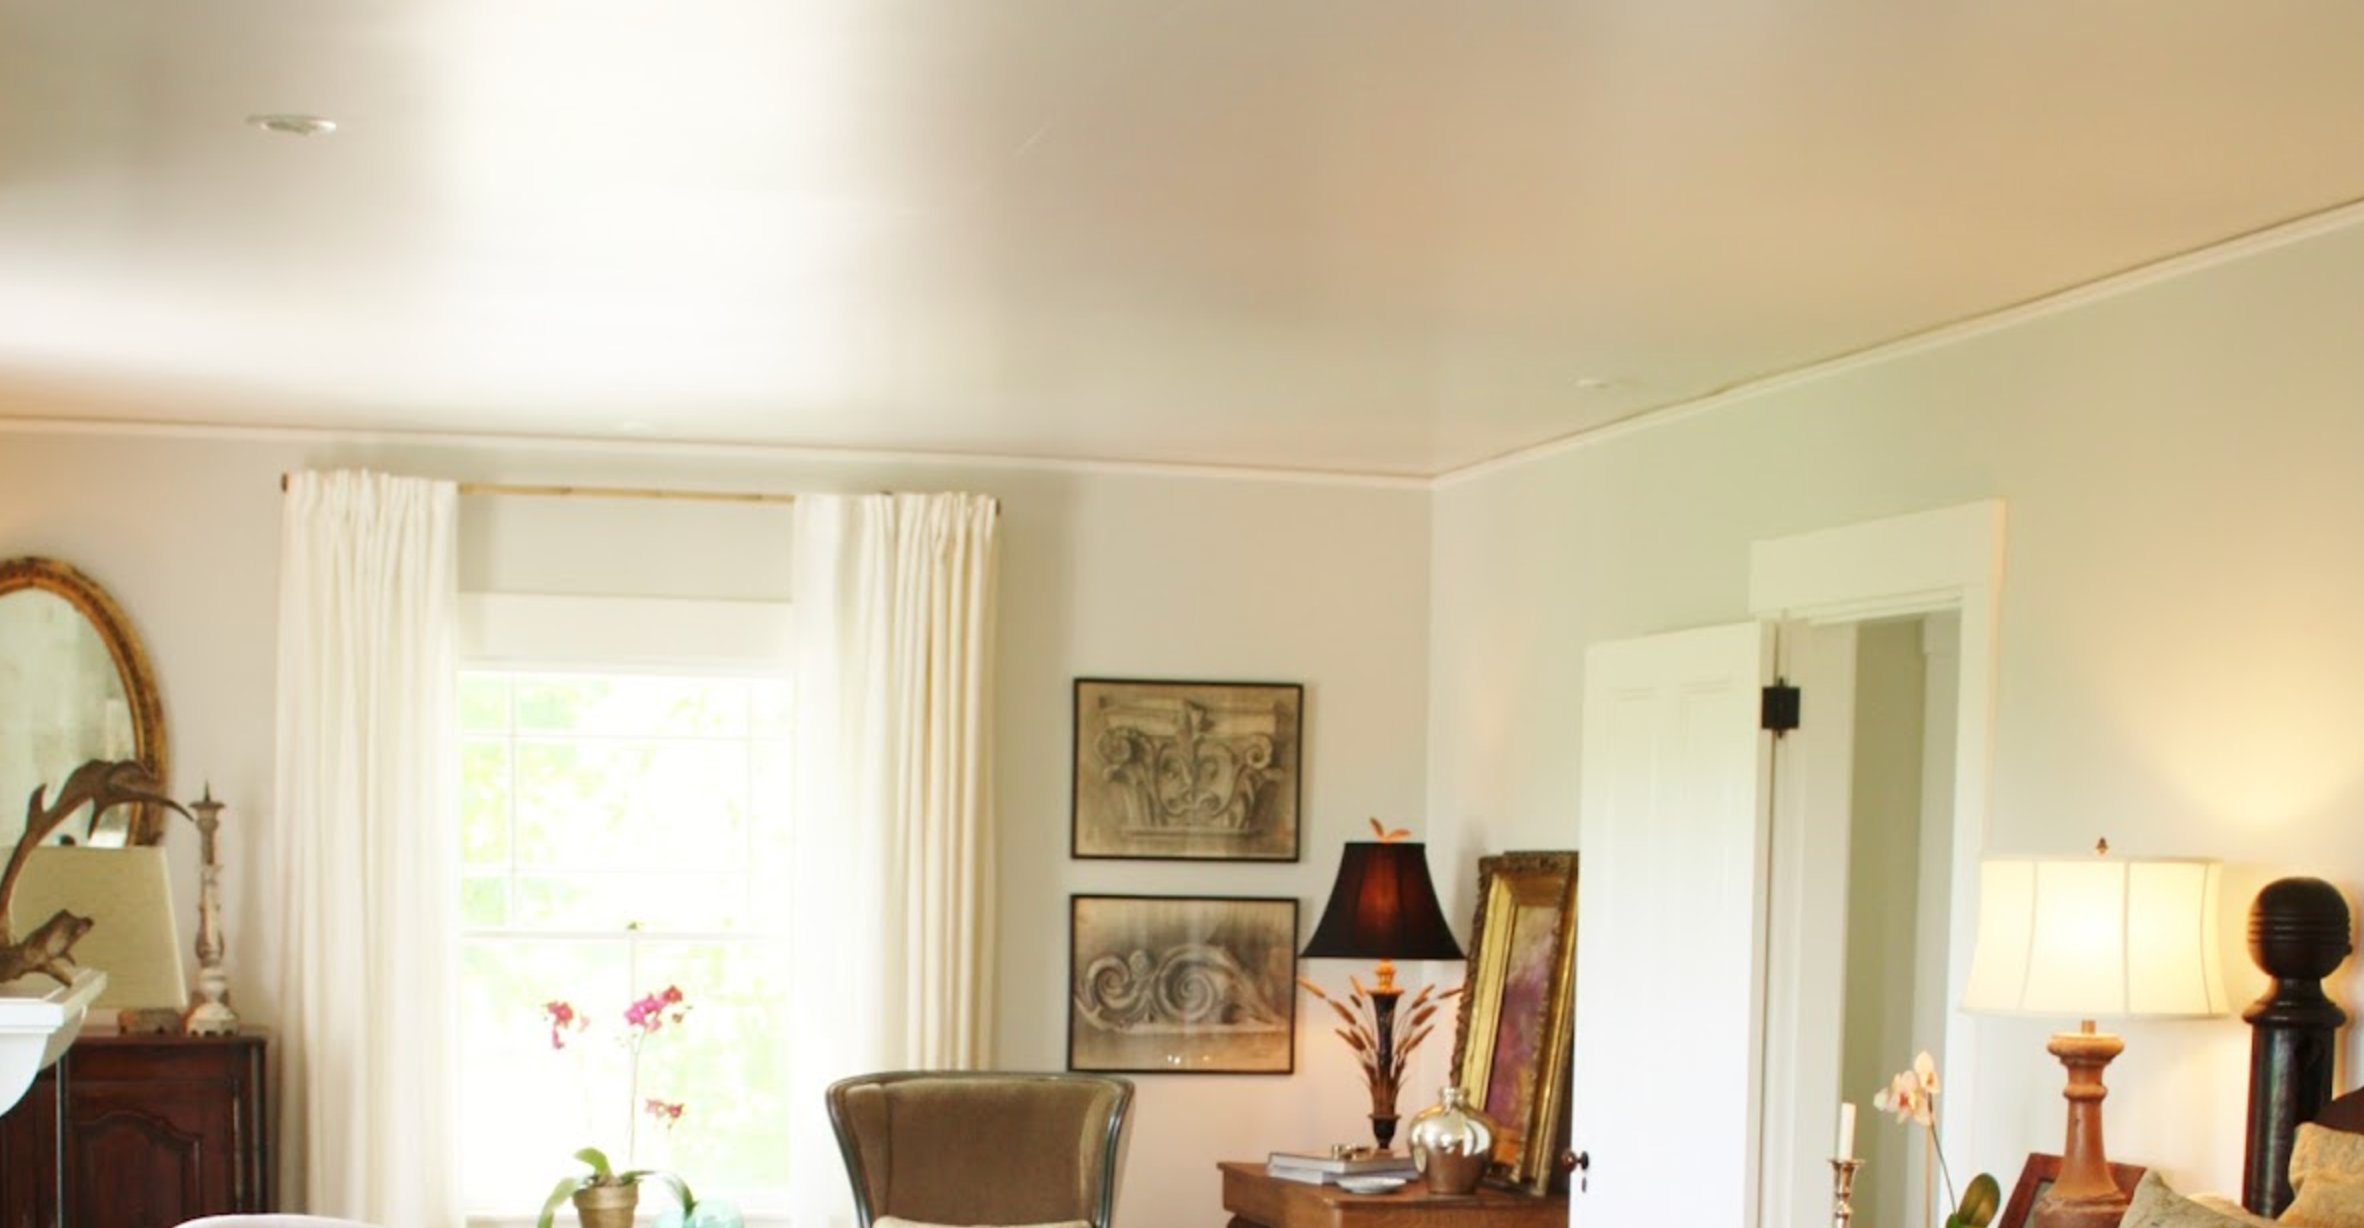
A flat finish does a great job hiding imperfections, patched spots, and texture variations you often see on ceilings. Since it doesn’t reflect light, it creates a smooth, uniform surface that won’t compete with your walls and decor.
It makes sense that most paint manufacturers offer their ceiling paints in flat finish – they’re more forgiving to work with, and you won’t have to worry about roller marks or visible lines between paint sections.
That said, there are times when you might want to explore other options.
Eggshell finish is just a tiny step up in terms of sheen, and it can look fantastic on perfectly smooth ceilings. I’ve seen it used in formal dining rooms where people want just a hint of elegance.
You might want to look into a satin finish for spaces with moisture. It’s more practical than flat – better at fighting off mold and easier to wipe clean. Just remember that satin will show every bump and imperfection in your ceiling.

Semi-gloss is more of a specialty choice. Since it reflects more light, it can help brighten up dark spaces or create an intentional statement.
But here’s the thing – you’ll need your ceiling to be absolutely perfect, and it’s really best suited for spaces where you need to clean the ceiling often or protect it from moisture.
Keep this in mind: the shinier you go, the more prep work you’ll need to do, and the more you’ll spend on paint.
And the last tip for today: always test a small area first – sheen looks way more noticeable on a ceiling than you might expect when you’re looking at it from below.