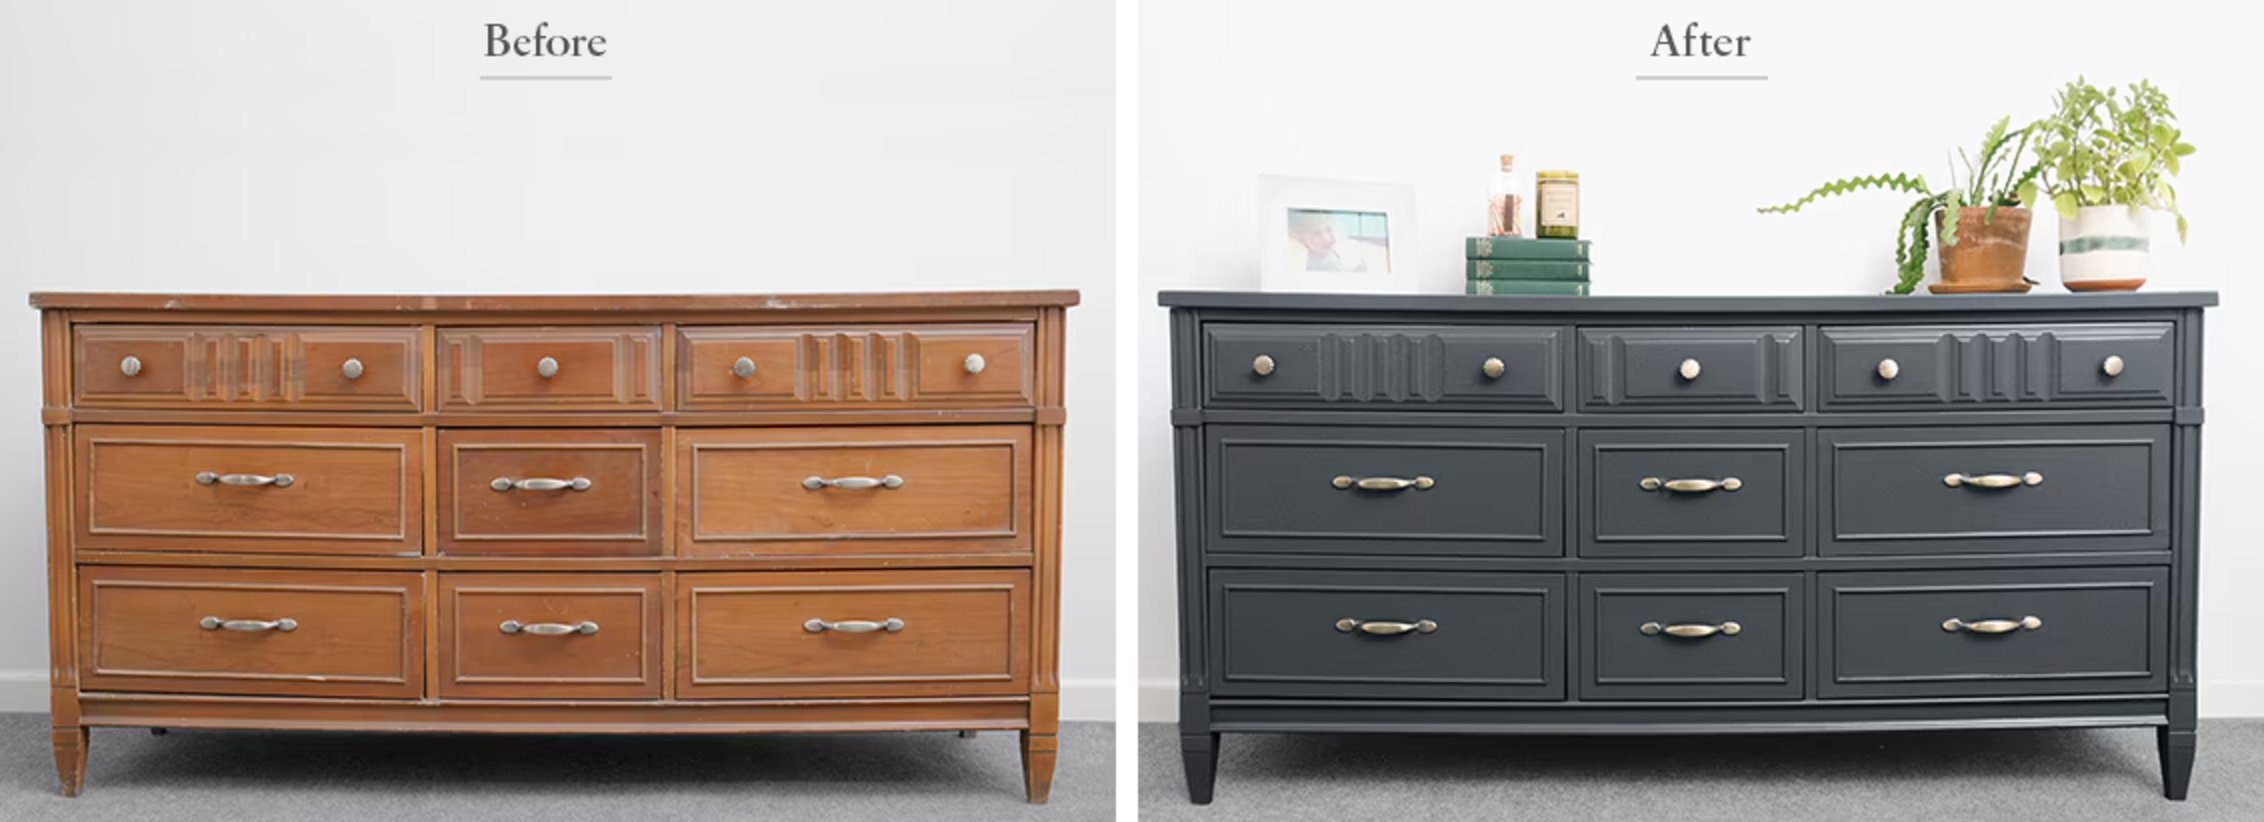
When I first decided to fix an old flea market dresser, I thought picking paint would be easy-peasy. But there I was, standing in front of store shelves feeling completely lost – chalk paint, acrylic, latex, oil-based, milk (wait, milk?)… my head was spinning with all the options.
Unlike walls, furniture takes a beating in daily life – we’re constantly touching it, setting things on it, and bumping into it. Plus, choosing the right paint is really the make-or-break factor in transforming any piece of furniture, whether you’re working with a vintage chair or a modern cabinet.
If you’ve ever wondered what paint works best for furniture – you’re in the right place. I’ll walk you through the most reliable options for wood, laminate, metal, and other surfaces, and here’s my promise: pick the right paint, and you’ll get amazing results that stand the test of time.
Why Different Furniture Needs Different Paint
When I started painting furniture, I thought I could use any paint on any surface. Boy, was I wrong! After a few failed attempts, I learned that you must match your paint type to both the material and the furniture’s purpose.
1) Different materials interact with paint in their own ways. Wood tends to soak up paint like a sponge, metal can be stubborn and resist it, and plastic needs special treatment to make the paint stick properly.
2) Some surfaces can be real troublemakers without the right primer. I learned this the hard way with a lacquered dresser – the paint just kept beading up until I finally found a primer that worked.
While premium paints often give you better results, they need more prep work and attention to detail when applying.
3) Don’t forget about drying time – it’s crucial. If you’re painting furniture inside your home, quick-drying paints are your best friend to keep dust and pet hair from getting stuck in the wet paint.
How many coats you’ll need depends on your paint type and what look you’re going for – some paints need 2-3 thin layers, while others give you solid coverage in one go.
Best Paint Types for Furniture
There’s quite a range out there: oil-based, latex, acrylic, and specialty options like chalk or milk paint. Each one has its own quirks and features.
Let’s break down the pros and cons of different paint types to help you find the perfect match for your project!
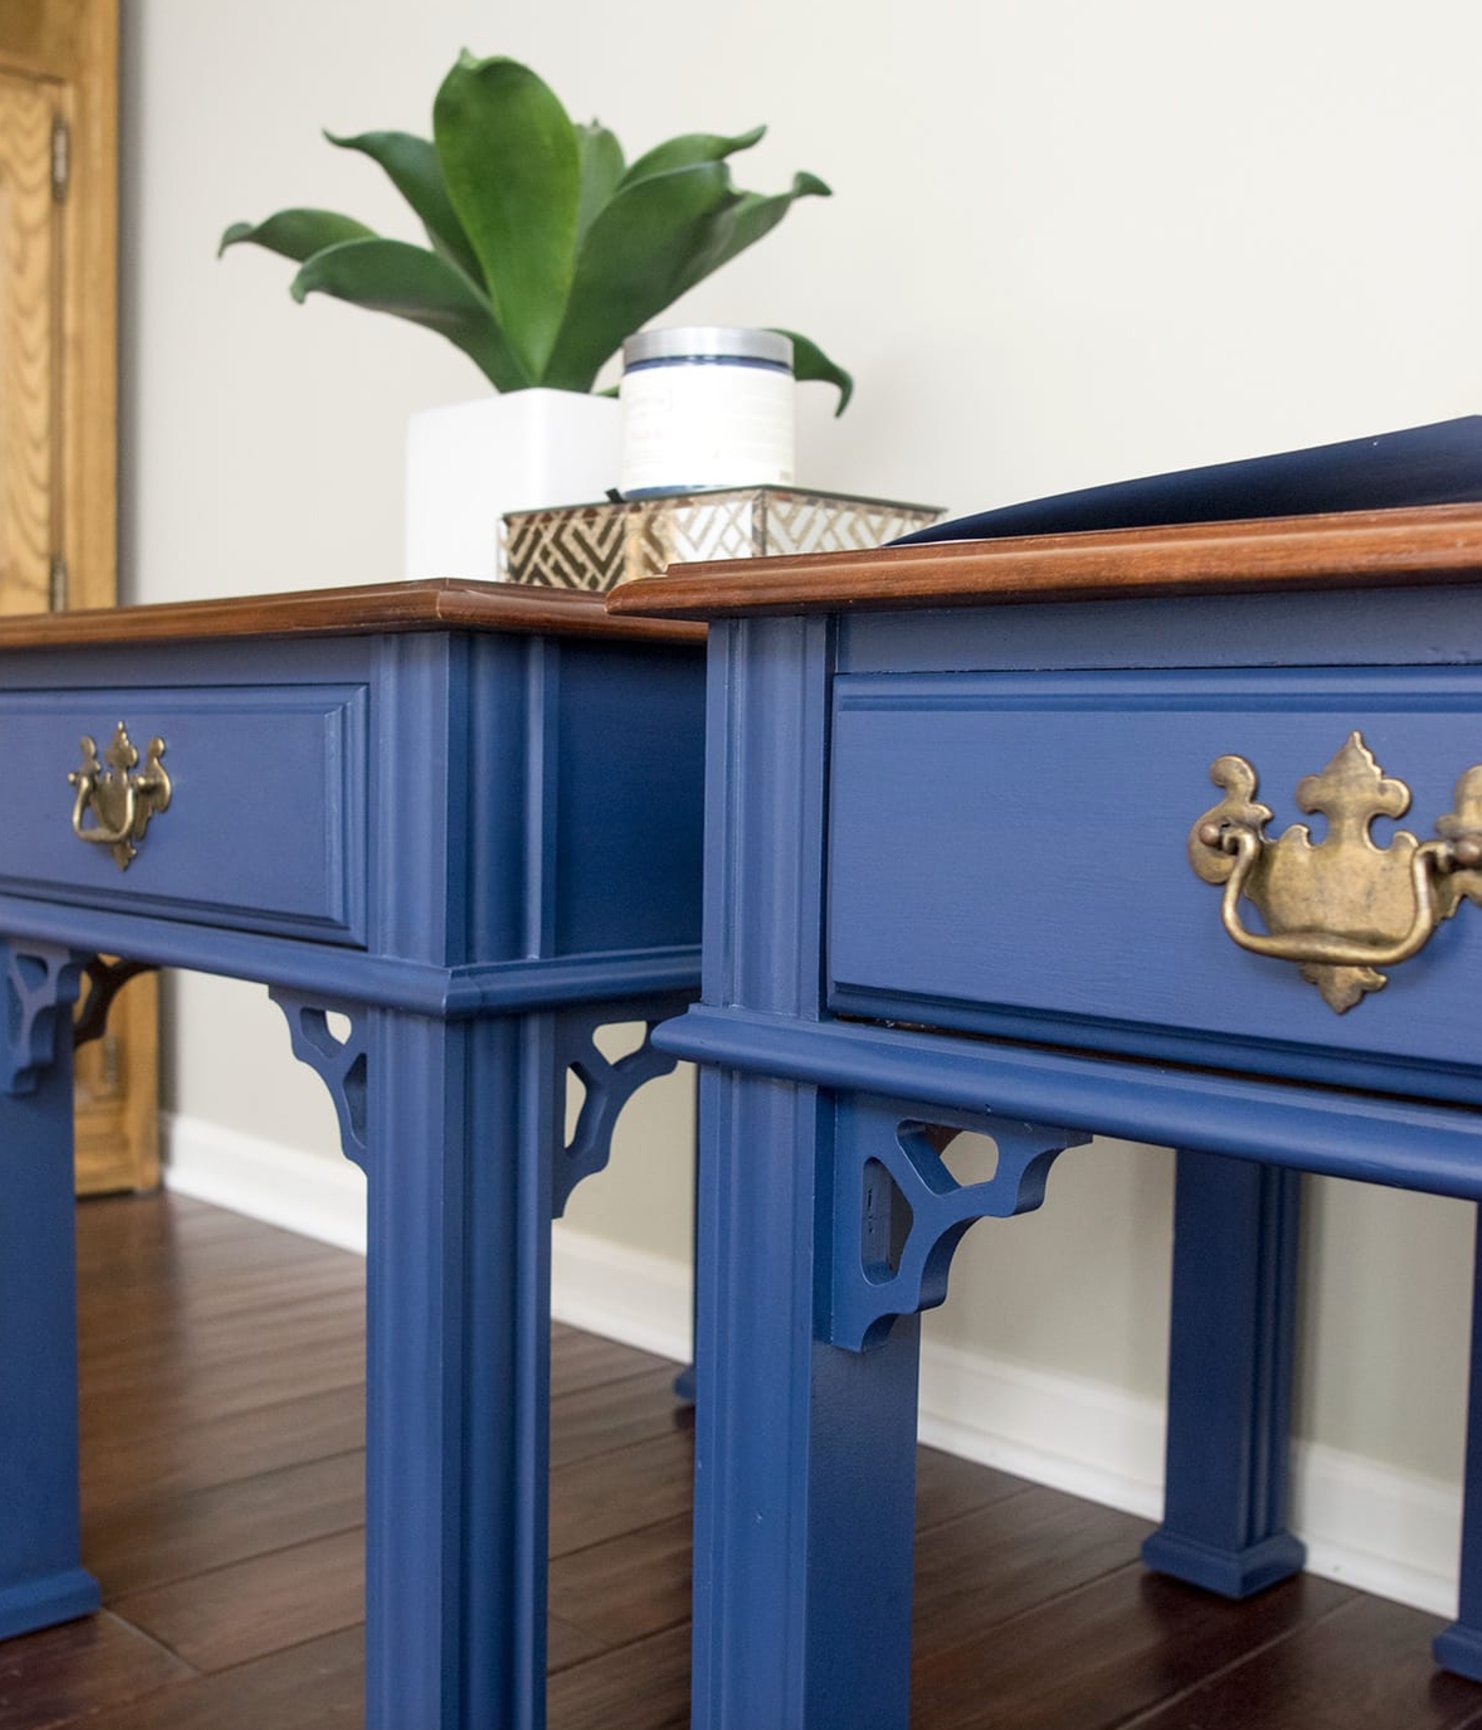
Chalk Paint
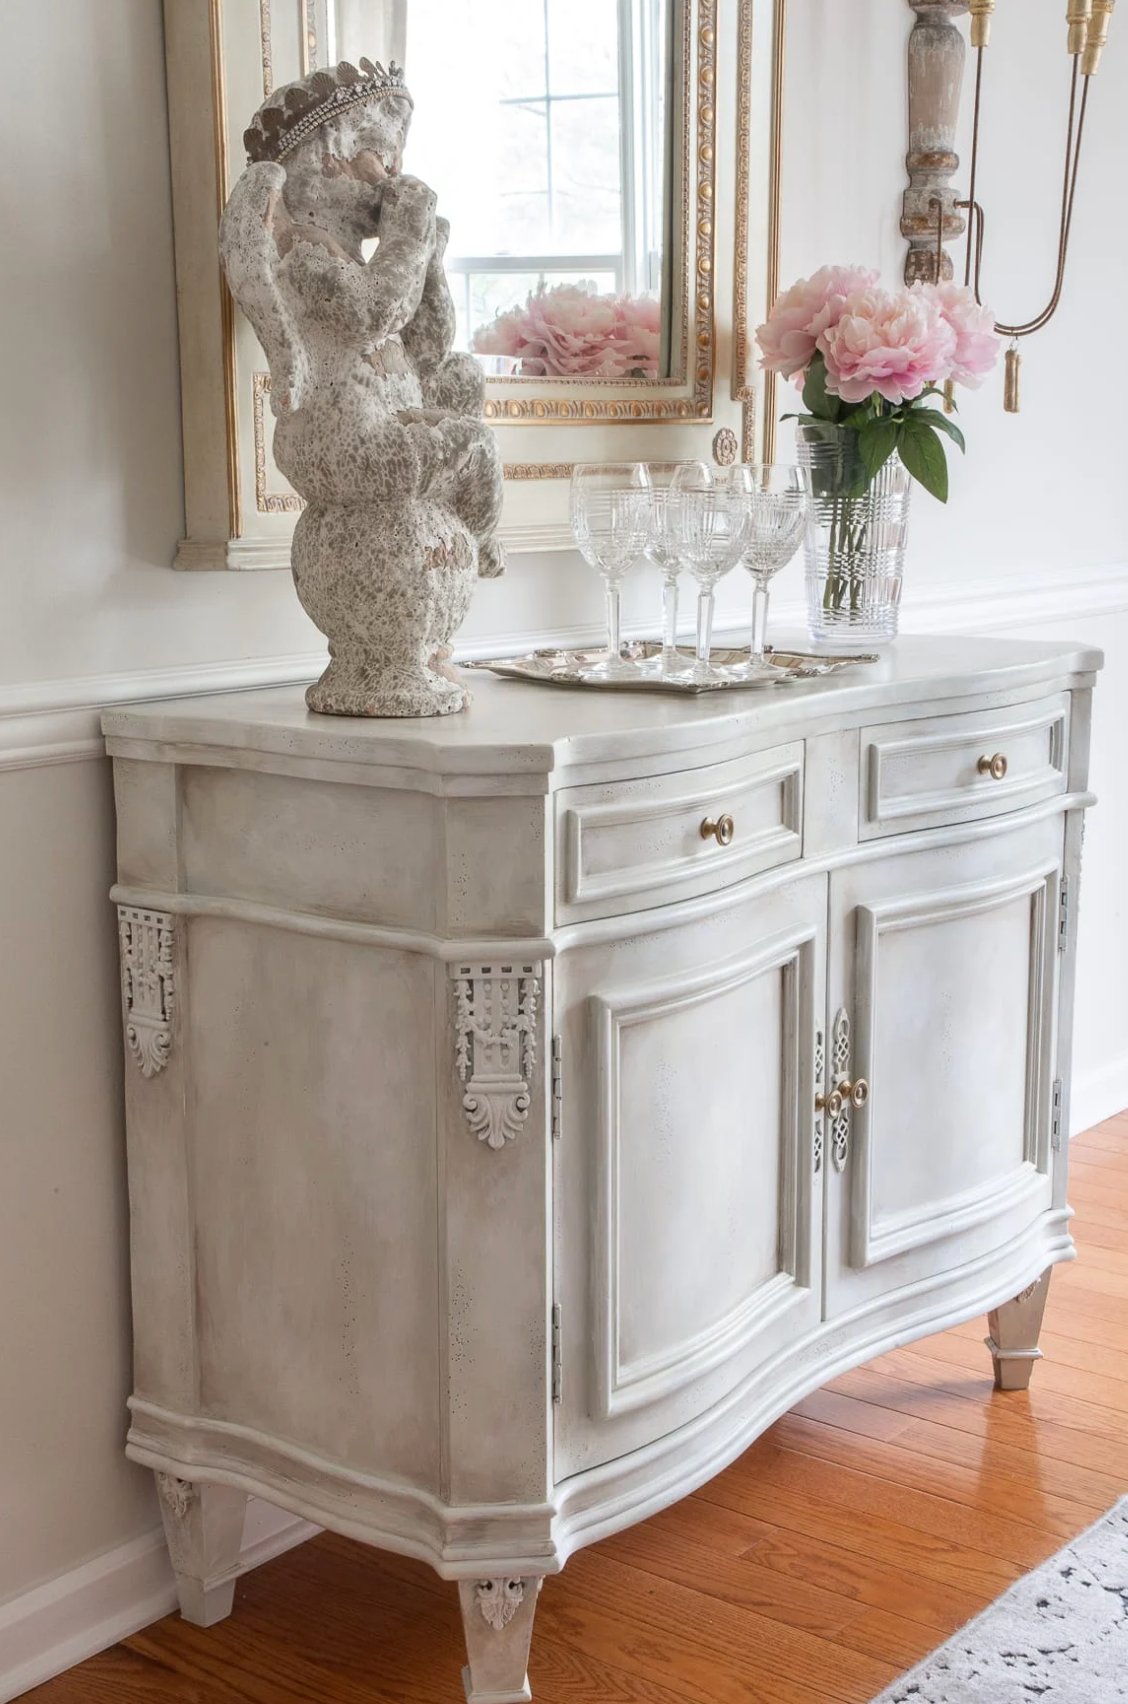
Chalk paint is a water-based paint that gives you an ultra-matte finish. It’s become super popular because it’s versatile and great for achieving that vintage look. While it’s latex-based, it has a thicker, more dimensional texture than regular paint.
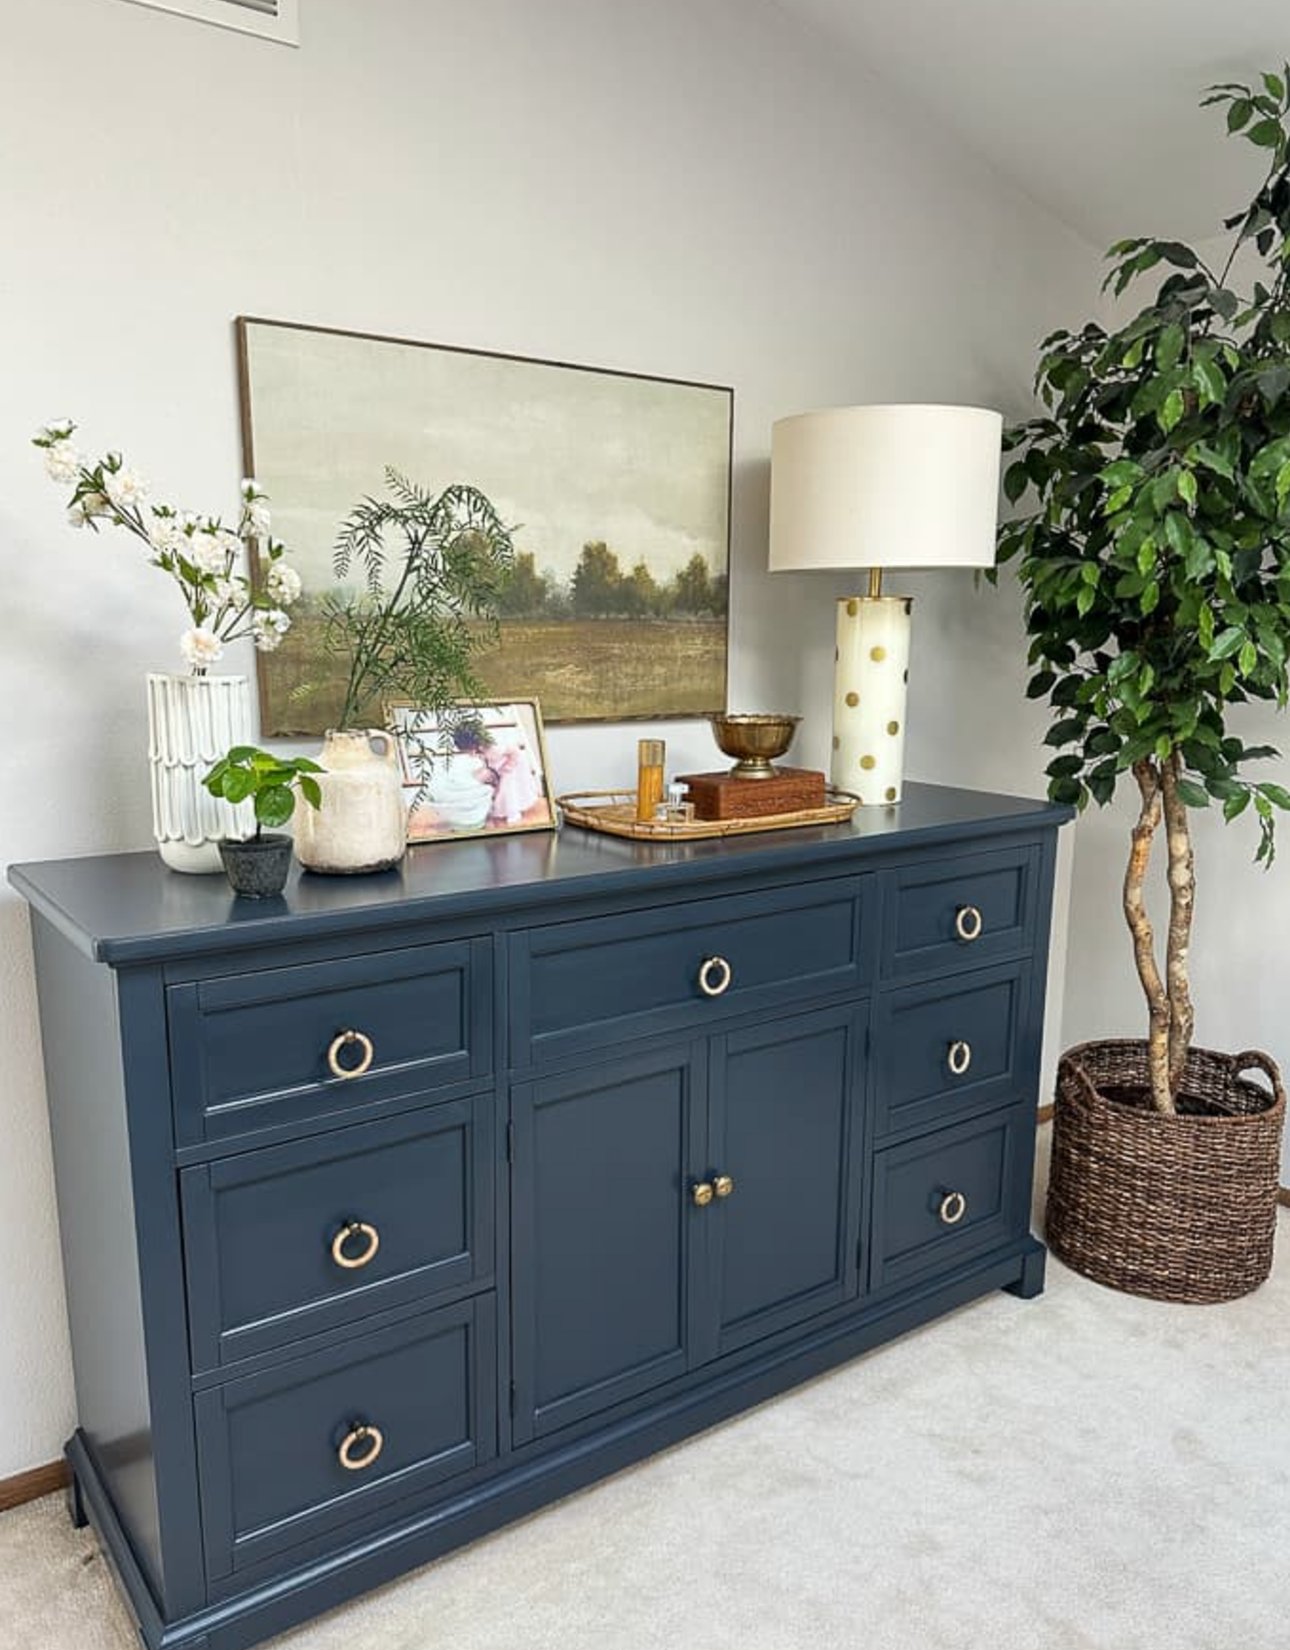
It’s perfect when you want to add some vintage charm to furniture, whether it’s old or new – works exceptionally well on antique pieces, decorative items, kitchen cabinets, dressers, and mirror frames.
Application Features
One of the best things about it? It sticks to almost anything without primer. Plus, it dries pretty quickly, so you can do multiple coats in a single day.
Just watch out – don’t try to touch it up once it starts drying. You’ll end up with visible brush marks if you do.
Suitable Materials
- Wood (even raw wood)
- Metal
- Glass
- Plastic
- Laminate
- Ceramic
Where to Skip It
- Surfaces that get wet a lot
- Furniture that kids use heavily
- Items you need to wipe down frequently
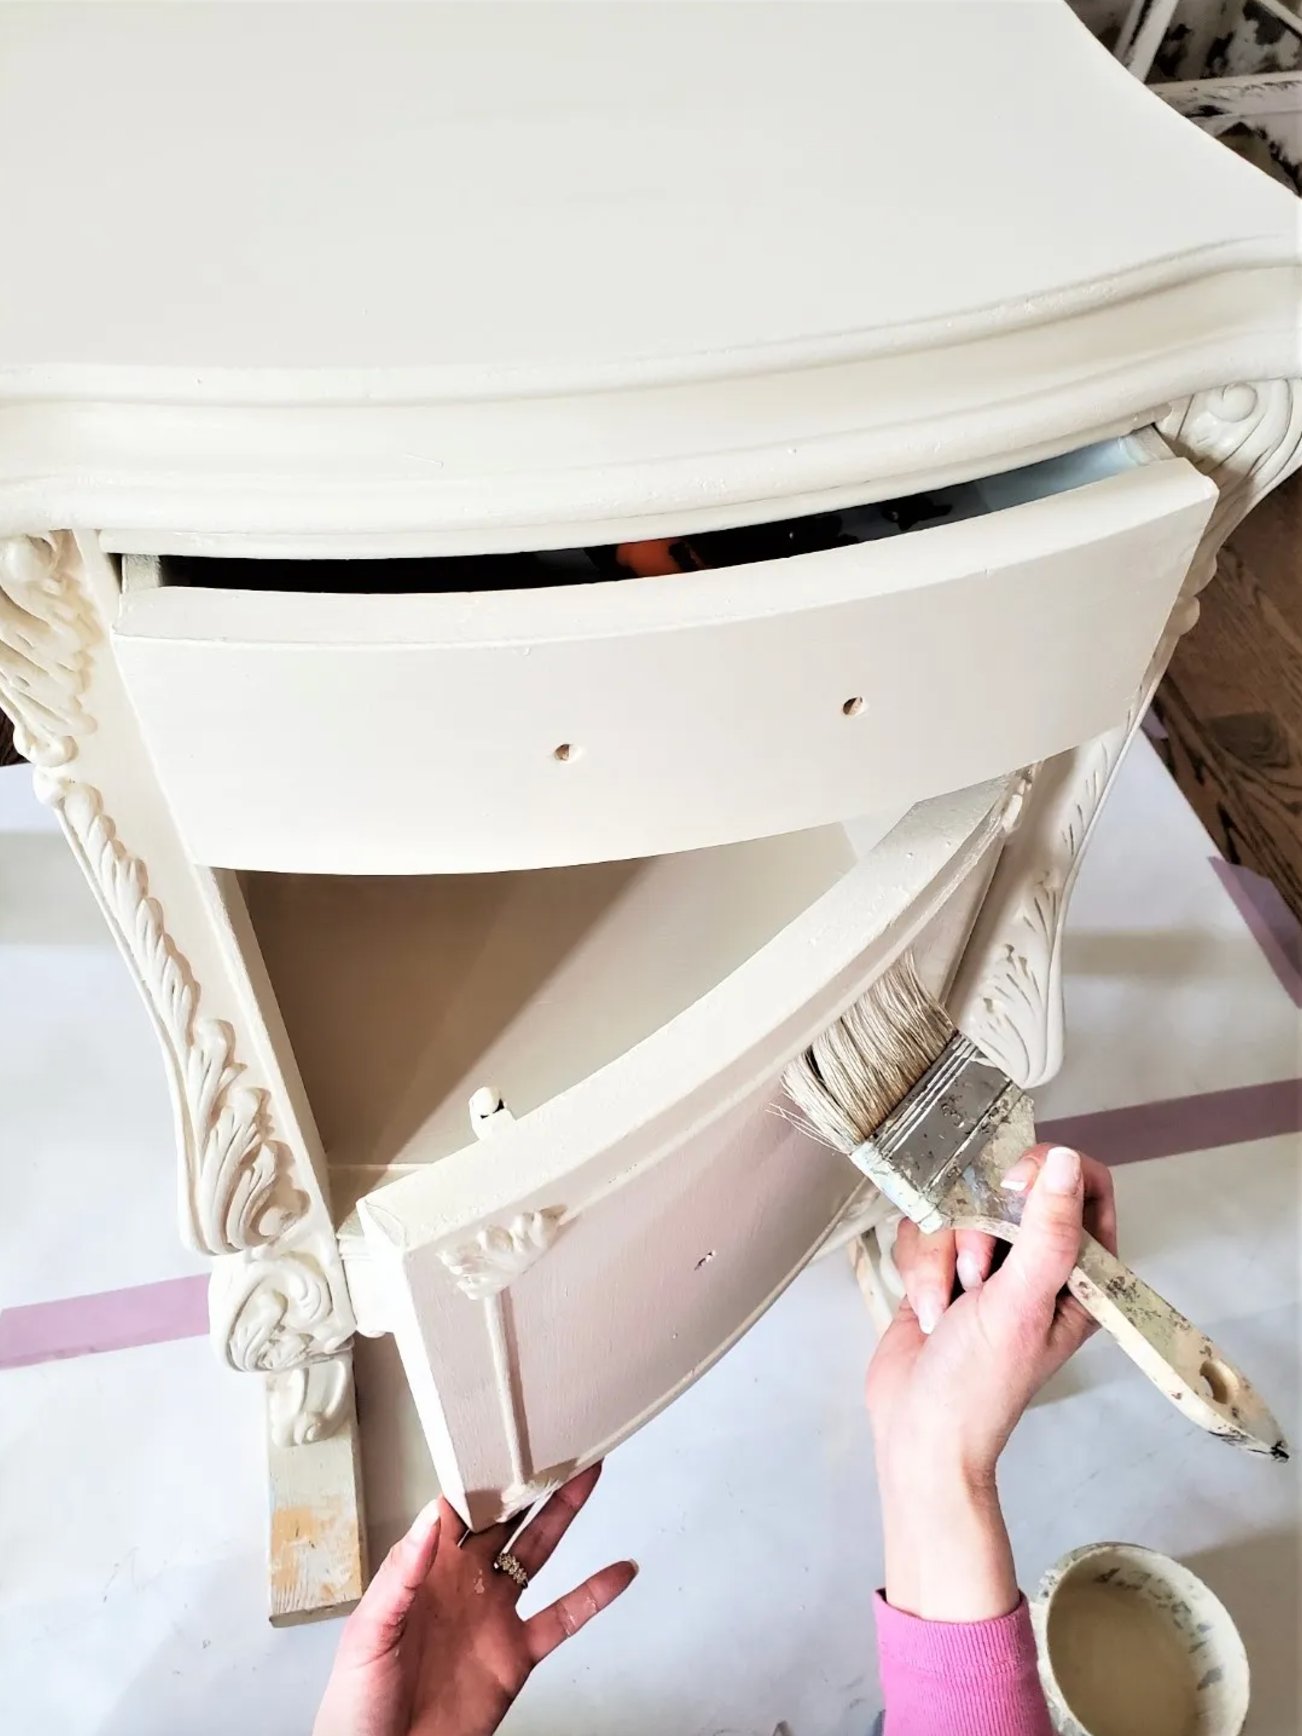
Preparation Requirements
Here’s where it really shines – prep is super minimal! This was actually one of the things that won me over. Clean off dirt and dust, and you’re good to go.
No sanding or priming is needed unless your surface is really damaged.
Cost
You’re looking at about $23 to $40 per quart. Annie Sloan is the big name here – they created the original formula. But Rust-oleum and the Joanna Gaines line from KILZ make some great options too.
Protective Coating
Here’s the thing – you definitely need to wax it after it dries. Skip this step, and your piece will scratch and stain easily. But add a wax, and your furniture will hold up beautifully for years.
Acrylic Paint
Acrylic paint is a water-based paint with pigments suspended in an acrylic polymer.
I often reach for it when I need to give small furniture pieces and accent items a quick makeover. It provides excellent color coverage and creates a smooth finish that really sticks to surfaces.
Application Tips
One of the best things about this paint is that it self-levels as you apply it – which makes the job so much easier. While you won’t have to wait forever between coats, don’t rush the full drying time. Even though it may feel dry to the touch, you really need to give it PLENTY of time to cure completely.
What It Works Best On
It sticks really well to wood, MDF, metal, and even some plastics. It’s perfect for medium-duty furniture like nightstands, shelves, and decorative pieces.
When to Skip It
I wouldn’t use it on furniture that gets moved around a lot. While it’s pretty tough, constant wear and tear can eventually take its toll.
Getting the Surface Ready
Using a primer will help the paint stick better, though many acrylic paints can go on without it. Just make sure the surface is clean and lightly sanded.
Price Point
You’re looking at $36-50 for a quart. That puts it in the middle range for furniture paint, though the containers tend to run small.
Good to Know
The paint holds its color well without yellowing and doesn’t stain easily. You can skip the topcoat if you want, but I’d definitely add one for pieces that get heavy use. Plus, the low odor means you can paint indoors without needing fancy ventilation.
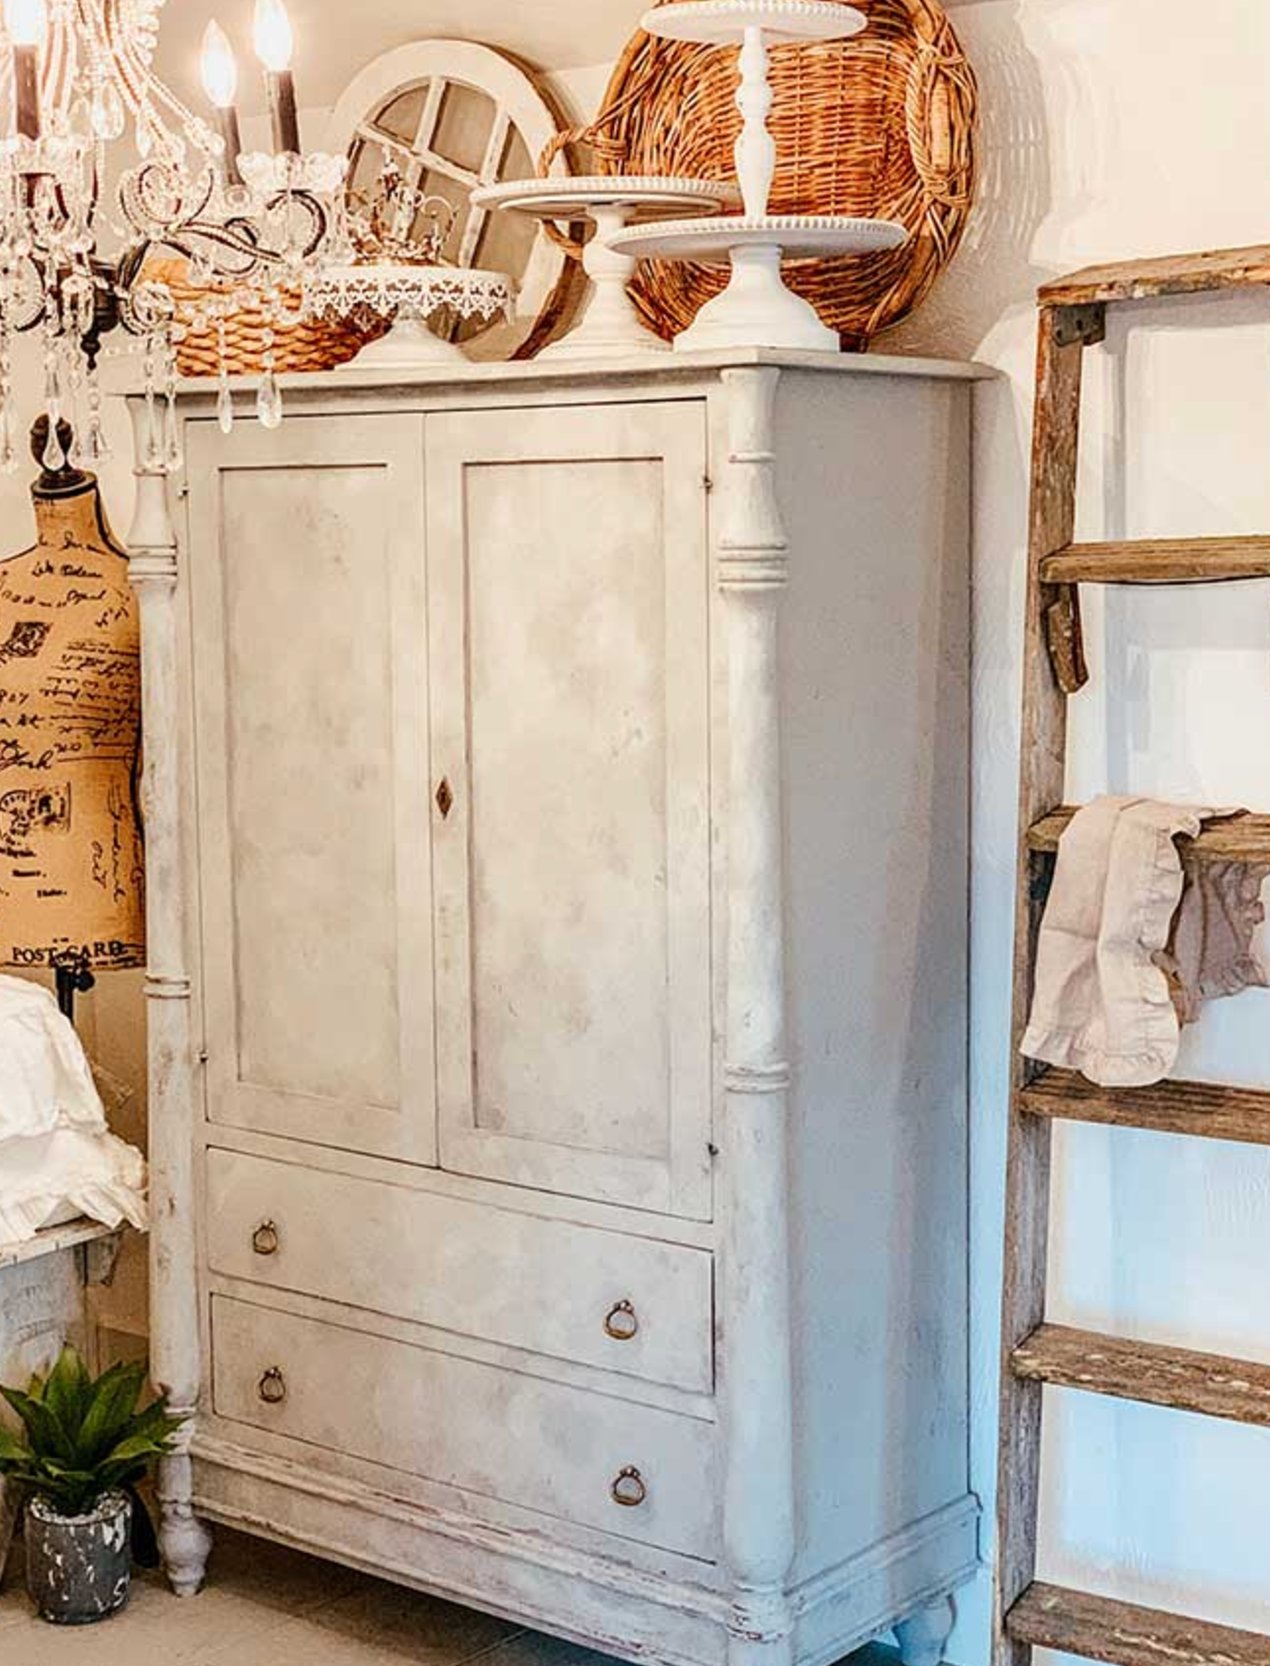
Milk Paint

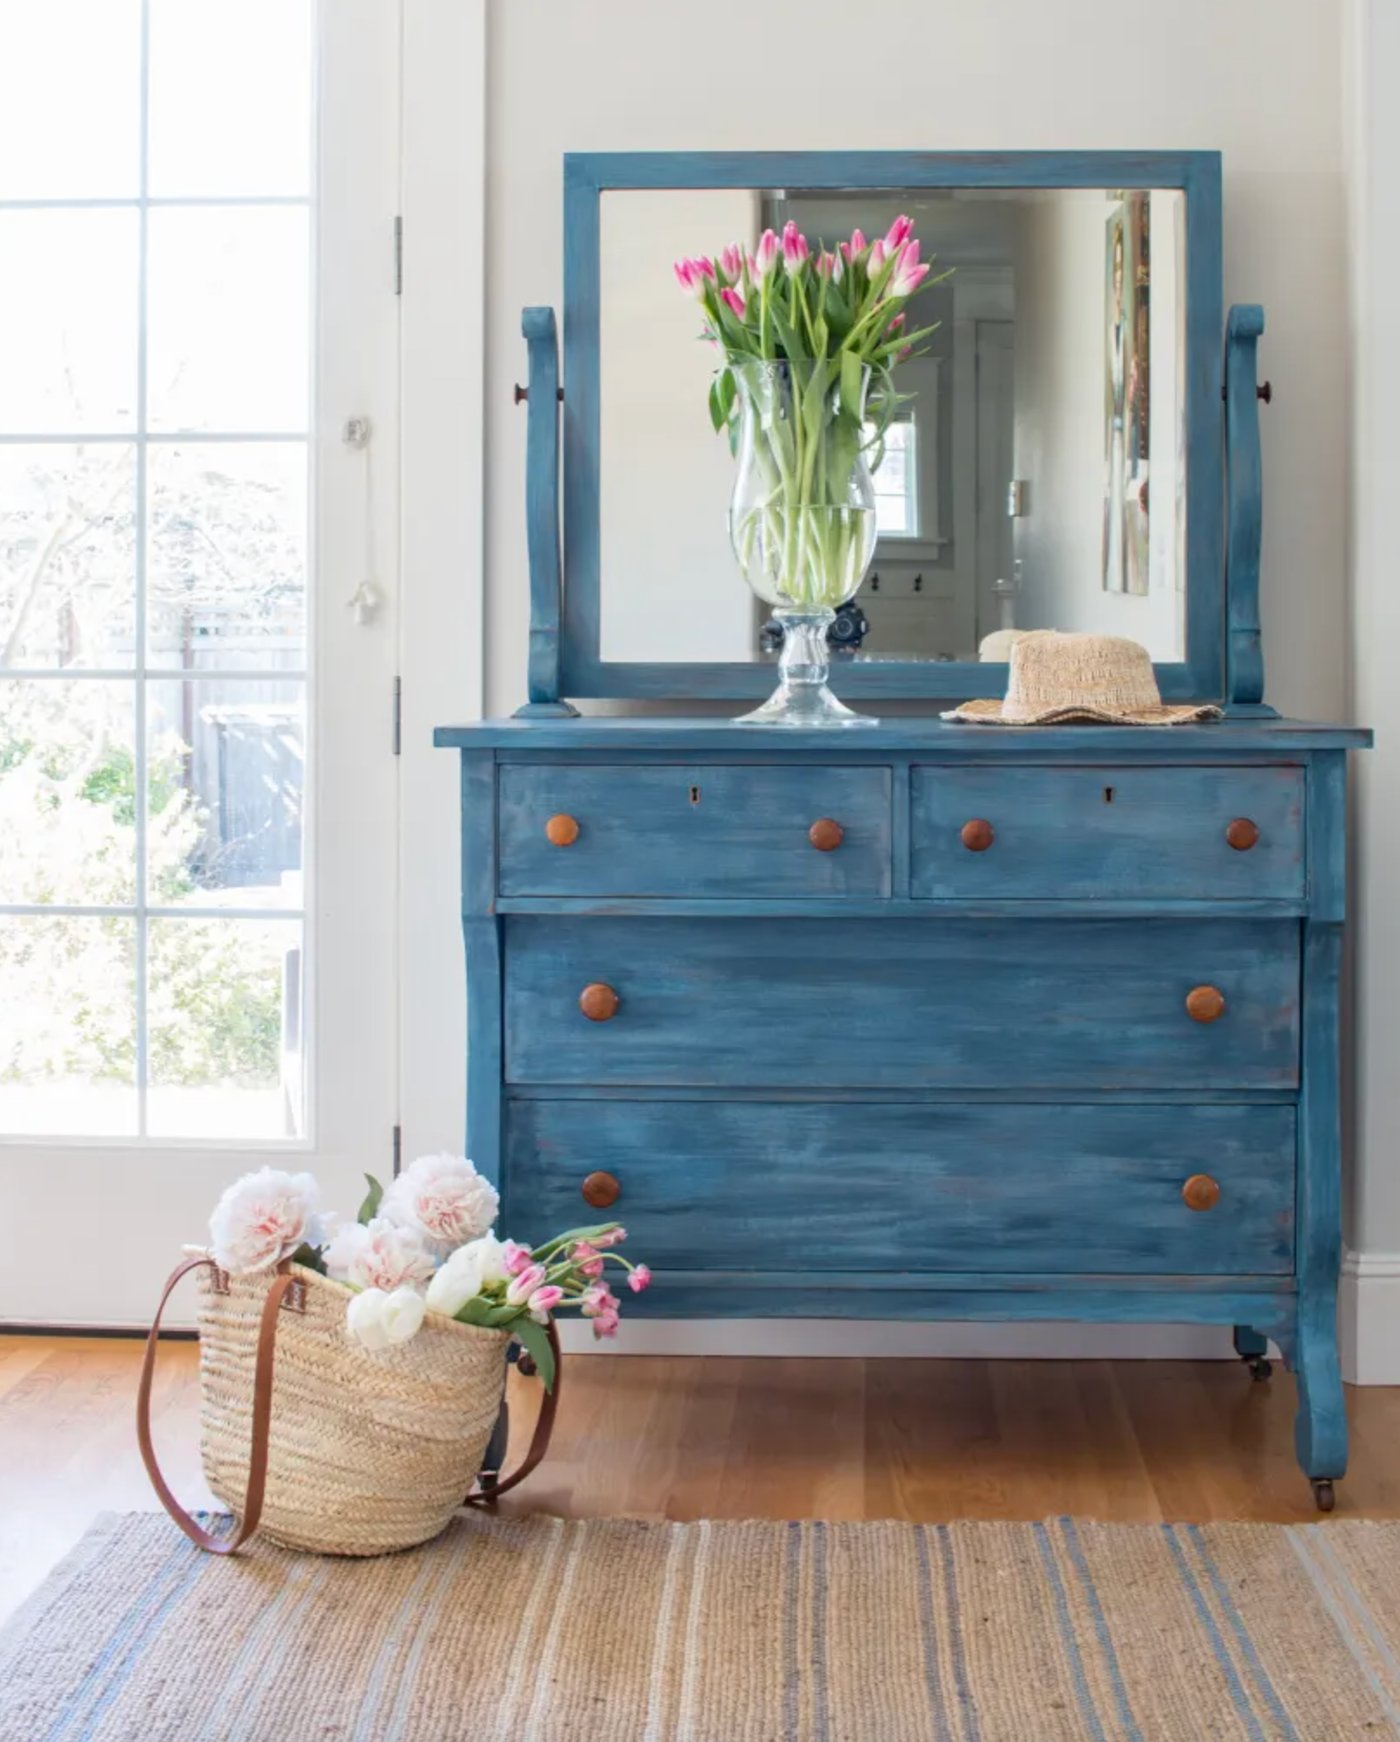
Milk paint is another great option, especially if you’re going for a vintage look. What’s cool about it is that, unlike other paints, it actually soaks into the wood instead of just sitting on top.
It’s an all-natural paint made from casein (a milk protein), lime, and natural pigments. It comes as a powder you mix with water, meaning you can make exactly what you need for your project.
When you use it on bare wood, it really sinks in deep, creating this unique look you just can’t get with other paints. If you’re painting something with a smooth finish, you’ll need a bonding agent – otherwise, you might end up with peeling.
Here’s the thing about milk paint – you never know what you’ll get. Sometimes, it goes on a bit uneven or creates random distressed spots, but that’s what makes each piece one-of-a-kind.
Prep work is pretty minimal – just clean off any dirt and grease. For protection, I usually follow up with either wax or oil.
Price-wise, you’re looking at anywhere from $20 to $200 per gallon. For my smaller projects, I typically spend around $30-40.
Best Uses:
- Raw wood pieces
- Old furniture that needs a refresh
- Anything where you want that authentic vintage look
Not Great For:
- Glossy furniture (unless you use a bonding agent)
- Pieces where you need perfectly even coverage
- Stuff that gets wet a lot
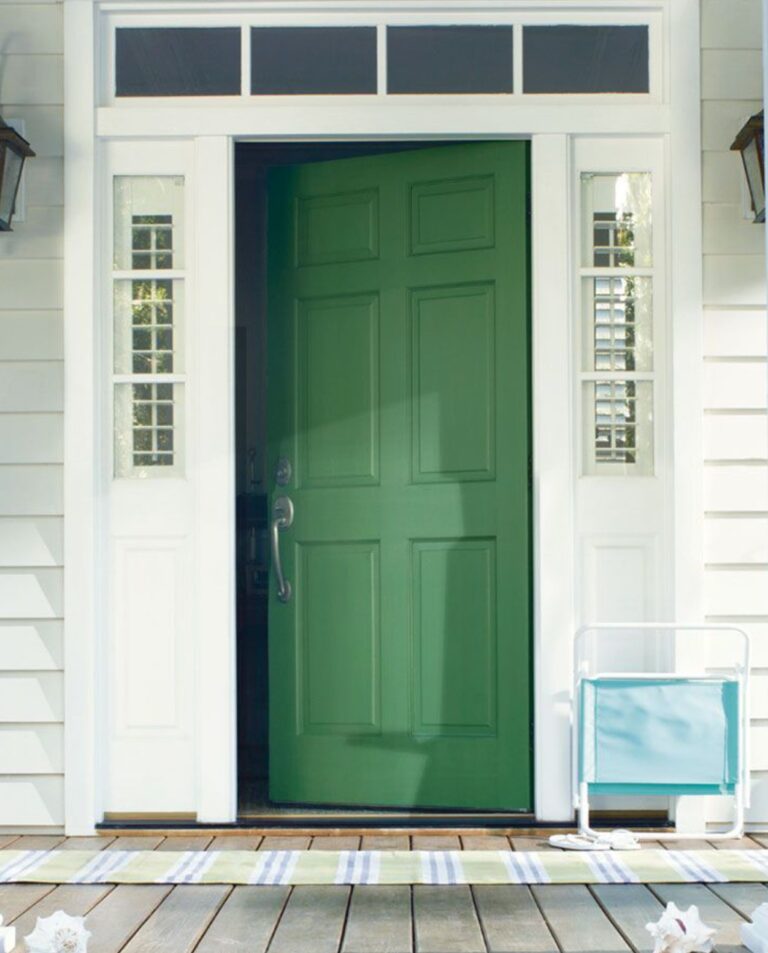
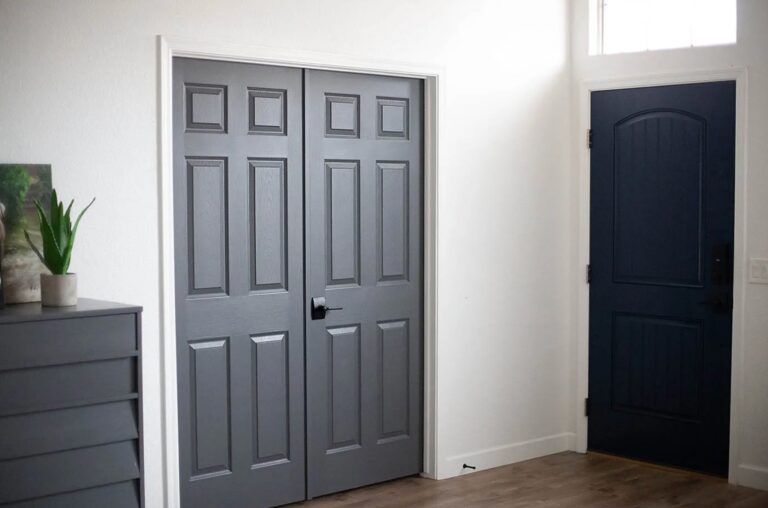
Enamel Paint
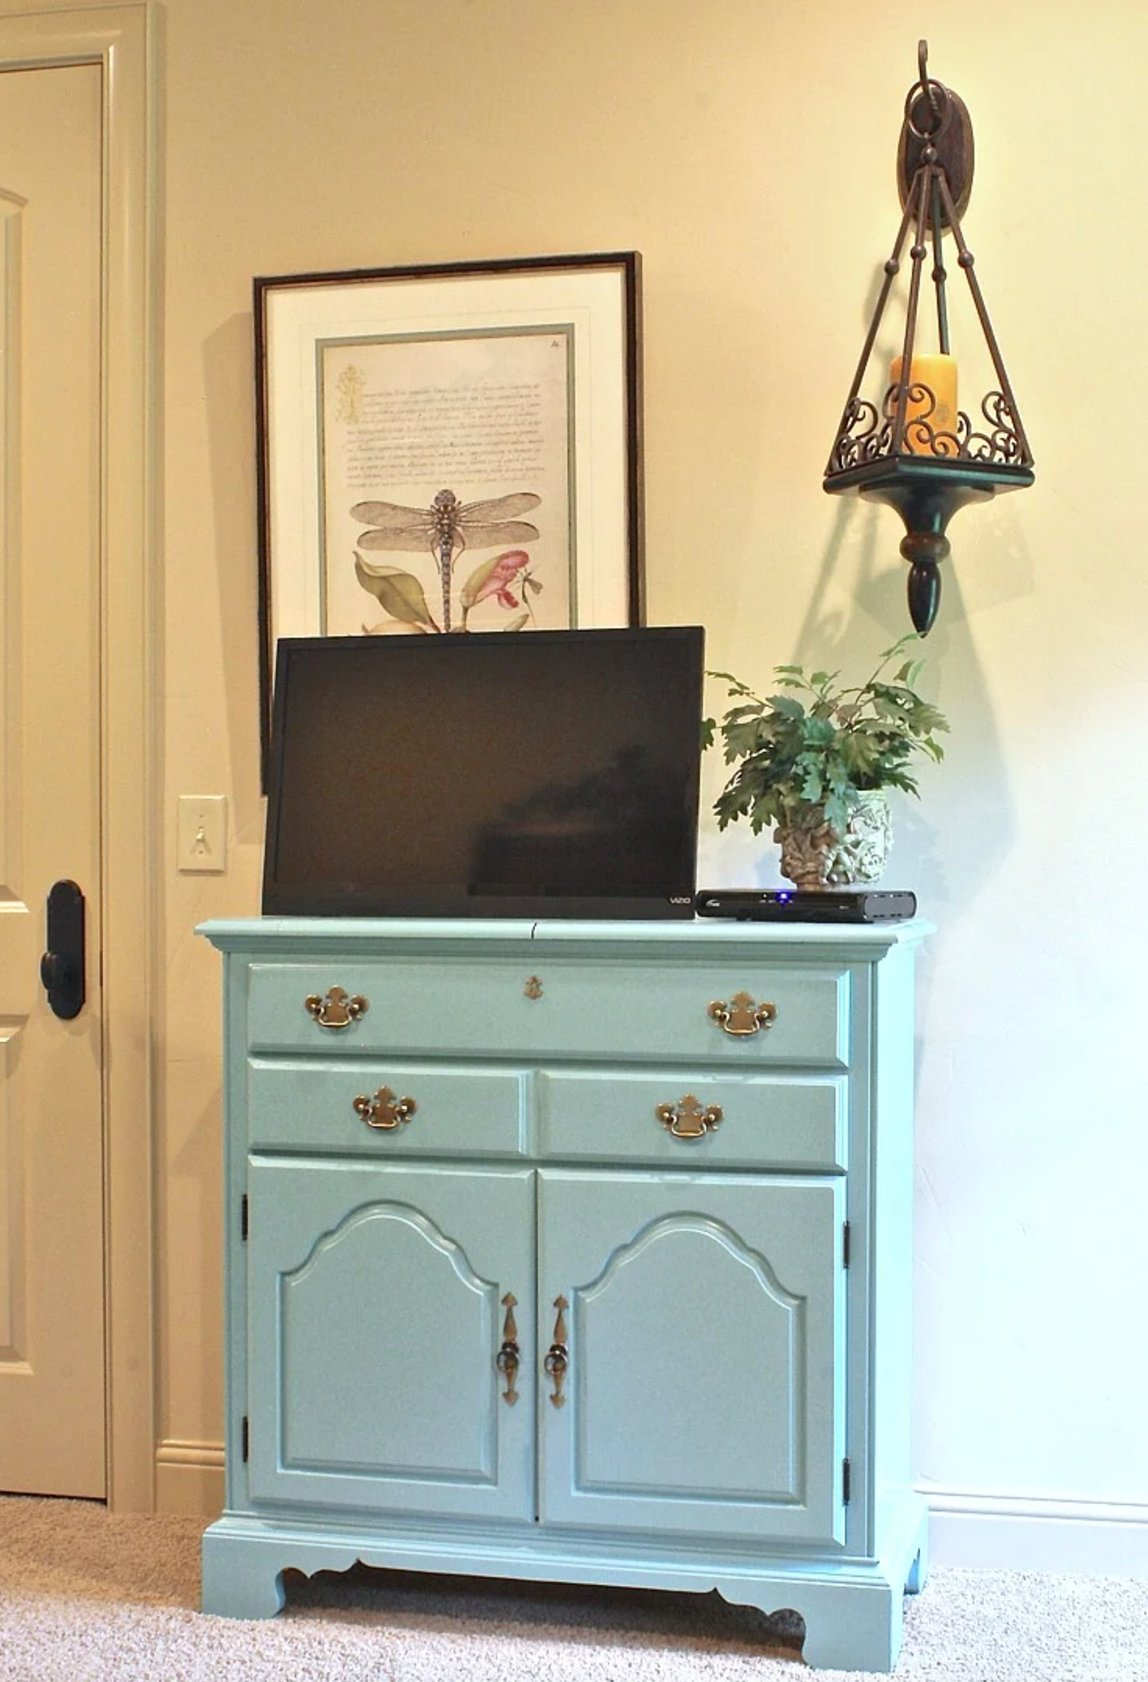
When it comes to heavily used furniture, enamel paint is your best bet. I’ve experimented with all sorts of paints on my kitchen cabinets and tables, and enamel has proven itself to be the toughest of the bunch.
This paint creates a hard, durable finish with a subtle sheen. The surface turns out incredibly smooth to the touch – no rough spots or streaking in sight.
Water-based enamels are particularly impressive these days – unlike their oil-based cousins, they won’t turn yellow as they age.
The moisture and cleaning resistance really stand out. I clean my kitchen cabinets regularly with soap and water, and even after a year, they still look as fresh as ever. That’s exactly why enamel is perfect for high-traffic areas like kitchens, bathrooms, and entryways.
Apply thin, even coats and let each one dry completely. I always give it a quick once-over with fine-grit sandpaper between coats – that’s the secret to getting that glass-smooth finish. Usually, 2-3 coats do the trick.
Don’t skip the prep work – it’s crucial for the paint to stick properly. Clean off dirt and grease, sand the surface, and use a primer.
Enamel works great on everything – wood, MDF, metal, and even laminate, as long as you prep it right.
It’s not the cheapest option – a gallon of good paint like Sherwin Williams Emerald will set you back about $75-85. But for furniture that gets used daily, it’s worth every penny.
Worst Paint Types for Furniture
Spray Paint
Spray paint might seem like a dream come true – quick, easy, no brushes to clean. But trust me, after a few failed projects, I learned it’s not all it’s cracked up to be.
You end up with these annoying spray marks and uneven coverage on wood and other porous surfaces. Even in perfect conditions, it’s super tricky to get the thickness right – you either end up with too thin patches or ugly drips running down the sides.
The only time I’d recommend it? Plastic furniture. That’s where spray paint can shine, especially if you grab one specifically made for plastic.
Latex Paint
If you’ve ever looked at that half-full can of wall paint and thought about using it on furniture – I’ve been there. It’s tempting, especially when you’re trying not to waste paint.
The thing is, latex wall paint just isn’t made to handle constant touching and use.
It starts peeling off furniture like nobody’s business, especially around the edges and corners. I learned this the hard way when my coffee table started looking patchy after just a couple months.
And forget about regular cleaning – a few wipe-downs with a damp cloth, and you’ll watch that paint start to soften and wear away.
Sure, you could try sealing it with a topcoat. But let’s be real – that’s like putting a Band-Aid on a broken arm. It might work for a bit, but you’re just delaying the inevitable.
Oil-Based Paint
Oil-based paint? Hard pass for furniture. Those crisp white pieces will eventually take on this dingy yellow tone that’s not exactly what most people want.
And don’t even get me started on the smell. Those fumes hang around forever, and opening windows only helps so much. Who wants to freeze with open windows in winter to air out the paint smell?
The whole process is a pain, too. You’re looking at up to 24 hours of drying time between coats. Clean-up is another headache – you need special solvents, and it takes forever compared to other paints.
Sure, oil-based paint is tough as nails, but nowadays, plenty of alternatives last just as long without all the hassle.
Paint by Surface Material
Picking the right paint really comes down to what your furniture is made of – what works wonders on wood could be a disaster on plastic. Let me break down the best options for different materials and save you from some common mistakes.
Wood
Wood is a popular and user-friendly material when it comes to painting. Pretty much any paint will stick to it well, but there are a few key steps in preparing the surface.
Let’s talk about sanding first. Start with coarse sandpaper (80-120 grit) and work your way up to fine (220). Make sure to sand along the wood grain – this gives you a much smoother finish.
If you spot any defects or gaps in the surface, fill them with wood putty before painting. Don’t forget to pay extra attention to the edges – they need additional protection from moisture.
MDF needs a special primer, while regular wood primer works fine for natural wood.
Here’s a common question – can you paint directly on wood? While technically possible, it’s not really cost-effective. Wood soaks up a lot of paint, and primer is cheaper. Plus, primer helps your final coat go on much more smoothly.
Laminate
Laminate can be tricky to paint, but you can get great results if you know what you’re doing.
The first step is degreasing the surface, which is crucial for proper adhesion. Then, give it a light sanding with 220 grit sandpaper to create tiny scratches that help the paint stick.
Always do a test spot in an inconspicuous area – add a drop of paint and let it dry completely. If it peels off, you must use a special plastic primer.
I’ve found that shellac-based primer (BIN primer) works wonders on synthetic surfaces. Apply your paint in thin layers, making sure each one dries completely.
Don’t skip the final protective coat – if your laminate piece gets regular use, the paint won’t last long without it.
Metal
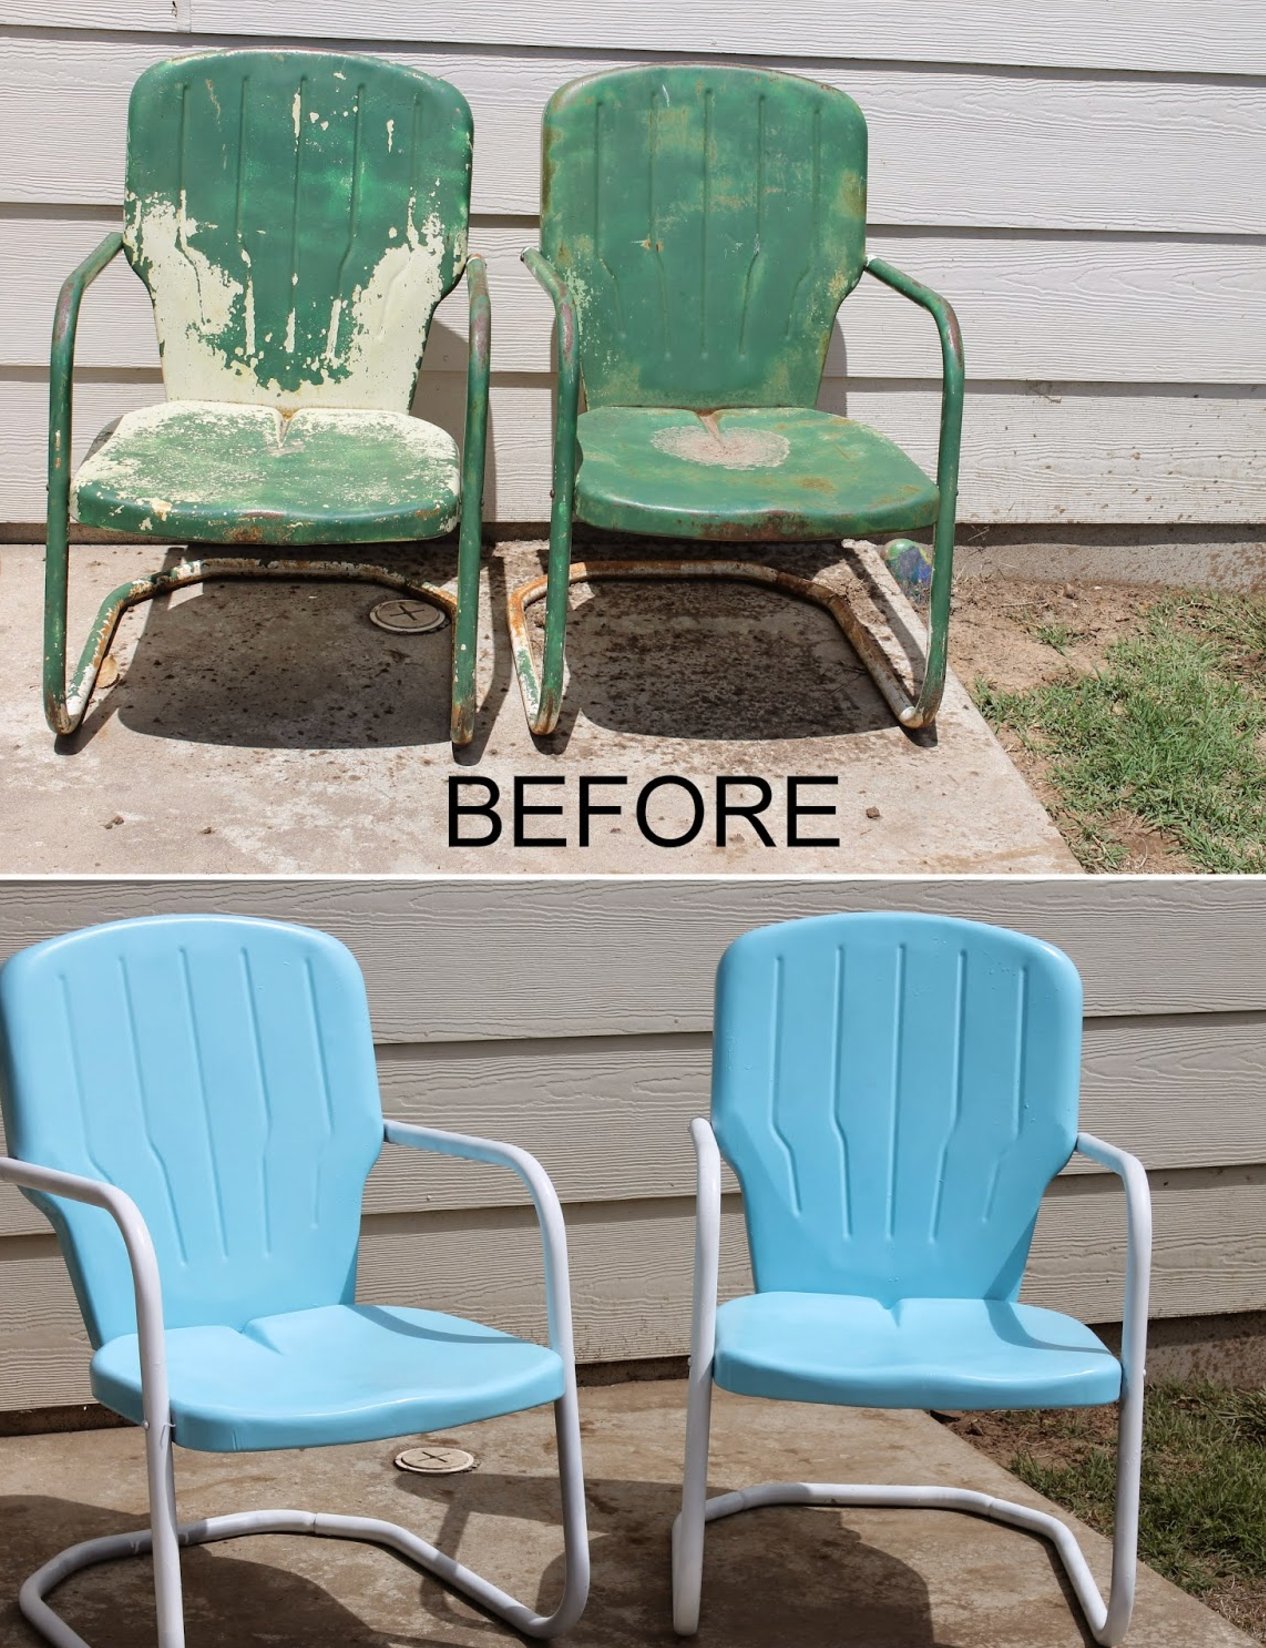
When it comes to painting metal furniture, surface prep is everything. Start by getting rid of any rust, either mechanically or chemically – if you don’t, it’ll eventually show through your new paint job.
I never skip the anti-corrosion primer – it’s a must-have, especially in humid areas.
Alkyd-based enamels are perfect for metal, but be patient with drying time. Since metal expands when it heats up, you’ll need to give it plenty of time to cure – sometimes up to a week.
Plastic
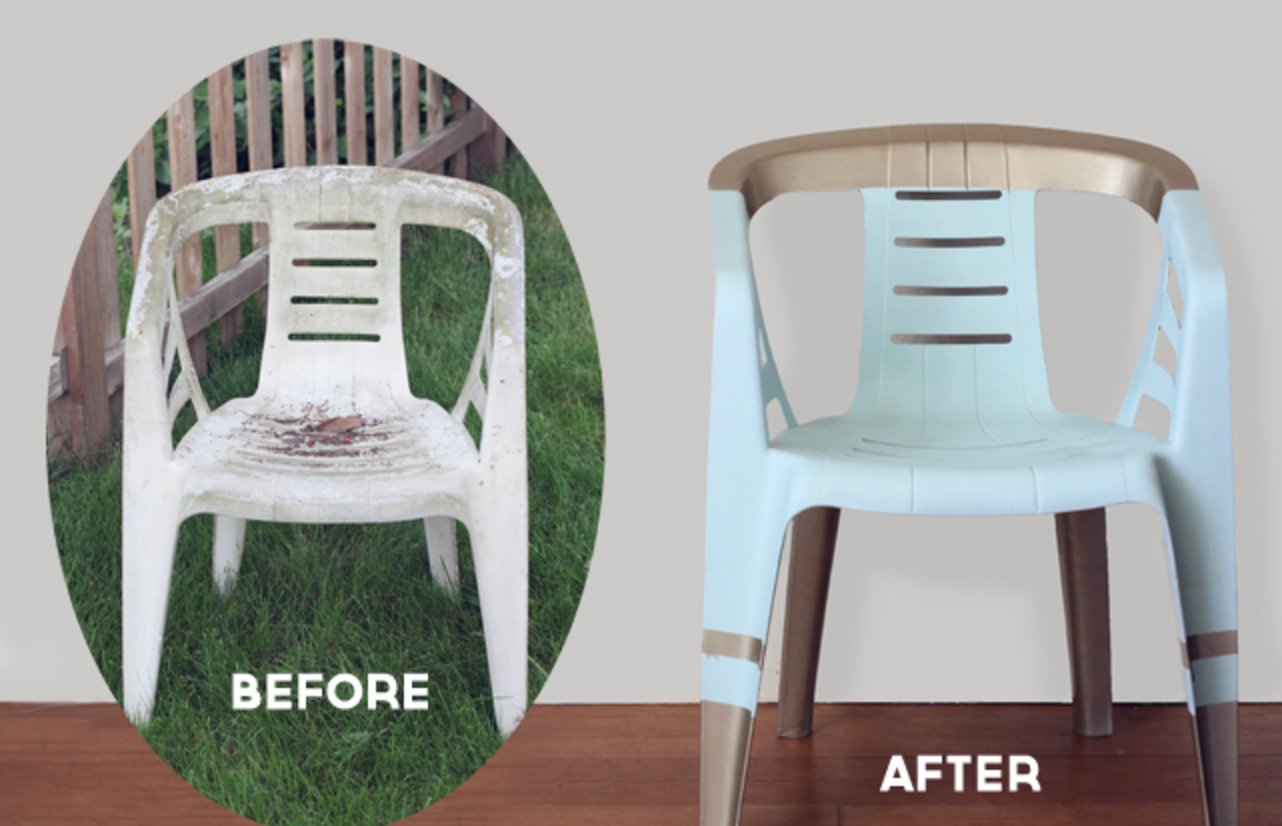
Painting plastic furniture can be a real challenge – skip the right steps, and your paint will just bead up instead of creating a smooth surface.
The secret is thorough degreasing and using a plastic-specific primer. During summer, keep your painting indoors with AC running – high temperatures can cause uneven drying and bubbling.
For a paint job that lasts, go for paints specifically made for plastic with UV protection. Otherwise, a few months of sun exposure will leave you with yellowed, cracked paint.
Apply multiple thin coats – usually 3-4 layers, letting each one dry in between. This is how you get that perfectly smooth finish.
Not sure if you’re dealing with plastic? Here’s a quick test: put a drop of solvent on a hidden spot. If it’s plastic, it’ll leave a matte mark.