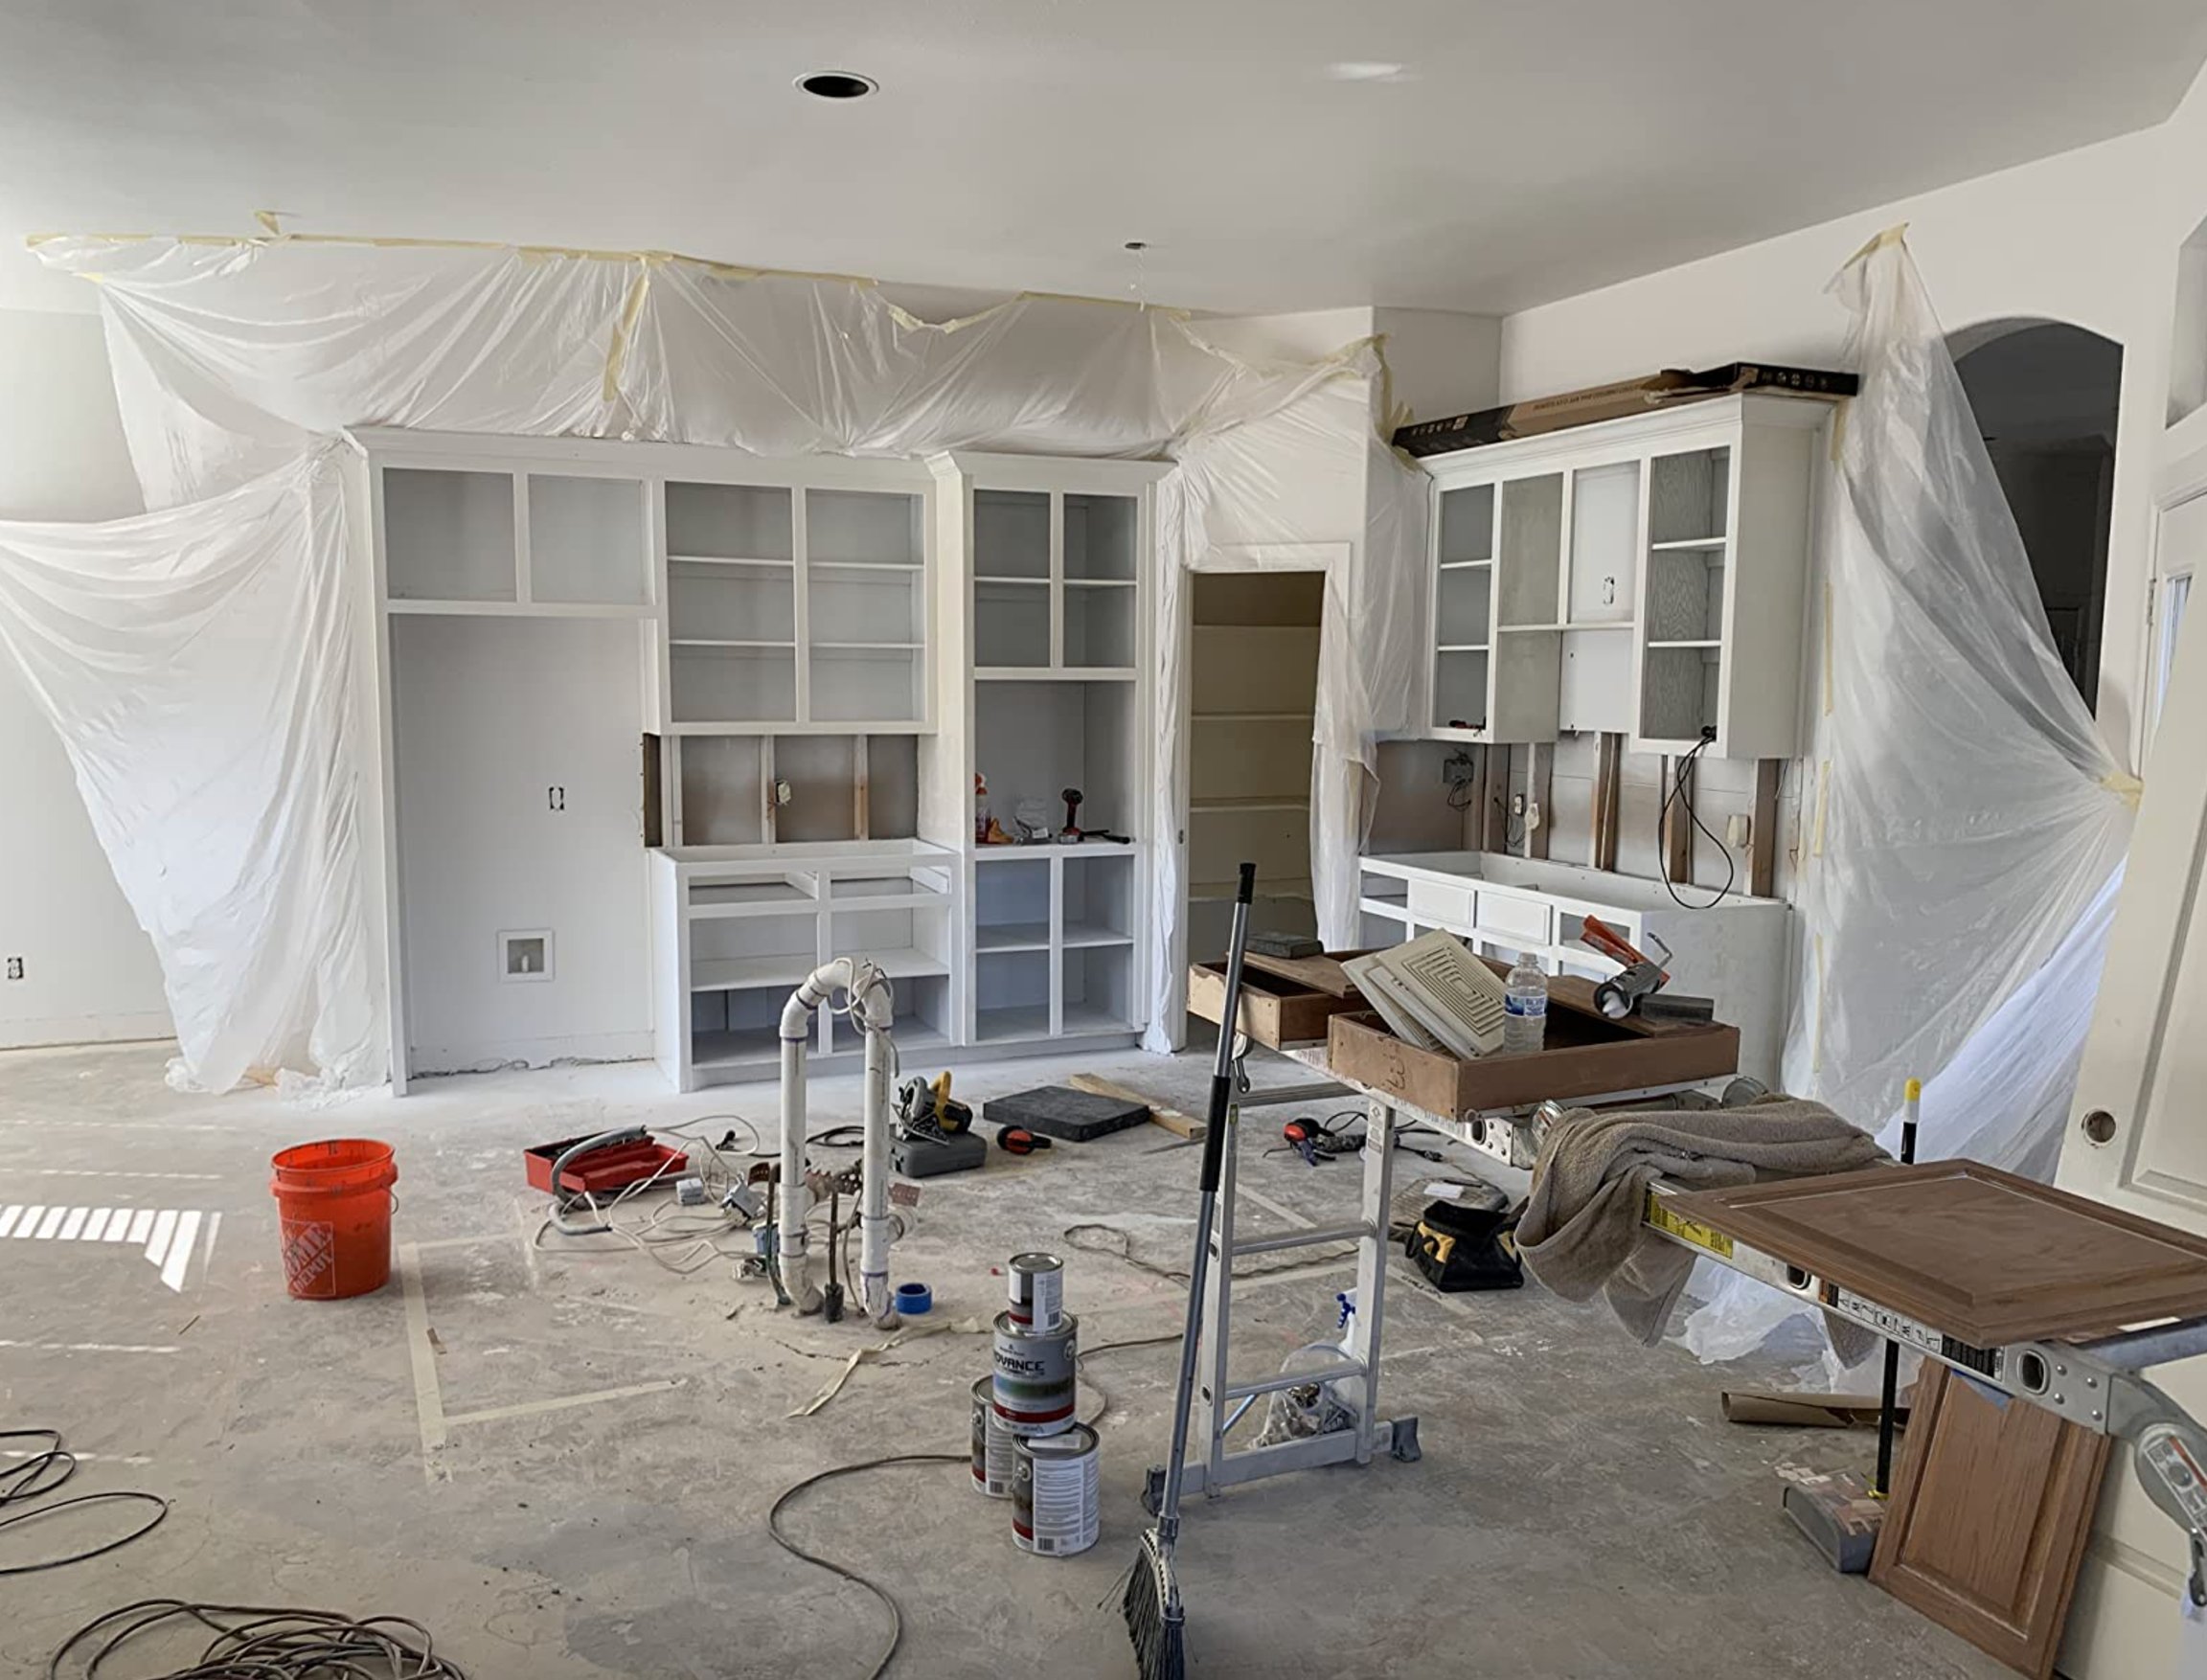
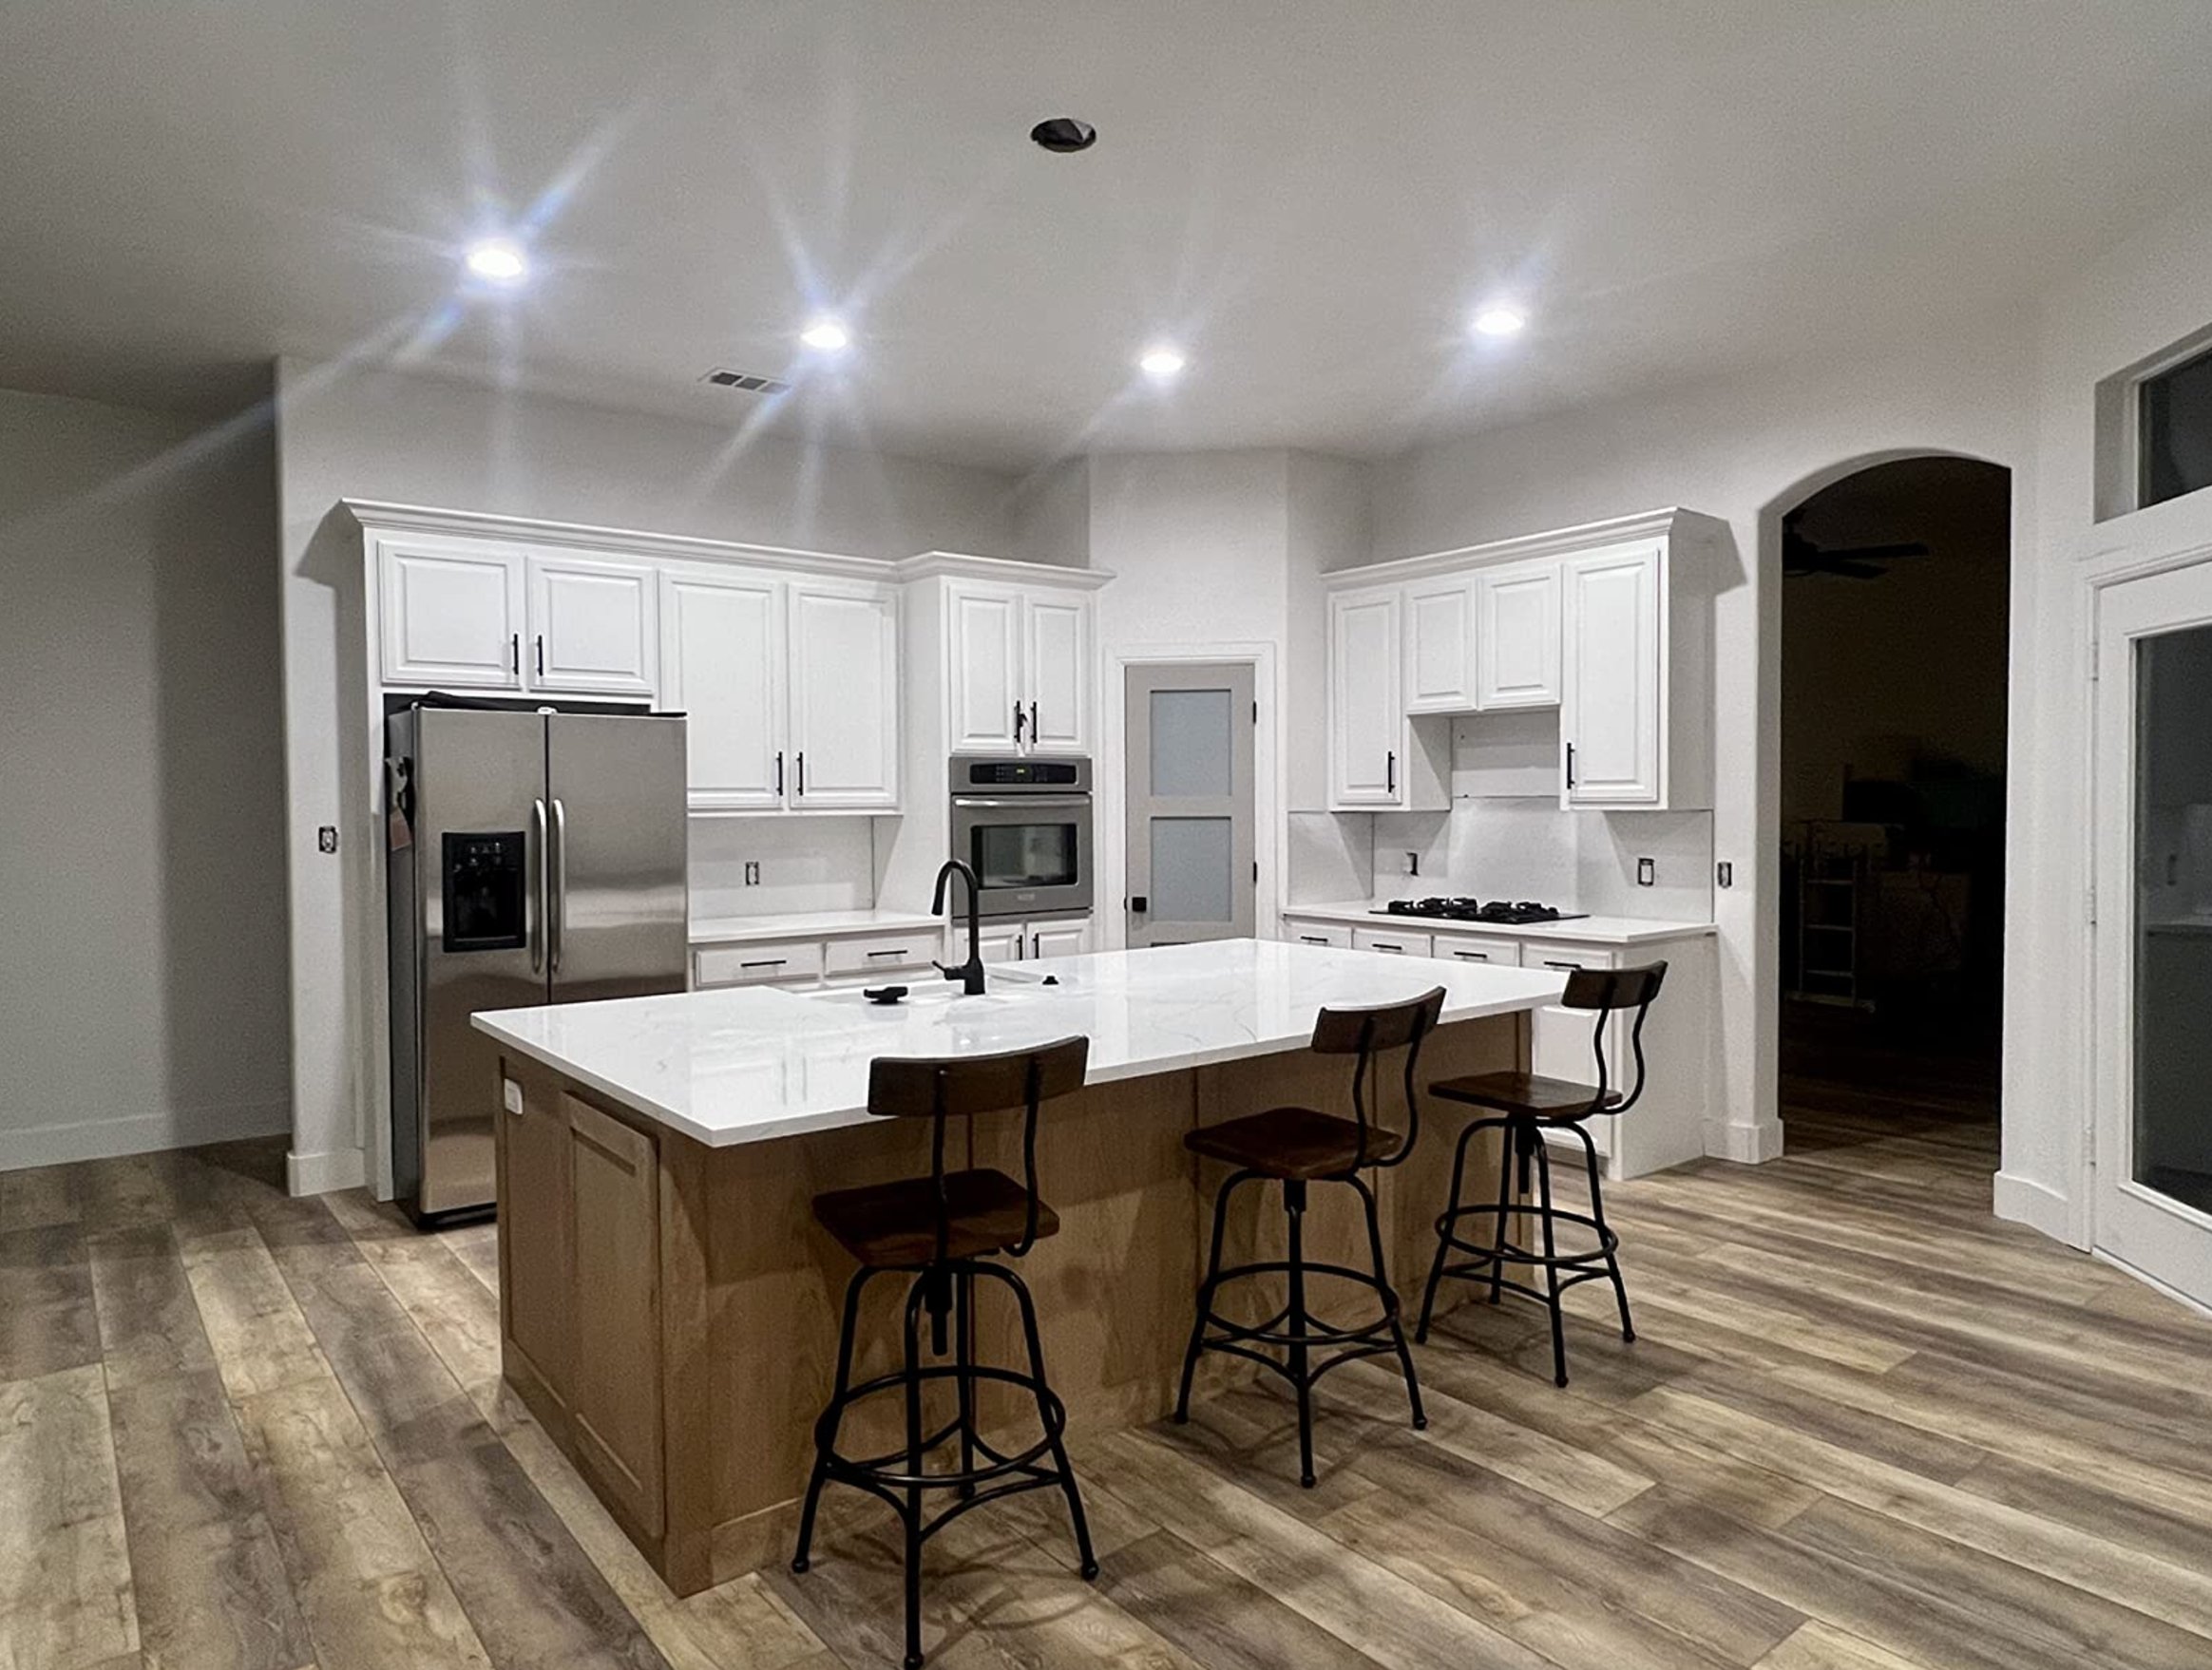
Want to transform your kitchen without breaking the bank? Repainting your cabinets is the way to go! After messing up a few times with regular wall paint, I finally found the perfect paint (and figured out why it works like a charm).
In this article, I’ll walk you through the types of paint that actually get the job done and share my favorite brands – no fluff, just real tried-and-tested info from my own experience.
Oil vs Water-based Paint
Back in the day, oil-based paints were the go-to choice for kitchen cabinets. They created a tough finish that could handle whatever the kitchen threw at it. But things have changed – we now have modern options that blow oil-based paints out of the water in many ways.
Oil-based paints, while tough, have some real downsides. They take forever to dry, are a pain to work with and leave that nasty smell hanging around for days. Plus, those white surfaces? They’ll turn yellow on you eventually.
And if you want to touch up an oil-based paint job, you’re stuck using oil-based paint again – water-based stuff just won’t stick and starts peeling right off.
Regular latex paints aren’t great for kitchen cabinets either. Sure, they’re easy to use and dry quickly, but they’re just not hard enough. The wood drinks up the paint like crazy, so you end up needing coat after coat. Even then, the finish is still pretty easy to scratch and ding.
The good news? Leading paint companies have developed special cabinet formulas that give you the best of both worlds – the durability of oil-based paints with all the perks of modern materials.
Best Cabinet Paints and Why
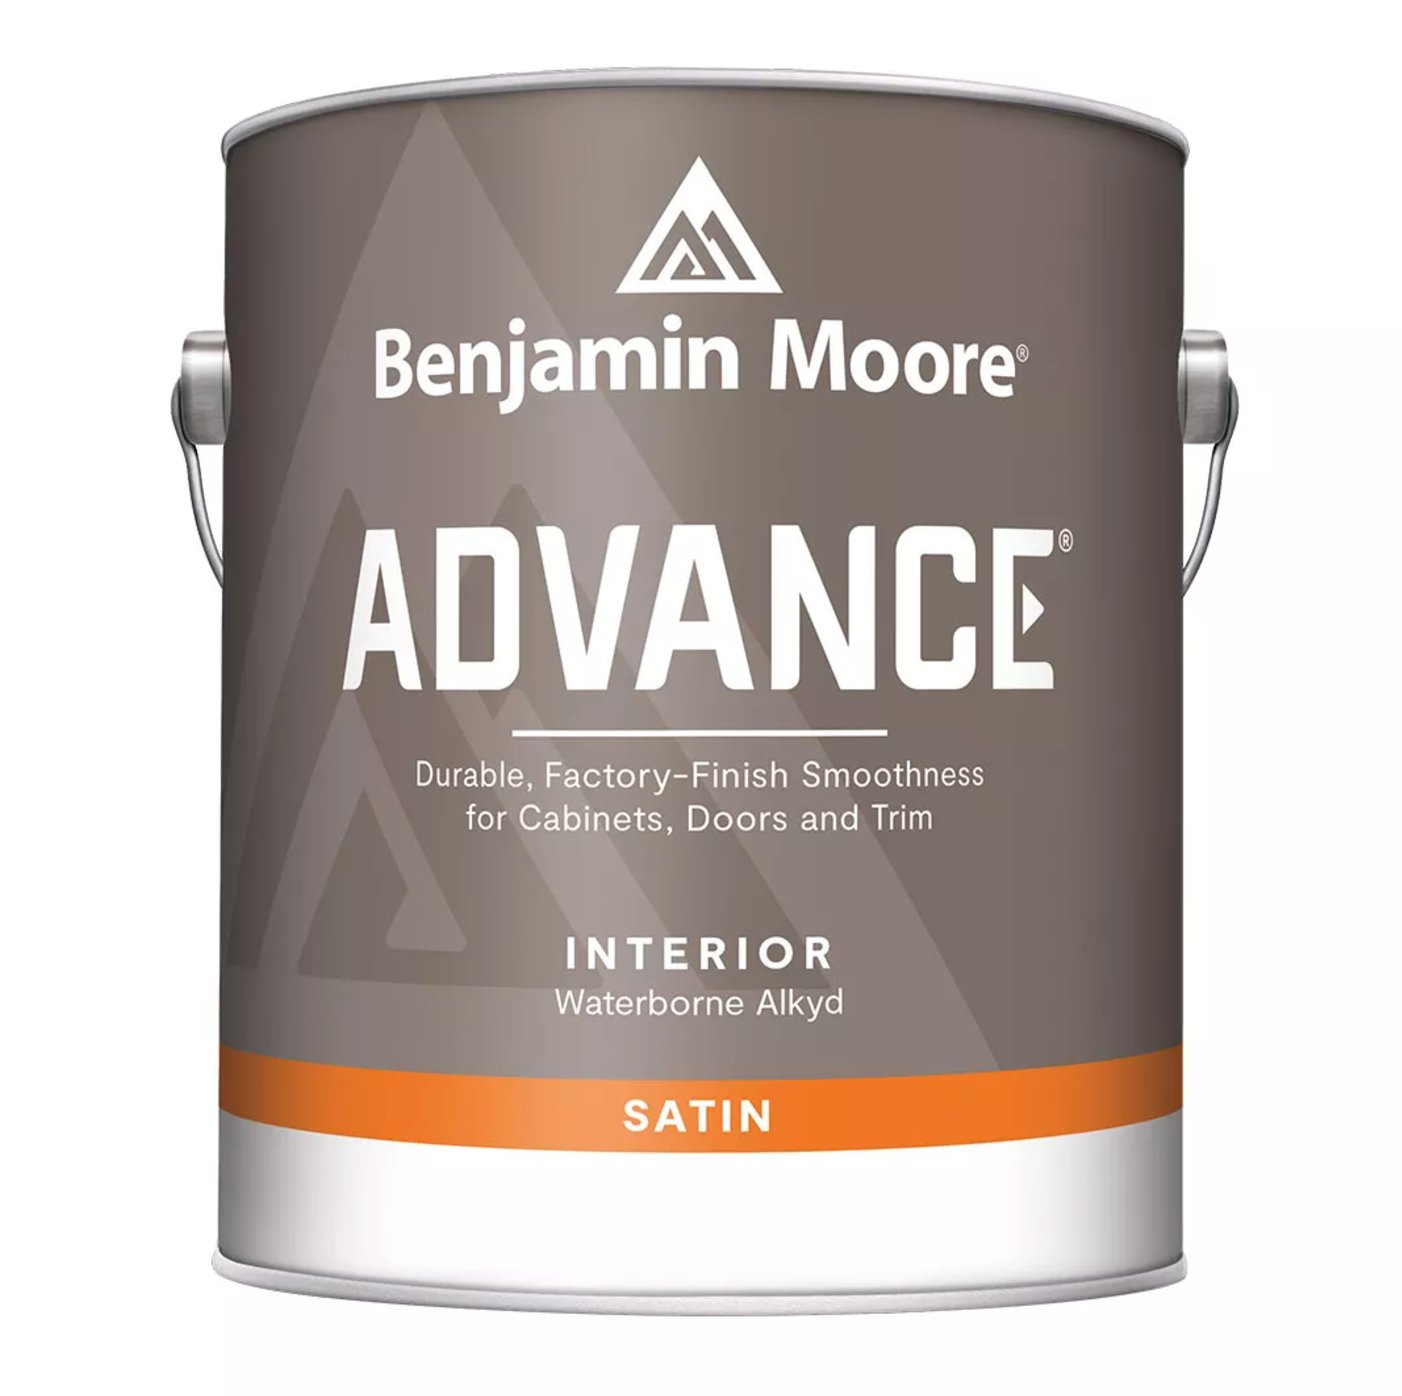
Let’s talk about the cream of the crop for cabinet paints. Benjamin Moore Advance is a real game-changer. It combines everything great about alkyd paints with the convenience of water-based ones. After using it myself, I can tell you – this paint is seriously next-level.
This hybrid alkyd-acrylic paint acts like an oil-based paint, giving you that super smooth finish but cleans up with just soap and water. Big bonus – it won’t yellow over time like those old-school oil-based paints.
source
source
What makes Advance so special? First off, it levels like a dream – the paint flows out so smoothly that it looks like it came straight from a professional spray booth.
The finish is tough as nails – it can handle open and closed doors all day without showing wear. And unlike traditional alkyd paints, you don’t need harsh solvents for cleanup – just soap and water do the trick.
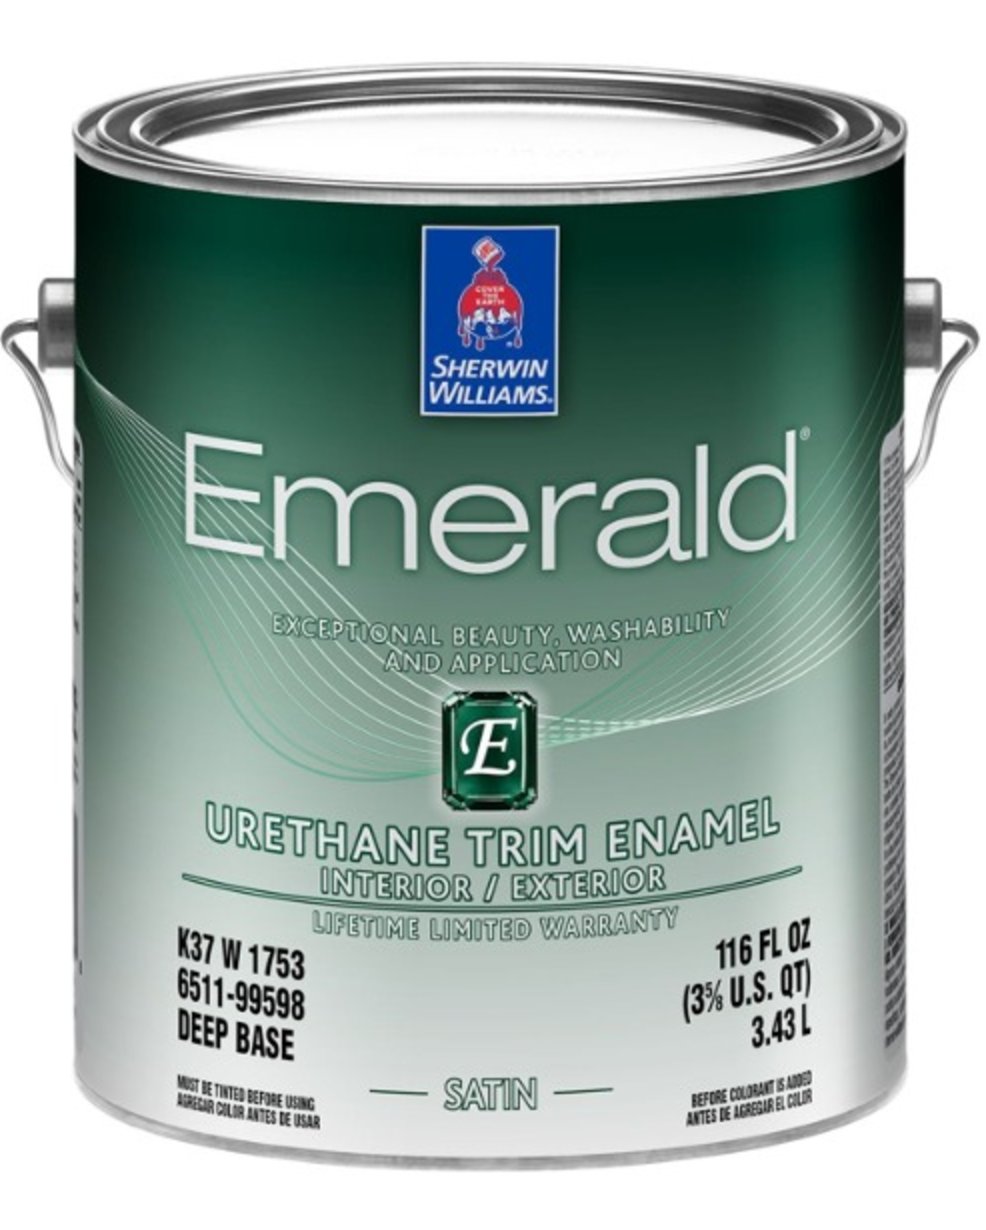
Sherwin Williams Emerald Urethane Trim Enamel is another fantastic option. I’ve used it on several projects, and it always delivers a really durable and super smooth finish. It’s especially good at standing up to grease, moisture, and regular cleaning.
Yeah, the $90 per gallon price tag might make you wince, but trust me – the durability makes it worth every penny.
If you’re watching your budget, Behr’s line is worth checking out. With the right technique, it gives pretty good results, though you might need an extra coat for that perfect finish.
Going cheap on cabinet paint usually means you’ll be repainting in a year or two. My advice? Invest in the good stuff from the start. A quality paint job will look great for years without showing wear and tear.
How Cabinet Material Affects Your Paint Choice
The material of your kitchen cabinets really affects what paint you should pick and how to paint them. Let’s look at each type:
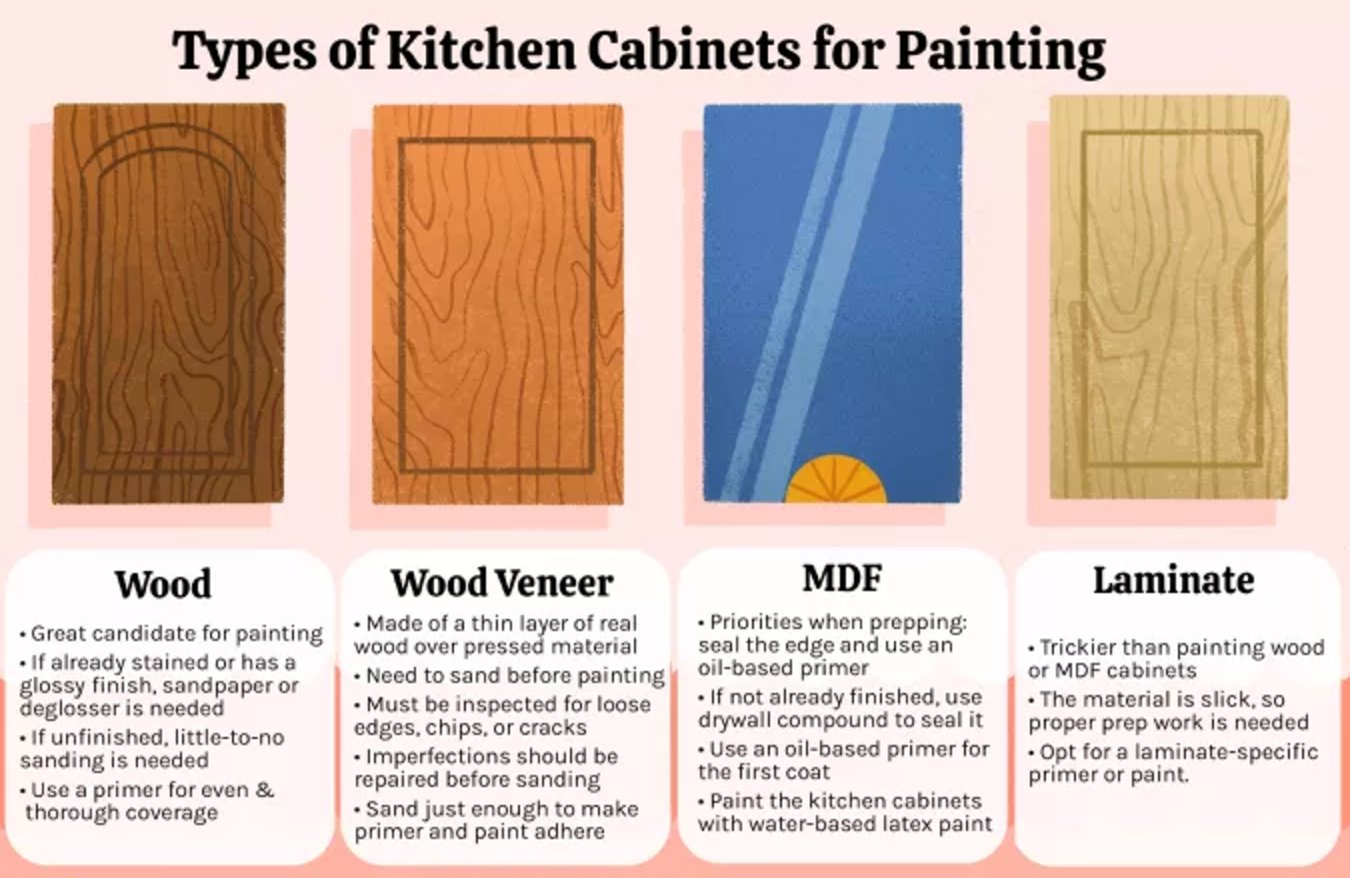
Wood
Natural wood is super easy to work with – paint sticks really well to its slightly rough surface. If your cabinets already have lacquer or a glossy finish, you must sand them down or use a deglosser.
Fresh untreated wood barely needs any sanding, but watch out – it drinks up paint like crazy! You might end up using almost twice as much paint on these surfaces!
Wood Veneer
You need to be extra careful with veneered cabinets (where they stick a thin wood layer on a pressed base). Before painting, check for any spots where it’s peeling or cracking. If you find any, make sure to glue them down properly.
When it comes to sanding, take it easy – just rough it up enough for the paint to stick.
MDF
MDF threw me for a loop – the edges soak up moisture like a sponge. If you’ve got MDF cabinets, definitely seal those edges with putty and use an oil-based primer first. After that, you’re good to go with latex paint.
Laminate
Laminate is the trickiest one to deal with. It’s basically plastic stuck to a base, and paint really doesn’t want to stick to it. Don’t even think about starting without a special primer or laminate-specific paint.
Be super careful with sanding – scratch the surface, and you’ll have a real headache trying to fix it.
Best Cabinet Paint Finish
Picking the right finish for your kitchen cabinets is a big deal. It’s not just about looks – it affects how practical your whole kitchen will be.
Satin
Let’s talk about satin finish first. It gives you a subtle sheen and hides little imperfections pretty well. But heads up – getting grease stains off can be a pain compared to glossier options.
I had this finish in my first kitchen, and cooking was always fun until cleanup time – those oil splatters just wouldn’t budge!
Semi-gloss
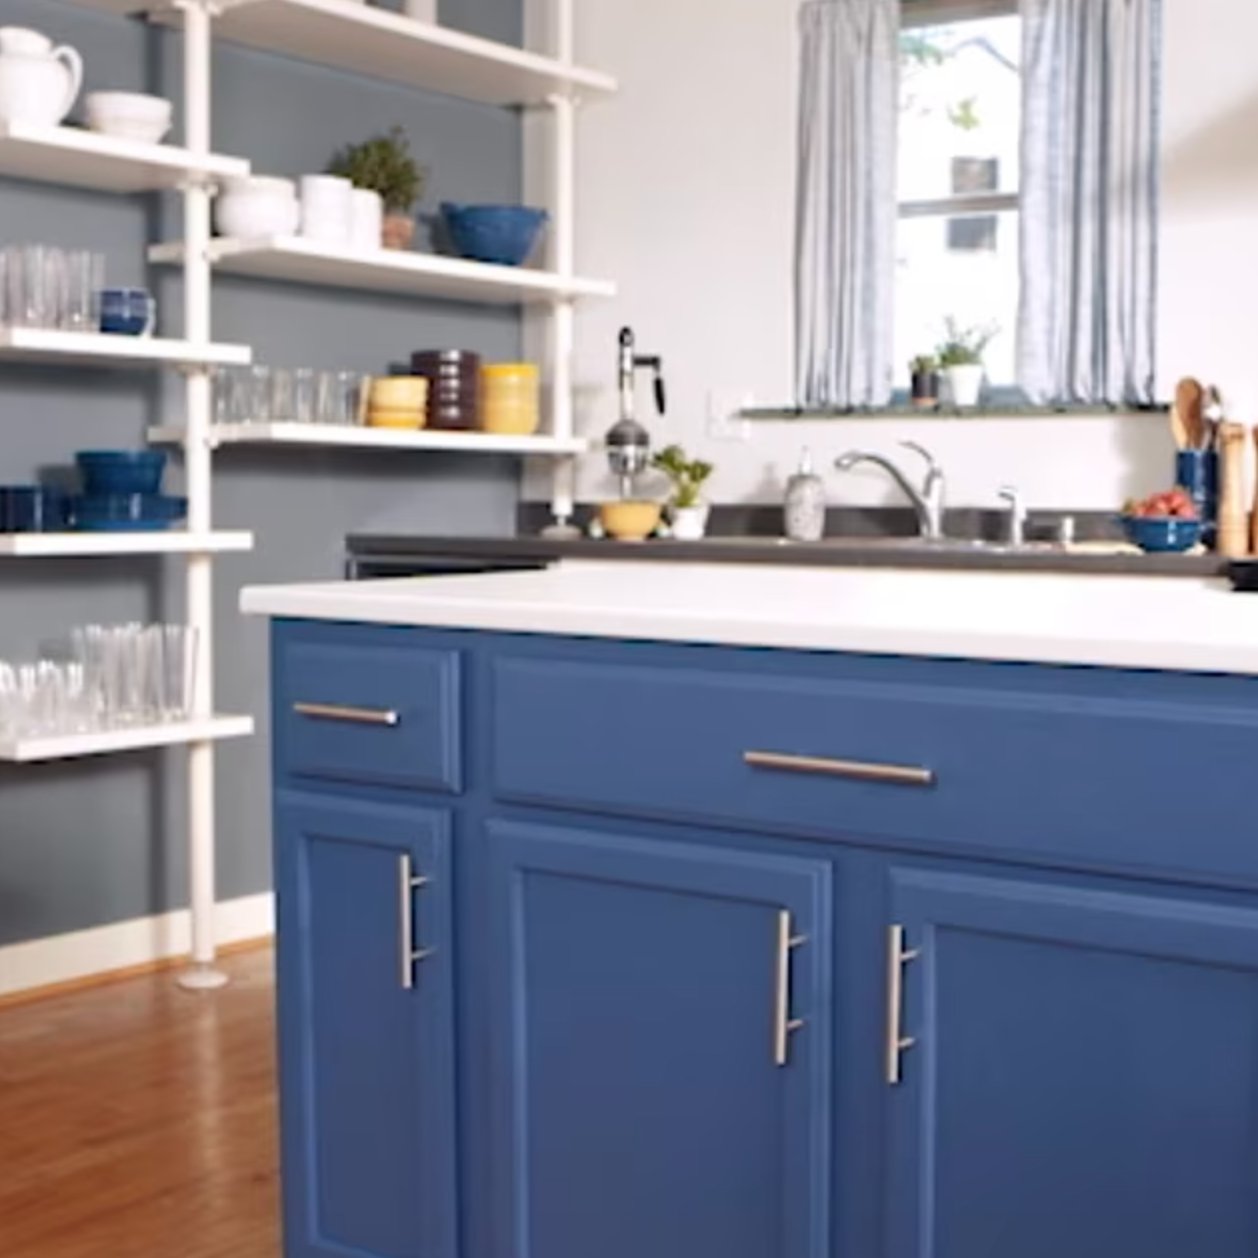
Semi-gloss is my go-to for kitchen cabinets. It’s got enough shine to bounce light around and make your space feel bigger, but it won’t turn your kitchen into a mirror maze.
The best part? It’s a breeze to clean with just a damp cloth – and that’s huge for a kitchen. Switch to semi-gloss, and you’ll cut your cleaning time by half.
High-gloss
High-gloss gives you that mirror-like shine. It looks amazing, especially in modern kitchens, and it’s the easiest to keep clean.
But here’s the thing – it shows every single fingerprint and smudge. If you’ve kids or love to cook, be ready to wipe those cabinets down multiple times daily.
Matte
I’ve got to be honest – matte finish in a kitchen? Not a great idea. Sure, it looks cozy, but it’s a nightmare to maintain. Those stubborn stains need some serious elbow grease to remove, and you might damage the paint.
Here’s my tip – don’t jump in and paint everything at once. Grab some sample pots with different finishes and test them on the inside of a cabinet door.
Give it a week of regular use, and you’ll know exactly which finish works best for your kitchen and how you live.
Choosing the Right Color
Kitchen cabinet colors have gotten way more interesting in recent years. And I couldn’t be happier about that!
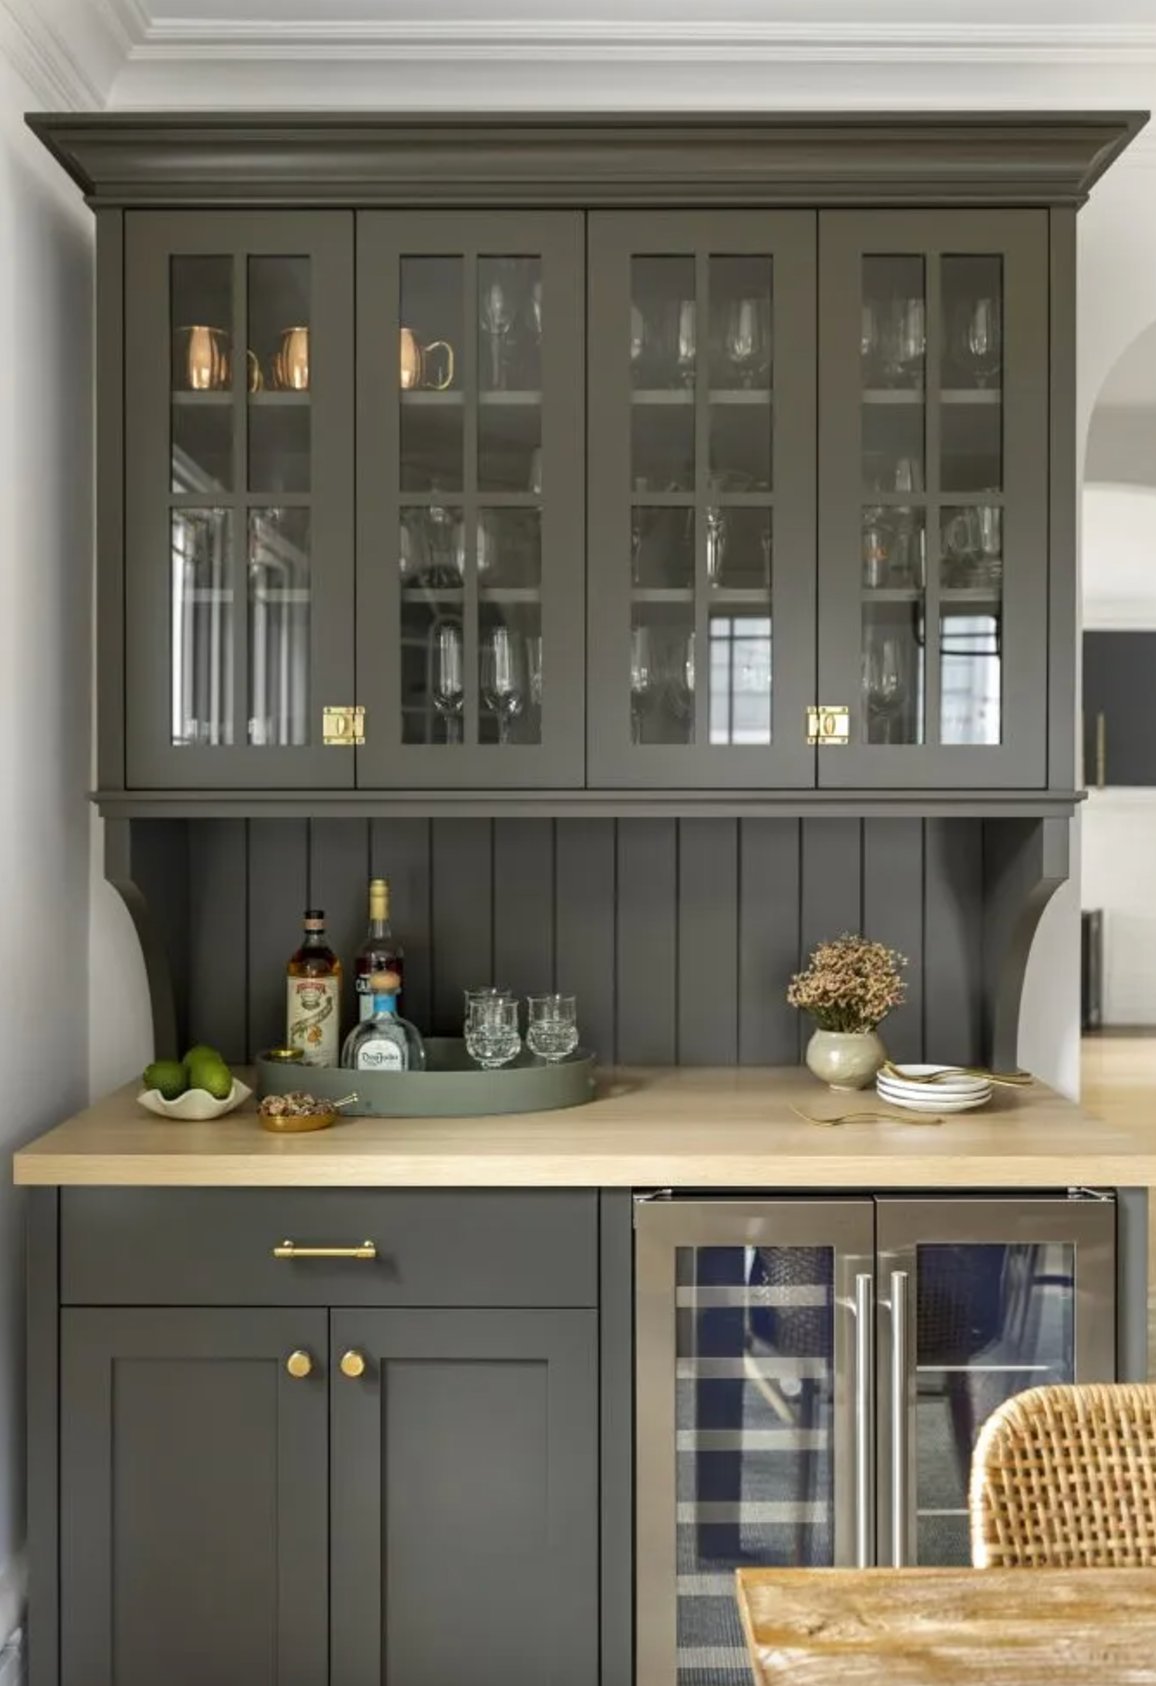

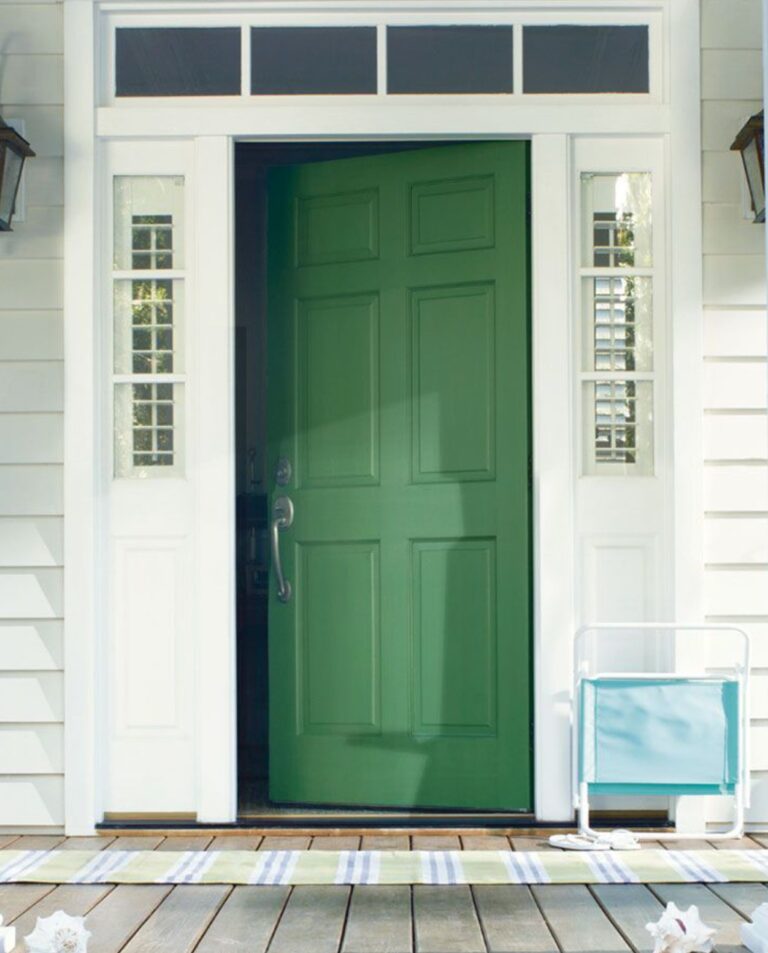
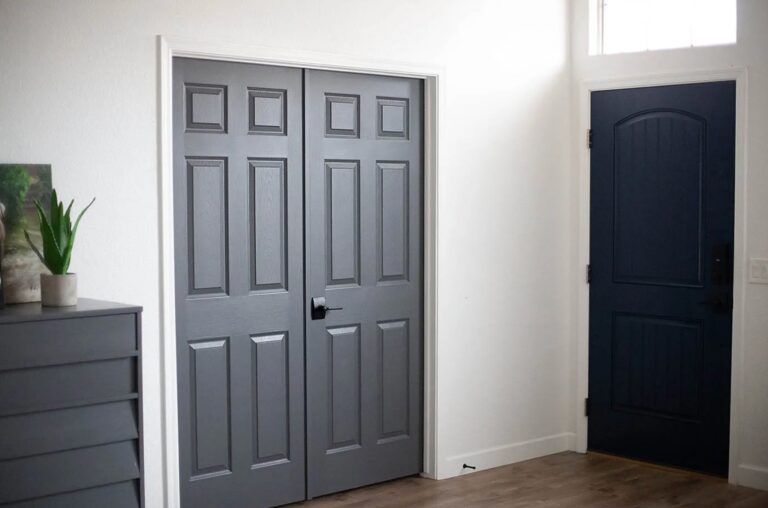
When I’m helping clients, I often point them toward deep greens or navy blues – they give the kitchen personality without being hard on the eyes like bright colors can be.
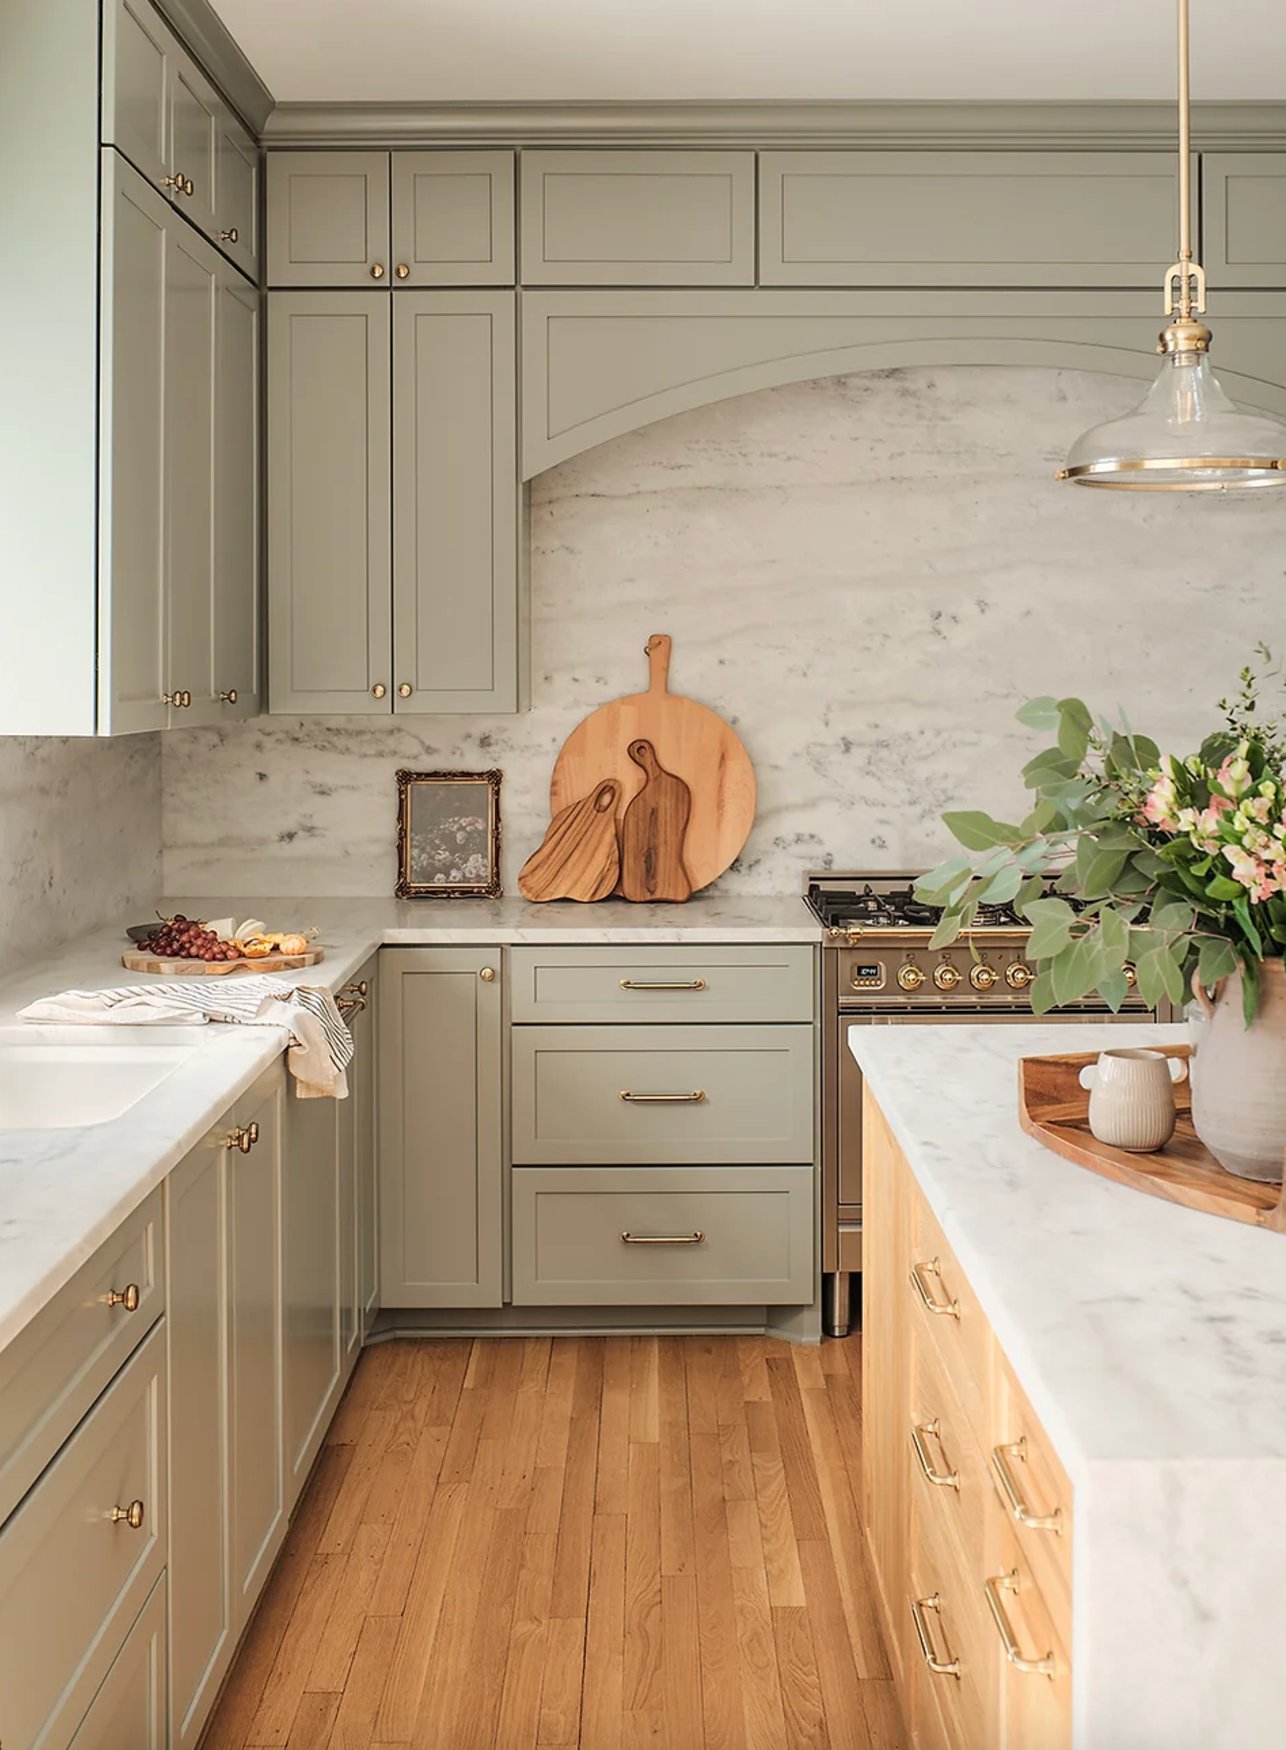
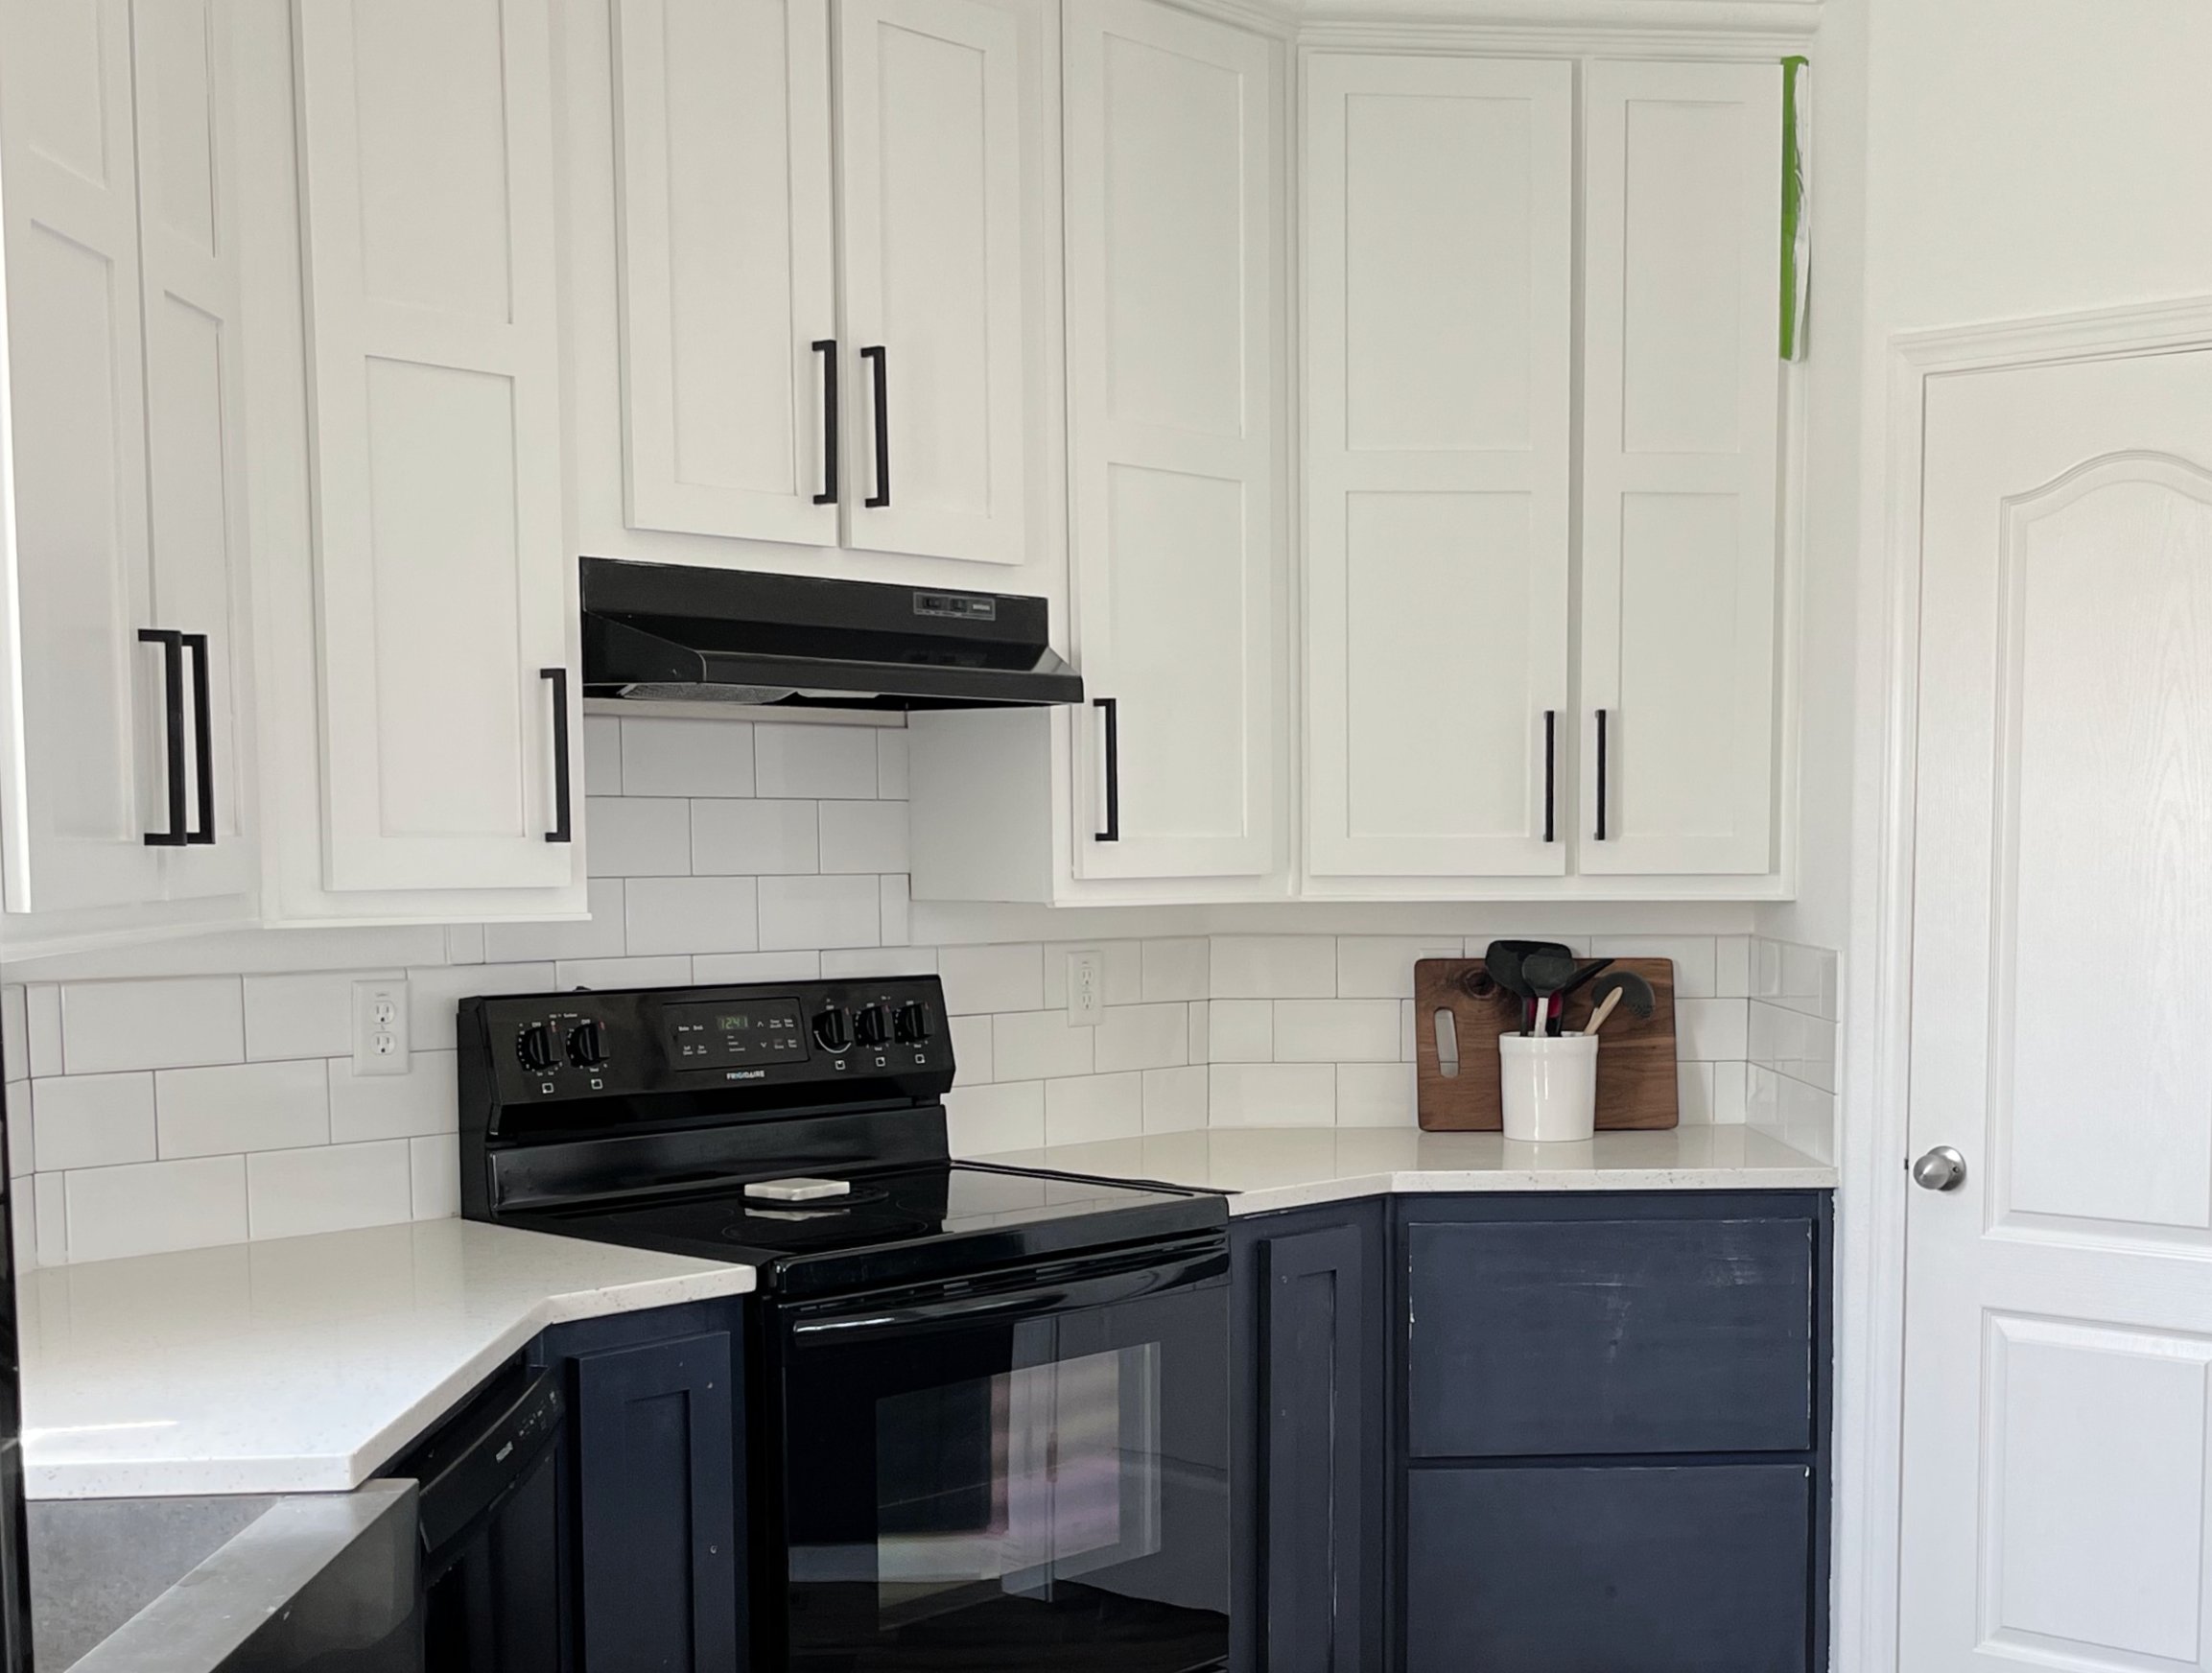
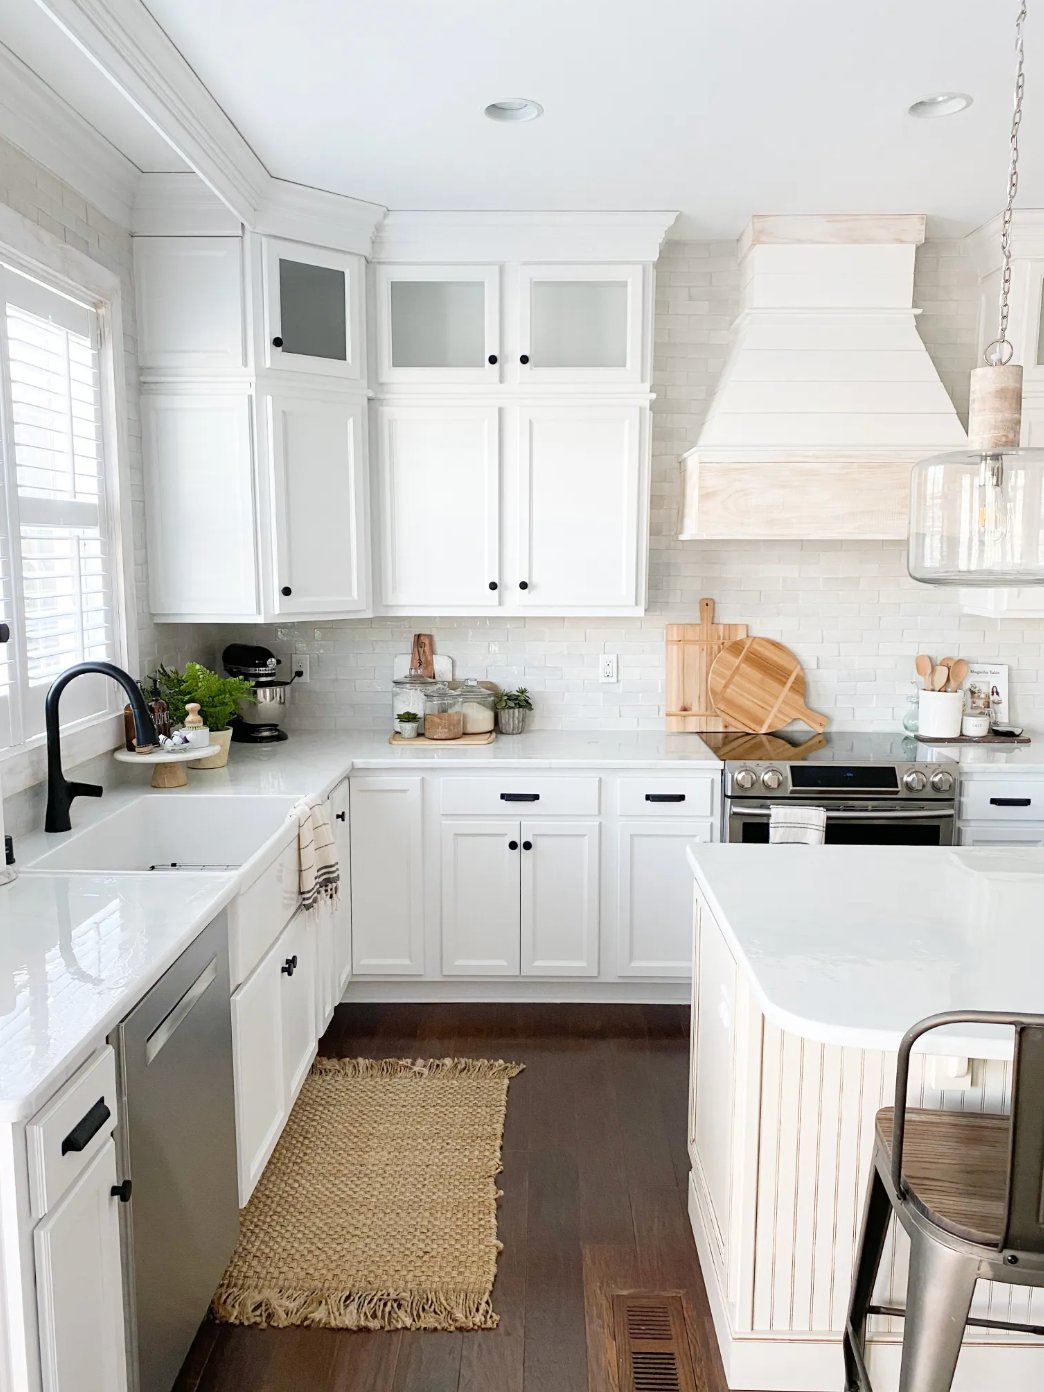
Classic white, while not as trendy now, is still perfect if you’re thinking of selling your home in the next few years. Two-tone combinations are super popular lately – think rich gray on the bottom cabinets with cream up top.
Oh, and I’ve written some articles packed with kitchen cabinet photos about picking colors: there’s a general guide plus specific ones for white, gray, and black kitchen cabinets. Take a look when you get a chance 🙂
How to Get a Flawless Cabinet Finish
Surface Preparation
You know what they say – starting right is half the battle! I’ve seen so many people rush into painting and end up kicking themselves later.
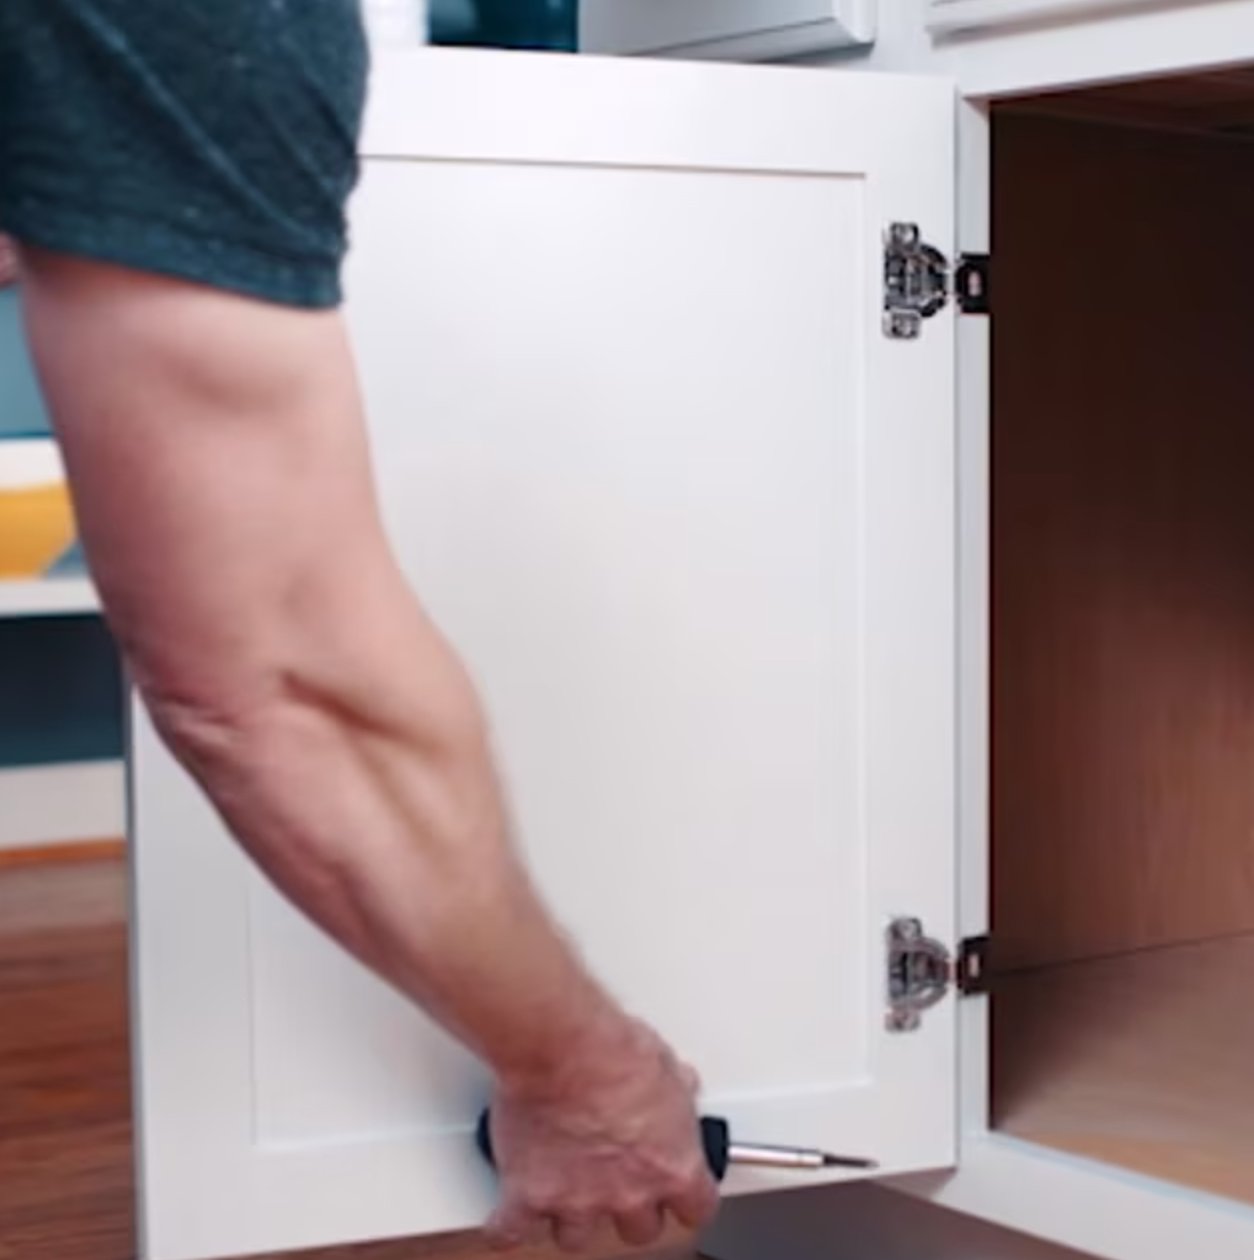
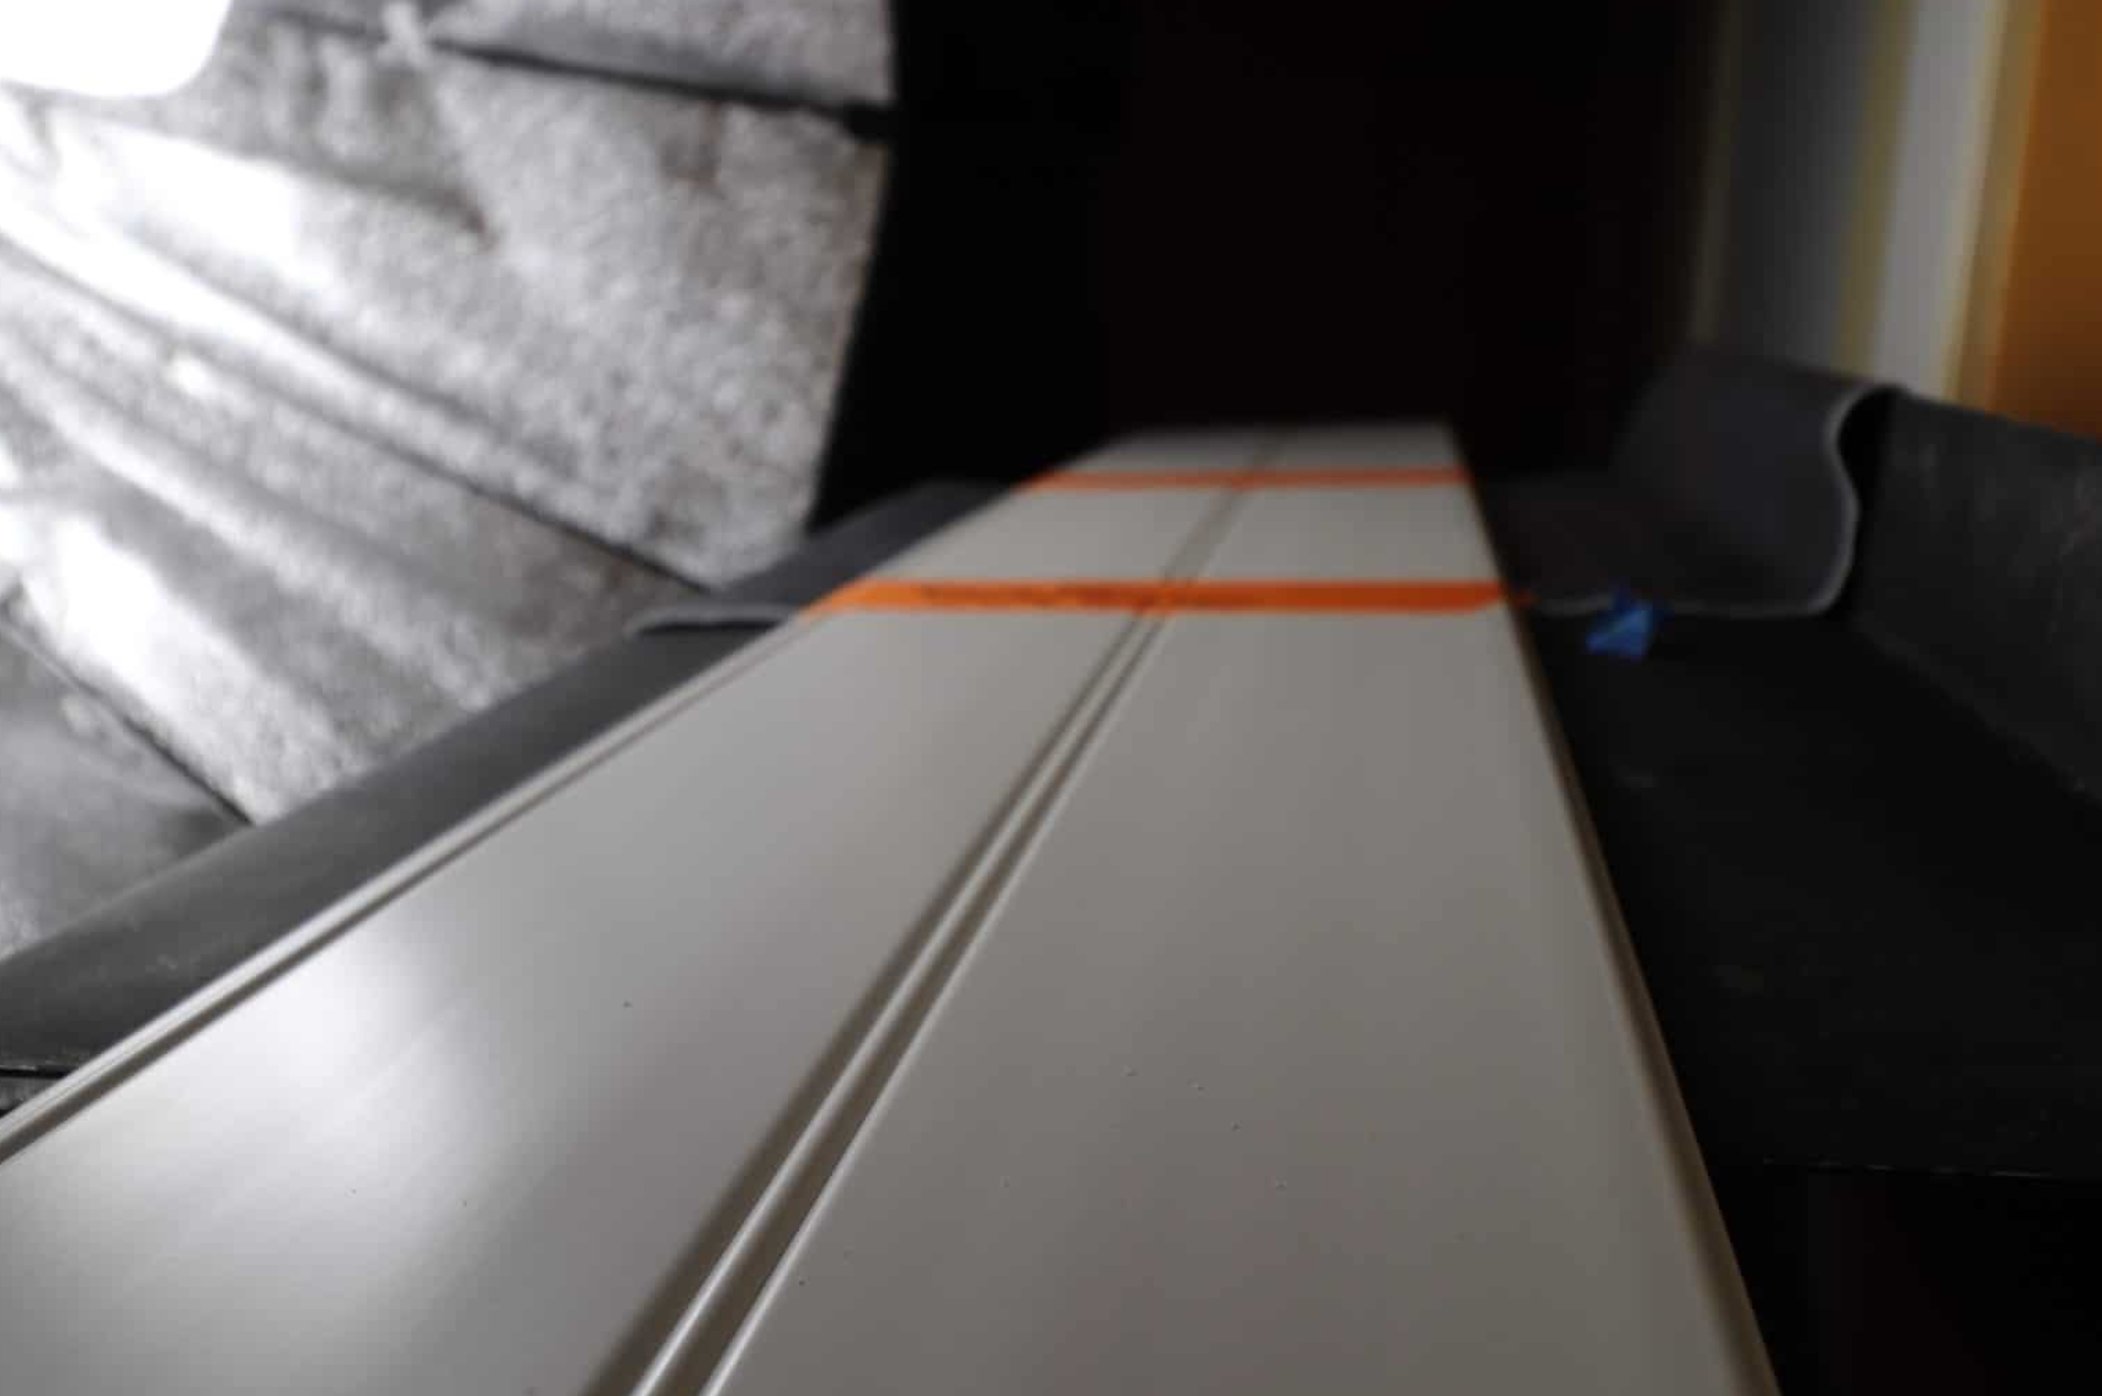
First, clean off all that grease – especially around the stove. Pop off the handles and hinges, and number those doors (you’ll thank me later!). Then hit everything with 120-grit sandpaper – this gives the primer something to grab onto.
Did you get dents or scratches? Fill them with wood filler – they’ll stick out like a sore thumb with glossy paint. Don’t forget the door edges – people often skip them, but they need love too.
To Prime or Not to Prime
This one’s a no-brainer – you’ve got to prime! And don’t fall for that “2-in-1” paint with primer stuff – it won’t cut it in the kitchen. I always go for an oil-based primer or one with really good stick-to-it-iveness.
Keep it thin and even, and let it dry completely before sanding. Light wood only needs one coat, but dark wood might need two – especially if you’re going lighter with your paint color.
Quick heads up: if you’re working with MDF cabinets, grab a tannin-blocking primer, or you might end up with yellow spots showing through. Trust me, spending extra time on proper priming beats having to redo everything!
Application Method
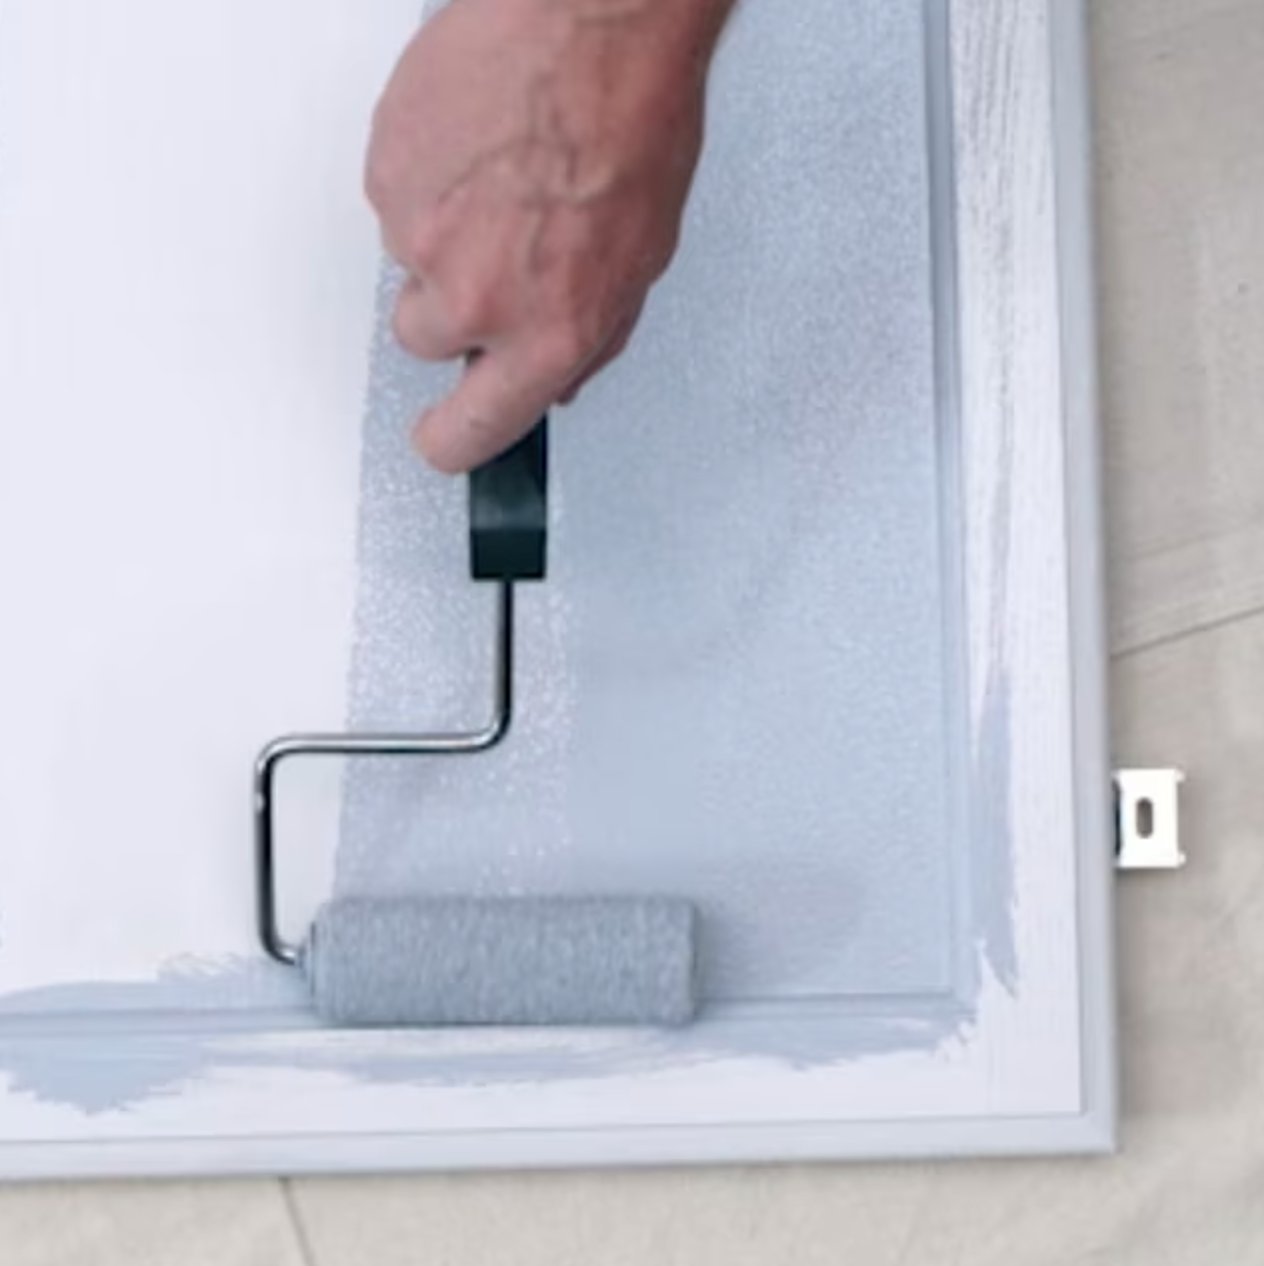
A paint sprayer is the dream setup! You get this perfect, smooth finish with zero brush or roller marks. But hey – if you don’t have one, no worries! A foam roller and quality brush will work great too. Just take your time and be precise.
I grab a 1/4-inch nap roller for flat surfaces – it gives you this super smooth finish. For those fancy detailed doors, you’ll need to get in there with a brush – go for synthetic if you’re using latex paint. Don’t cheap out on tools – a bargain brush will leave you with marks and loose bristles everywhere.
Here’s a neat trick: when rolling, do one final pass with a dry roller in a single direction – gets rid of bubbles and roller marks like magic.
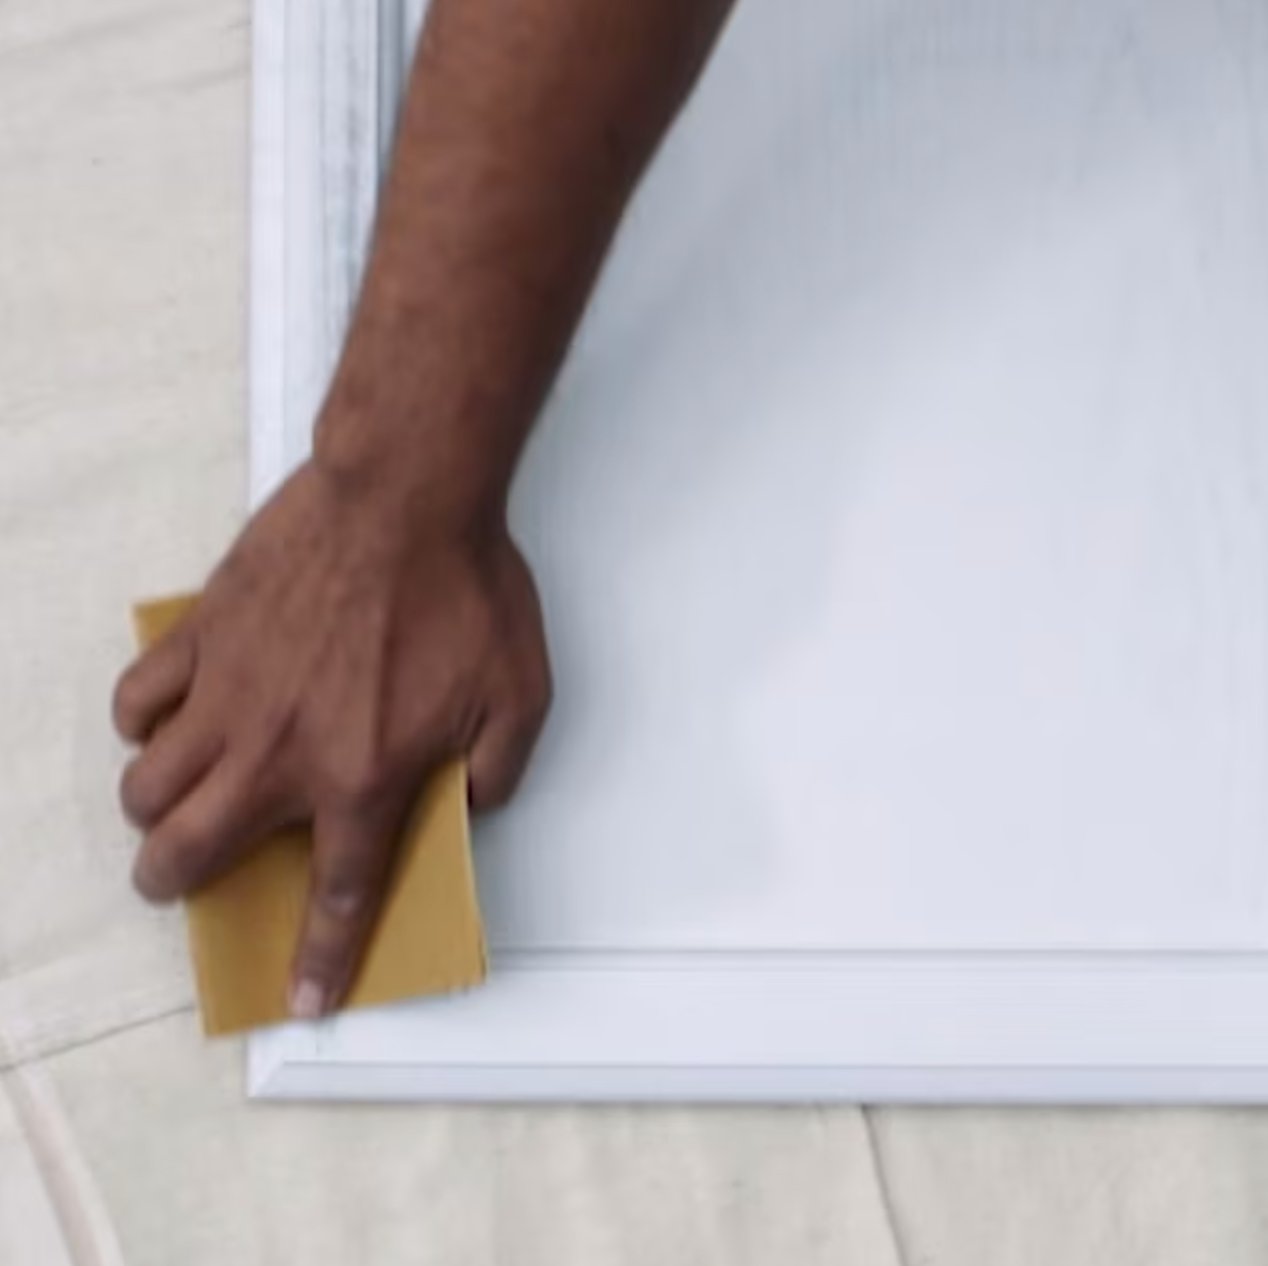
Between Coat Sanding
After your first coat dries, grab that 220-grit sandpaper. This gets rid of dust nibs and tiny flaws – making everything butter-smooth for the next coat.
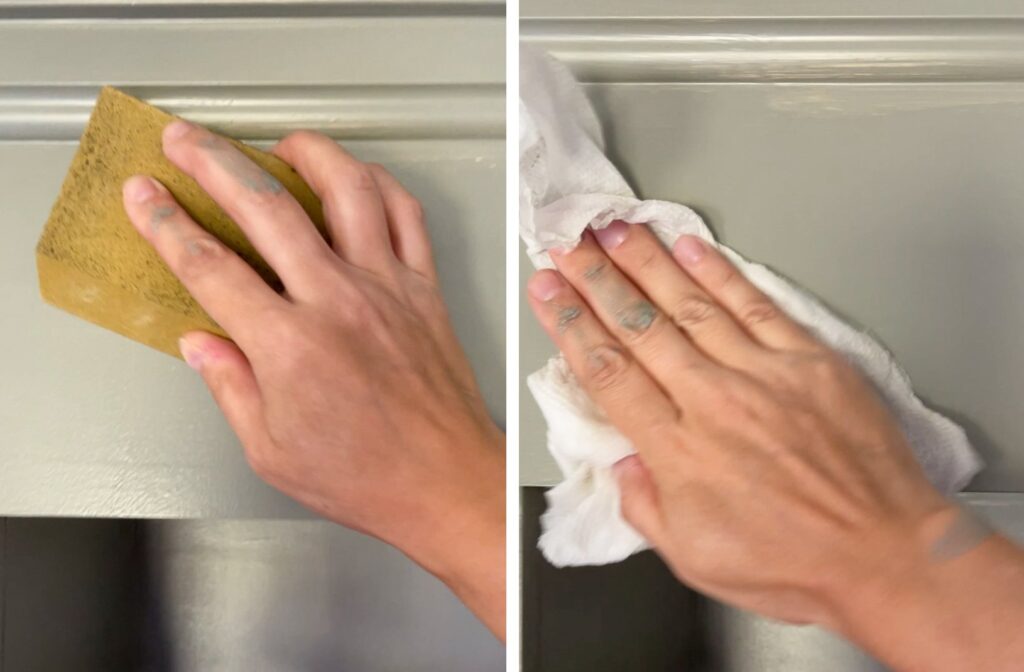
Just go easy – we’re smoothing, not stripping. Then, wipe everything down to get rid of dust.
Here’s a little insider tip: I use these special tack cloths – they’re slightly sticky and grab even the tiniest specks of dust. Make sure to follow the drying times on the paint can between coats – jump the gun, and you might mess up the previous coat. Oh, and heads up – humid days can make everything take longer to dry.
Troubleshooting
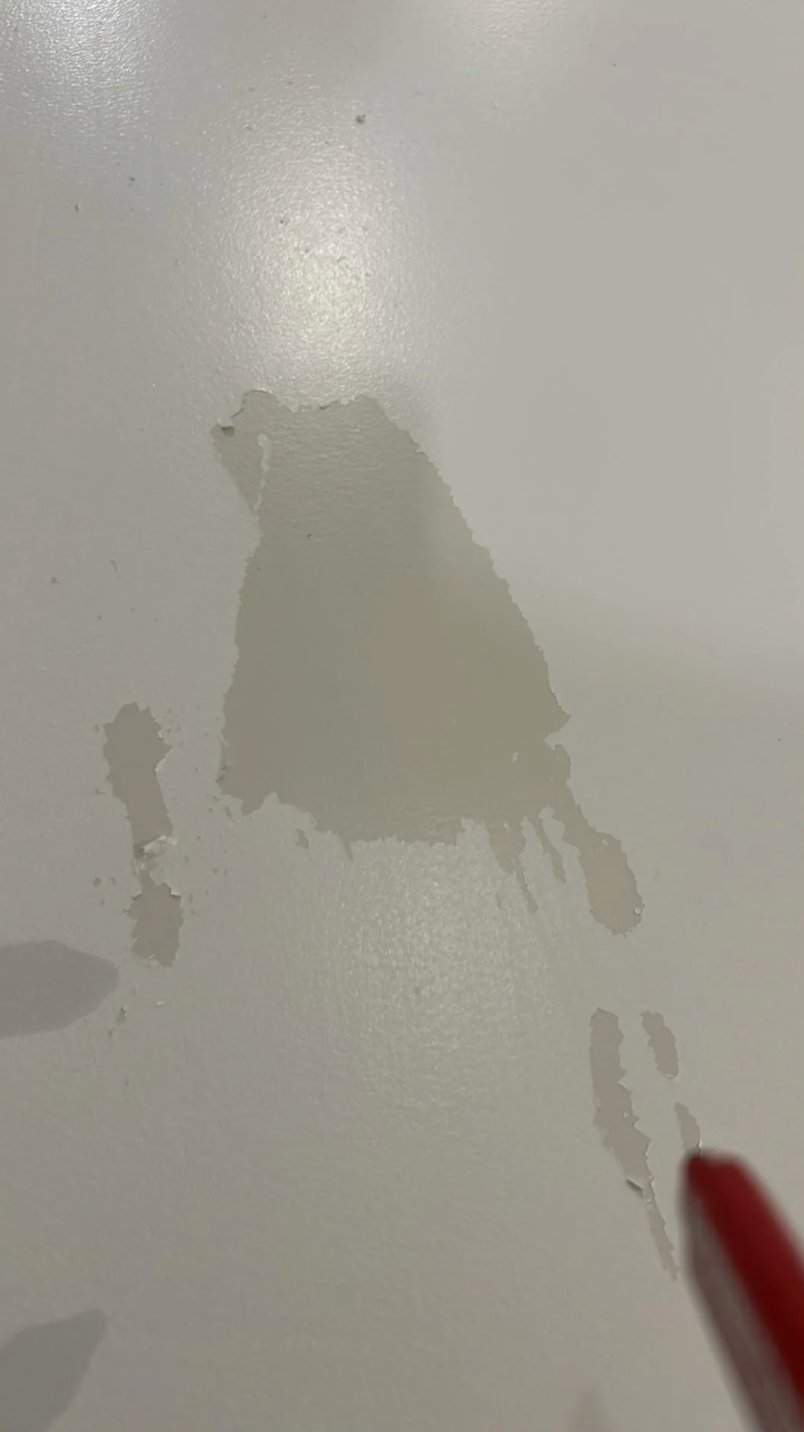
Got drips? No sweat! Just lightly sand the spot and touch it up. If it’s a big drip, I usually slice it off with a razor blade and then touch it up. Don’t stress – even pros deal with this stuff.
Seeing bubbles? Let everything dry completely, sand it smooth, and add a thin new coat. If the coverage looks patchy or the old color’s peeking through – no panic is needed; just add another coat once it’s fully dry.
Many issues come from laying the paint on too thick – two thin coats will always beat one thick one.
Final Touches
Last but not least – patience is key! Sure, it’ll feel dry quickly, but it needs a few days to really toughen up.
If you want extra protection, polyurethane is your best bet for kitchens. I always wait at least 72 hours before hanging doors back up – lets everything get nice and hard. A little patience now means cabinets that look amazing!
One more thing: baby those doors for the first week – no slamming or hanging heavy stuff on them. The paint’s still getting to its final hardness during this time.
And if you’re thinking about adding a protective coat, just remember it might tweak the color a bit – always do a test spot first!