When it comes to painting plastic, picking the right paint is 80% of the battle. Most regular paints just weren’t made for this material. They peel, crack, and basically act like stubborn children.
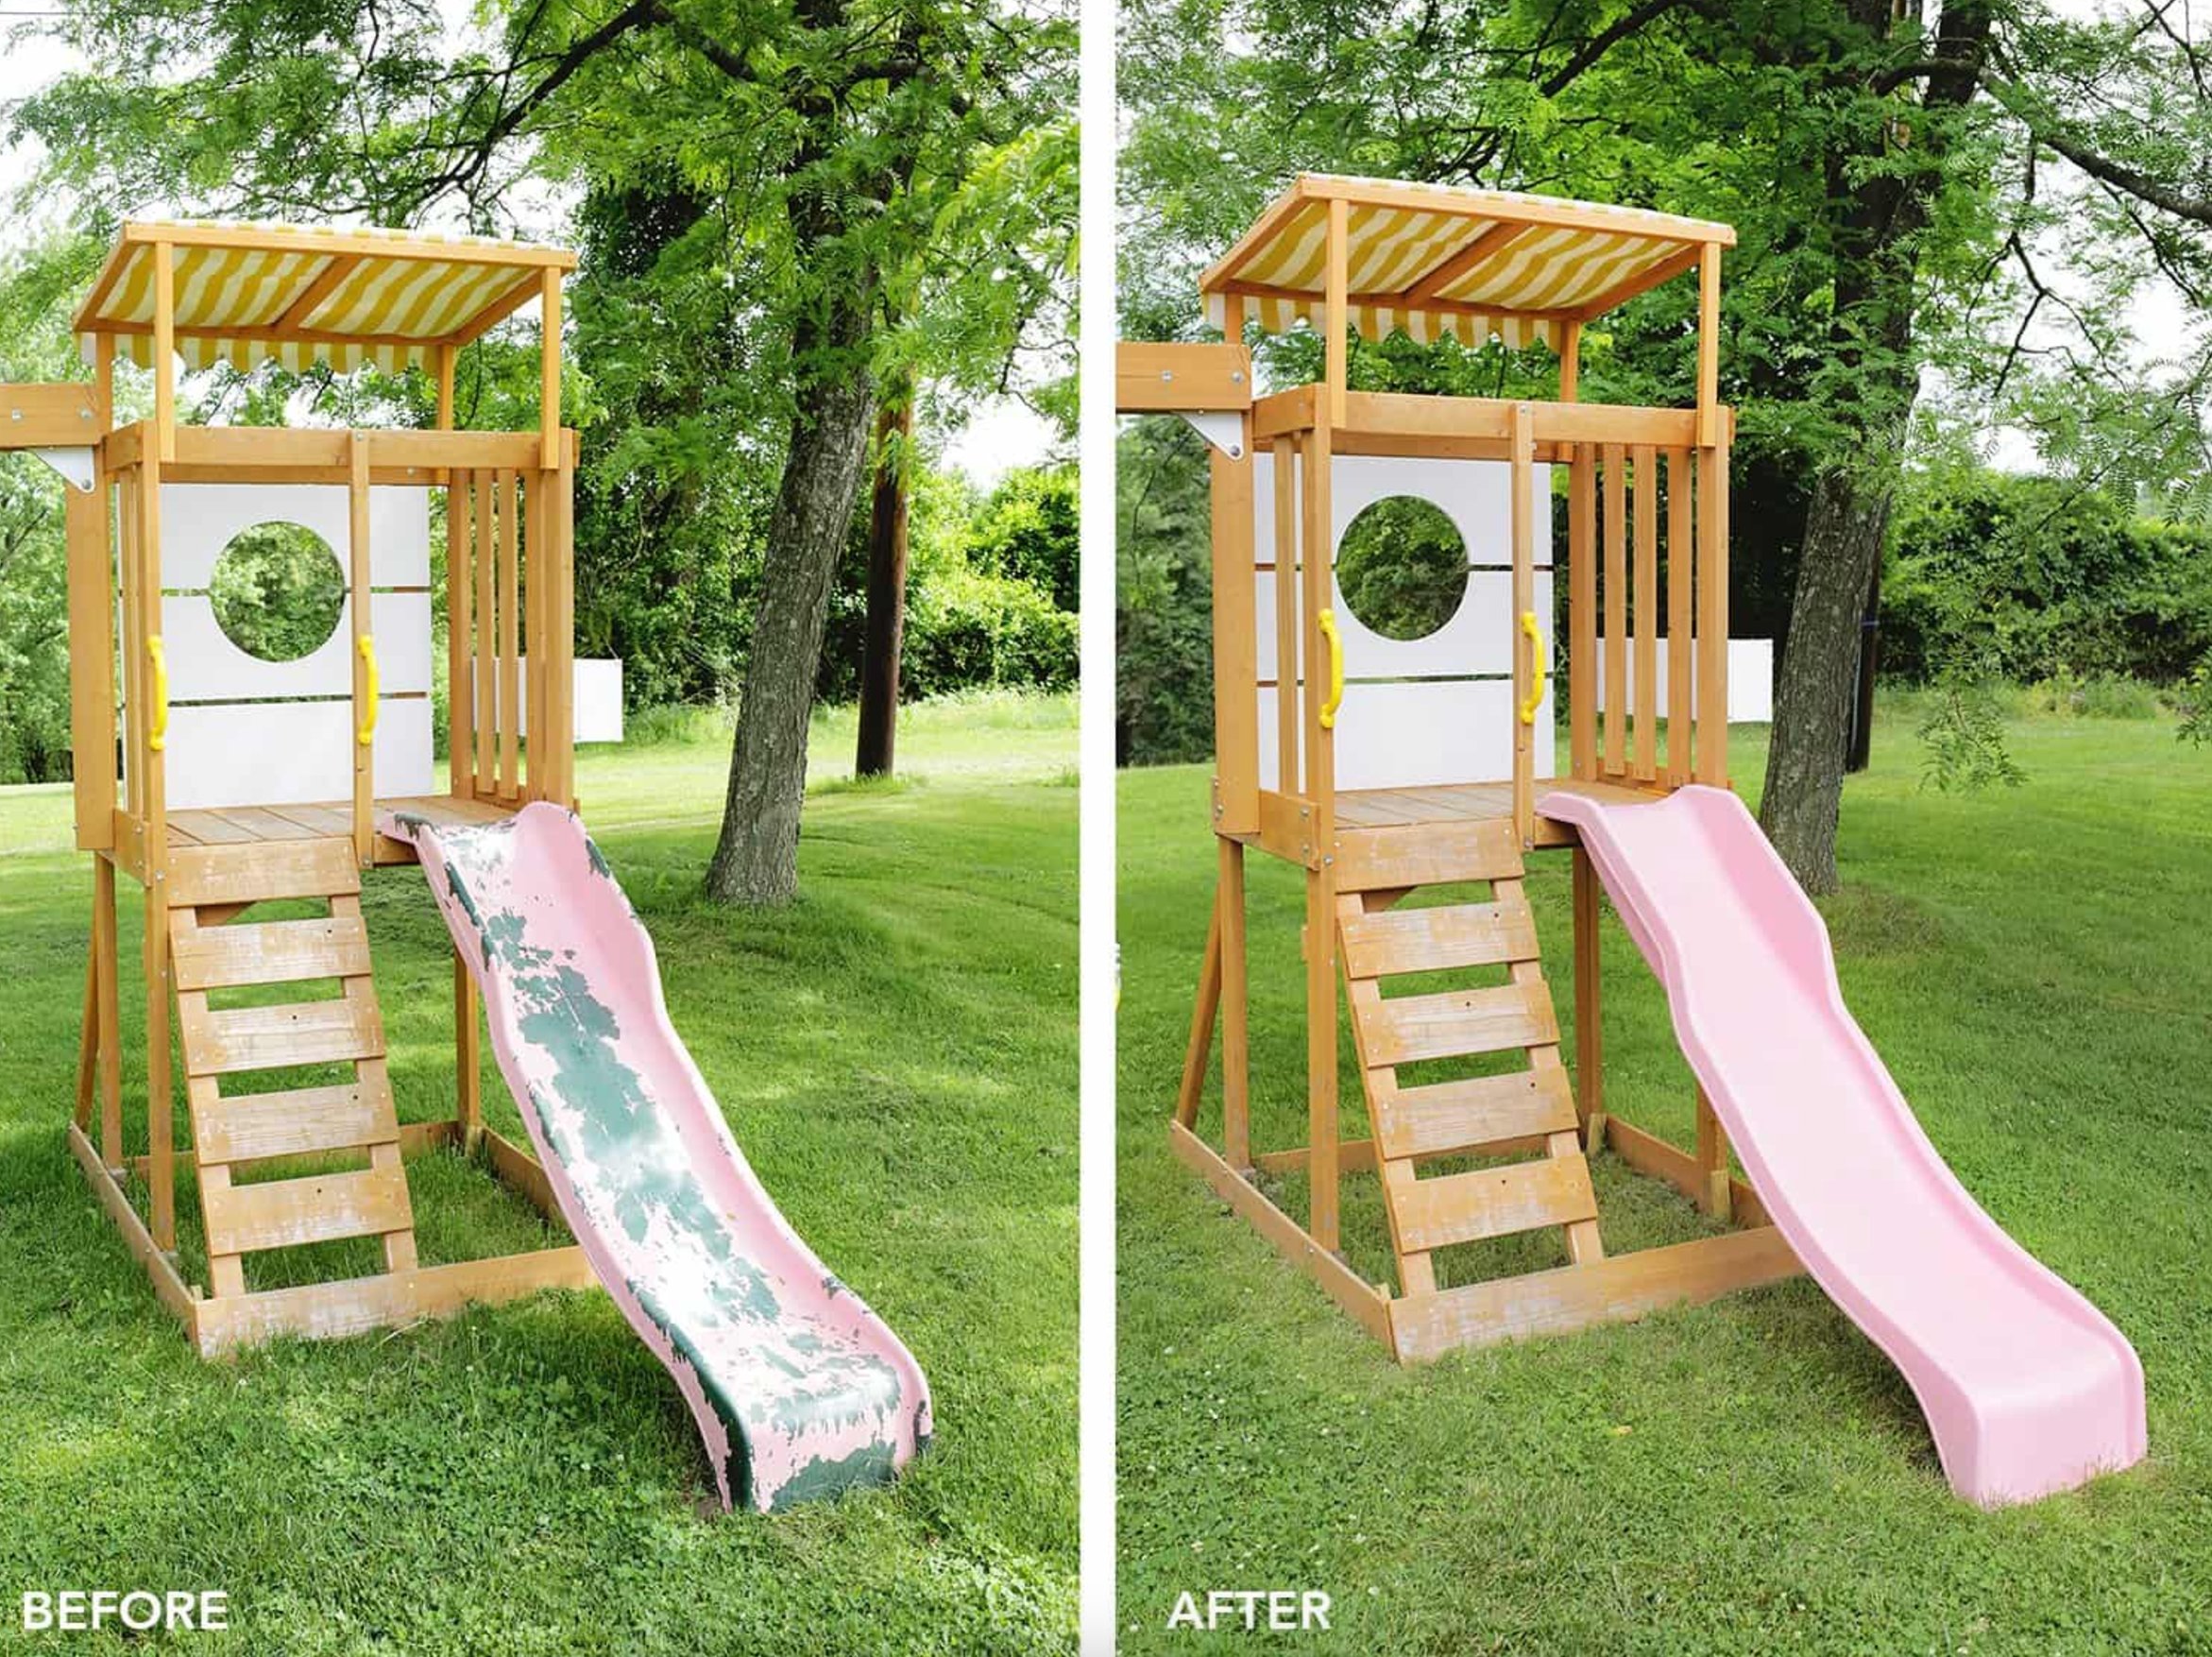
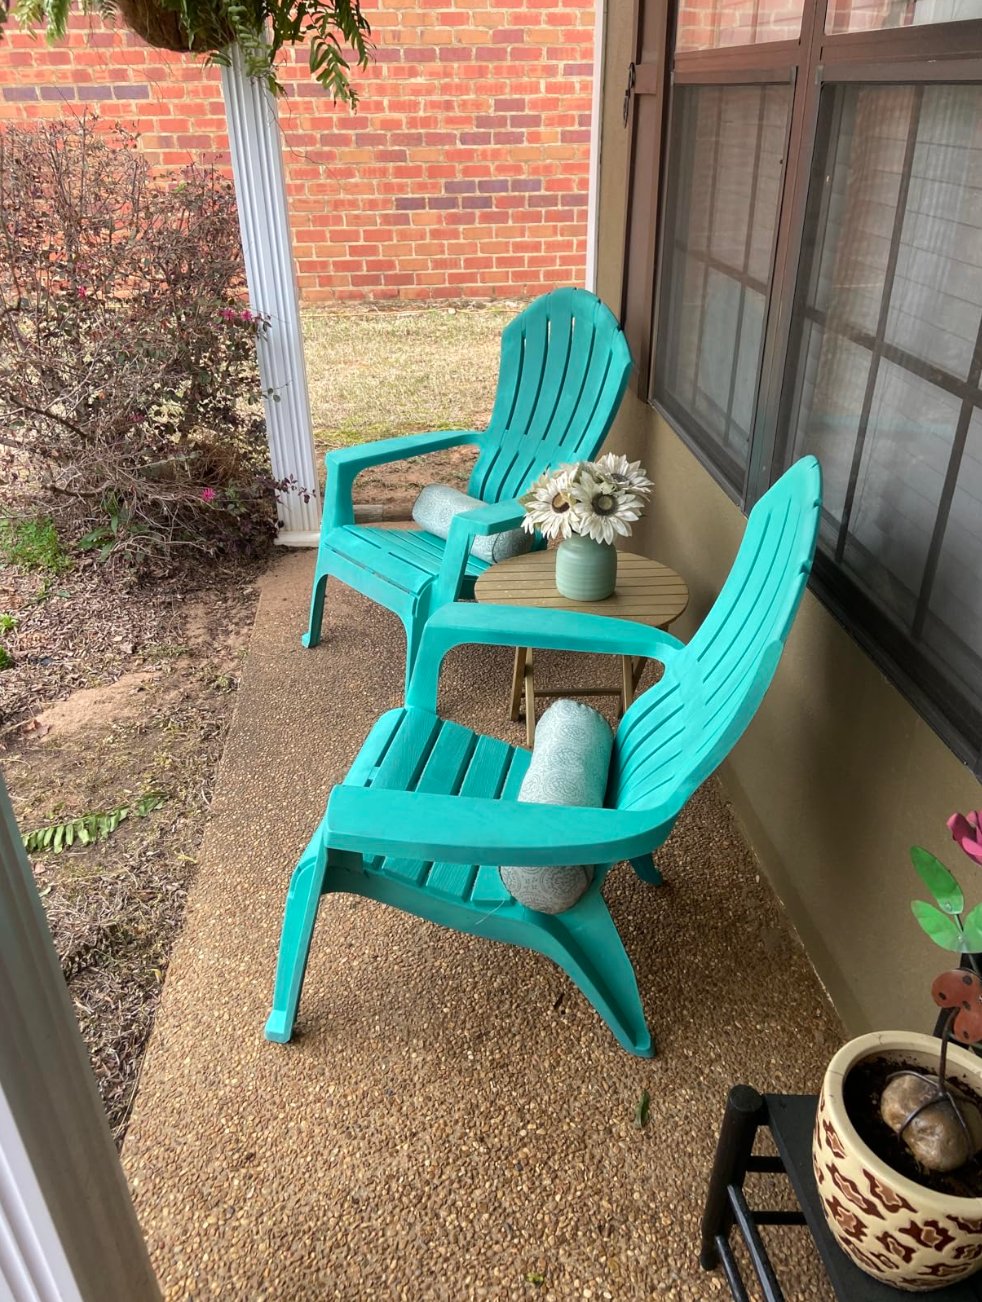
Plastic needs special paint that doesn’t just sit on top but actually bonds with the surface. And yes, these paints do exist! The right coating can work wonders – you can bring just about anything back to life. No more tossing things out just because they’ve gotten dull or faded.
Now, plastic can be tricky – it’s sensitive to temperature and doesn’t really get along with standard coatings. But if you know what you’re doing, you can get results that’ll last for years. Let me walk you through choosing the right paint and how to use it!
What Makes a Great Paint for Plastic?
When picking paint for plastic, there are five key things to look for:
- First up is a chemical formula with strong adhesion. Without this, the paint will start peeling off smooth PVC surfaces within weeks, no matter how well you prep the surface.
- Second is UV resistance. This is a must for outdoor use – paint without UV protection will fade in just one season.
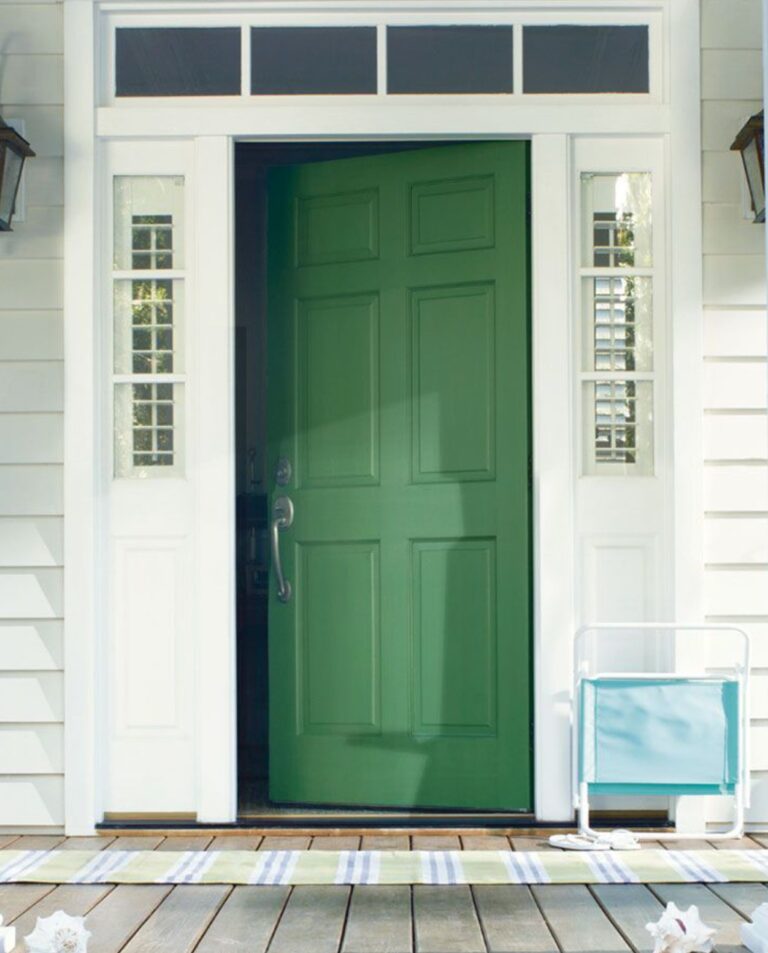
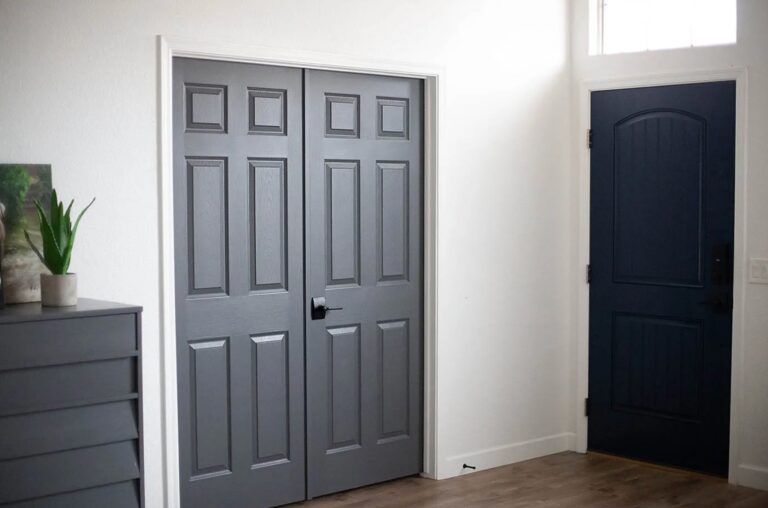
- Third is flexibility. Plastic expands and shrinks with temperature changes. Rigid paint will crack, while flexible paint moves along with the surface. This is especially crucial for things like window frames and doors.
- Fourth and fifth are coverage and finish type. Good paint should cover dark plastic in 2-3 coats, and while matte finishes tend to last longer, glossy ones are easier to keep clean.
Many brands now include special plasticizers and adhesion modifiers in their paint formulas. These paints typically last 2 to 3 years longer than standard all-purpose options.
The Best Plastic Paints and Why
After tons of trial and error, I’ve found two plastic paints that are absolute winners: Rust-Oleum American Accents Ultra Cover 2X and Krylon Fusion All-In-One. They perform equally well and cost about the same – so just go with whichever one’s on sale or easier to get!
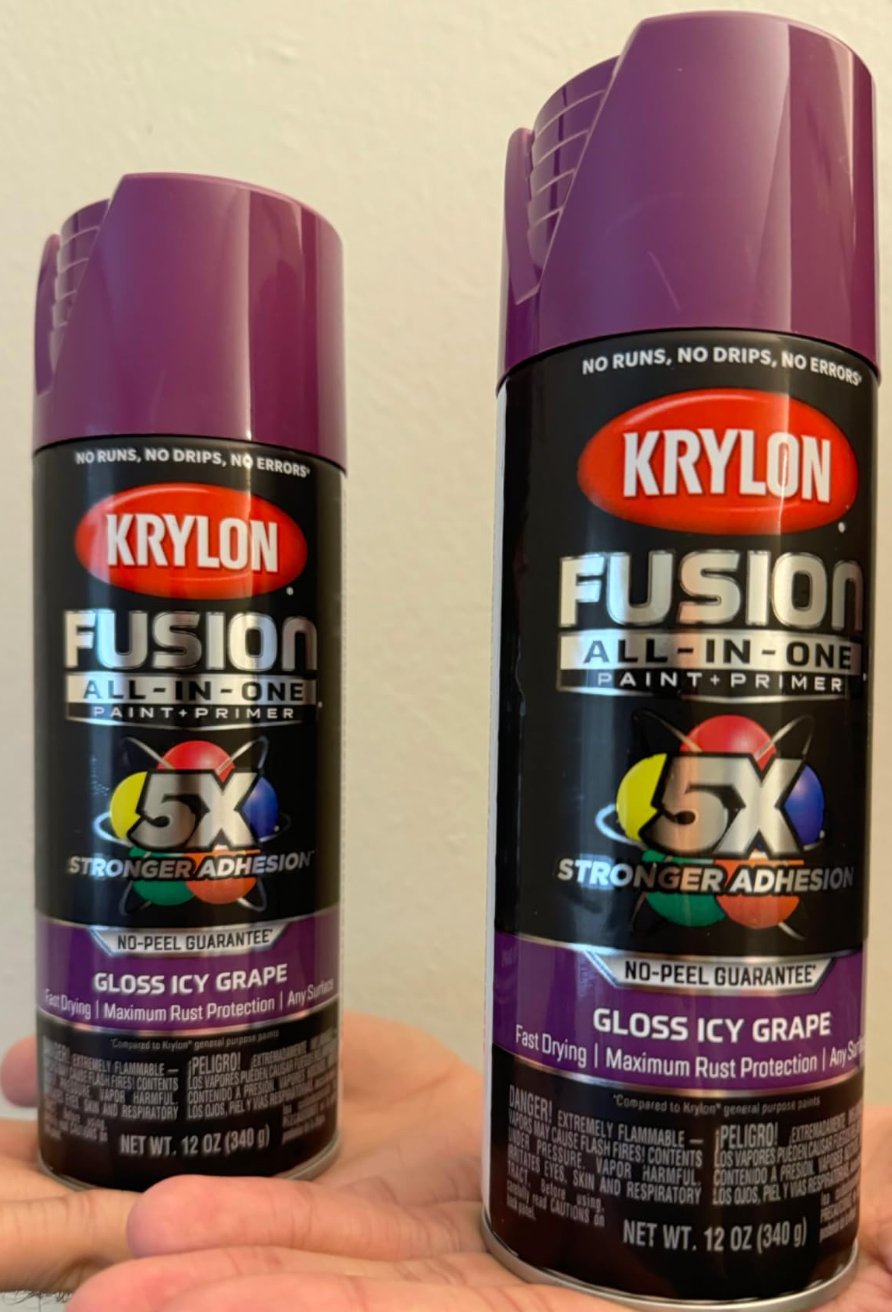
Both paints stick amazingly to pretty much anything: plastic, wood, metal, and even wicker furniture. They bond about 5 times stronger than regular paints – once they’re on, they’re not going anywhere.
The double coverage is a real time-saver, and you can spray at any angle without worrying – the paint goes on smoothly every time. They offer plenty of color options and different finishes. Best part? It dries in 20 minutes! Perfect for when you need to wrap up a project quickly.
These paints handle both rain and sun like champs – great for indoor or outdoor projects. Quick tip: paint when it’s 55-75°F and humidity is under 60%. Those conditions will give you perfect results every time!
Do You Need a Special Primer for Plastic?
While some paints include primer, plastic really needs its own primer layer – trust me, it makes a huge difference. I always reach for Zinsser Bulls Eye 1-2-3.
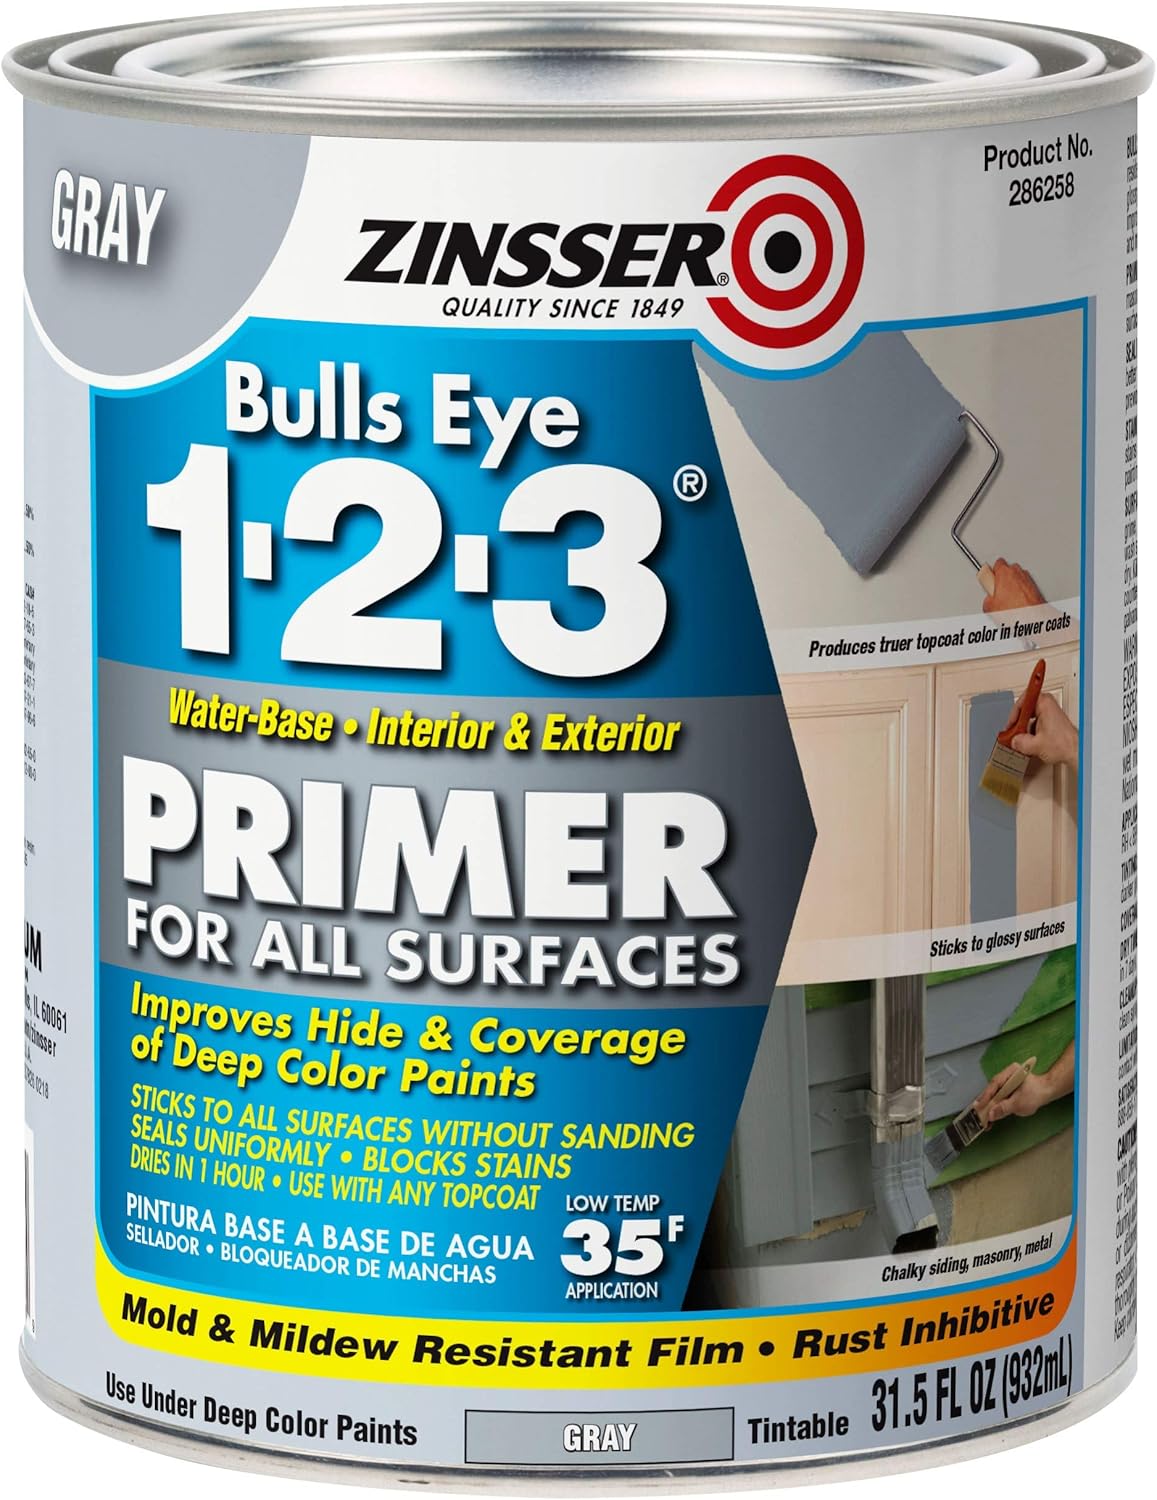
It’s a water-based primer that works everywhere – inside and out. It grips onto even the slickest plastic like nothing else. There’s barely any smell, and it dries in about 30 minutes. Plus, it has mold-fighting properties – super handy for outdoor stuff.
Bulls Eye 1-2-3 gives you everything you need in a plastic primer without breaking the bank. It’s a jack-of-all-trades – works great on wood and metal too. One coat usually does the trick for a nice, even white base. The paint just glides on after this stuff, and the finish lasts way longer.
How to Paint Plastic Surfaces
What you’ll need:
- Fine-grit sandpaper (120 grit)
- Degreaser or isopropyl alcohol
- Clean rags or microfiber cloths
- Plastic-specific primer
- Paint suitable for plastic surfaces
- Paint brushes and/or rollers
- Masking tape
- Drop cloth or newspaper
- Protective gear (gloves, mask)
Step 1: Surface Prep. Start by cleaning the plastic – this makes or breaks your paint job. I use a degreaser or isopropyl alcohol to get rid of any gunk. Then, wipe it down with a clean cloth and let it dry completely.
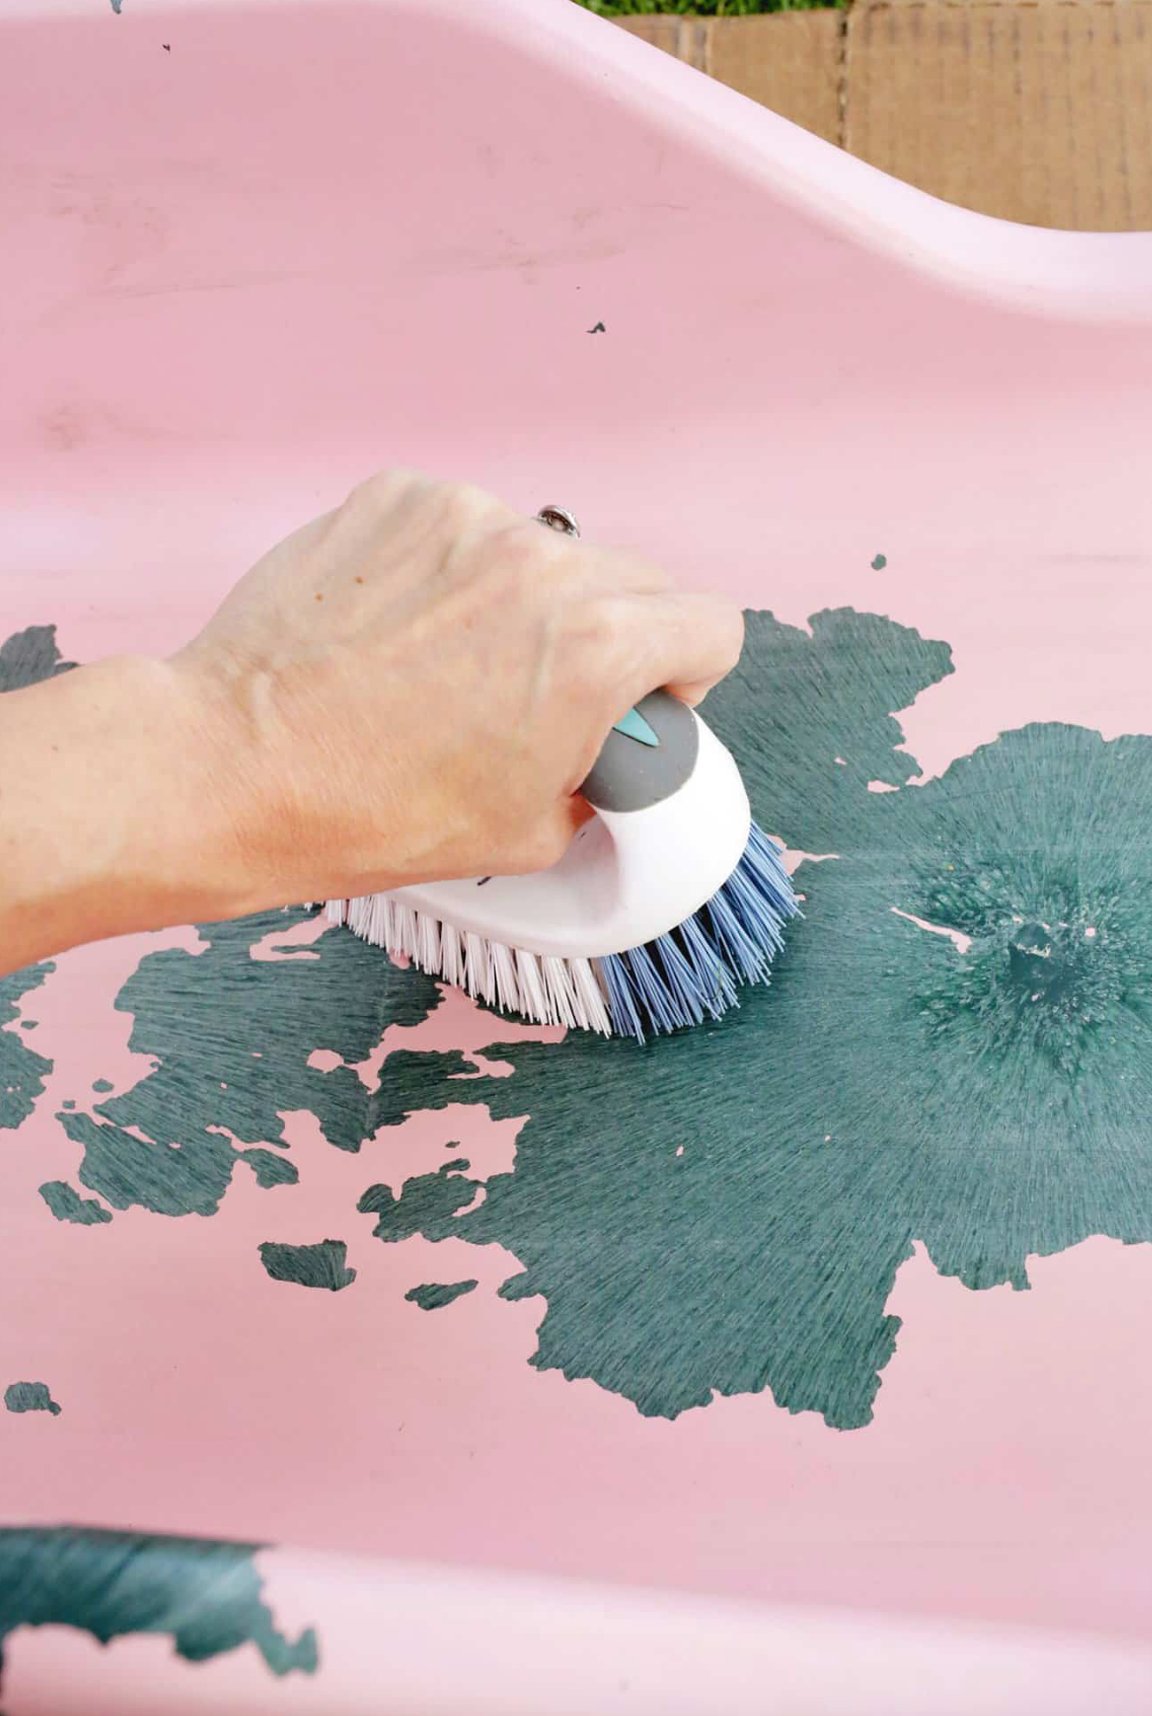
Step 2: Sanding. You need to rough up smooth plastic a bit – this helps the paint stick better. Use 120-grit sandpaper and lightly go over everything. Don’t go crazy with it – just enough to make it slightly matte. Wipe away all the dust with a damp cloth afterward.
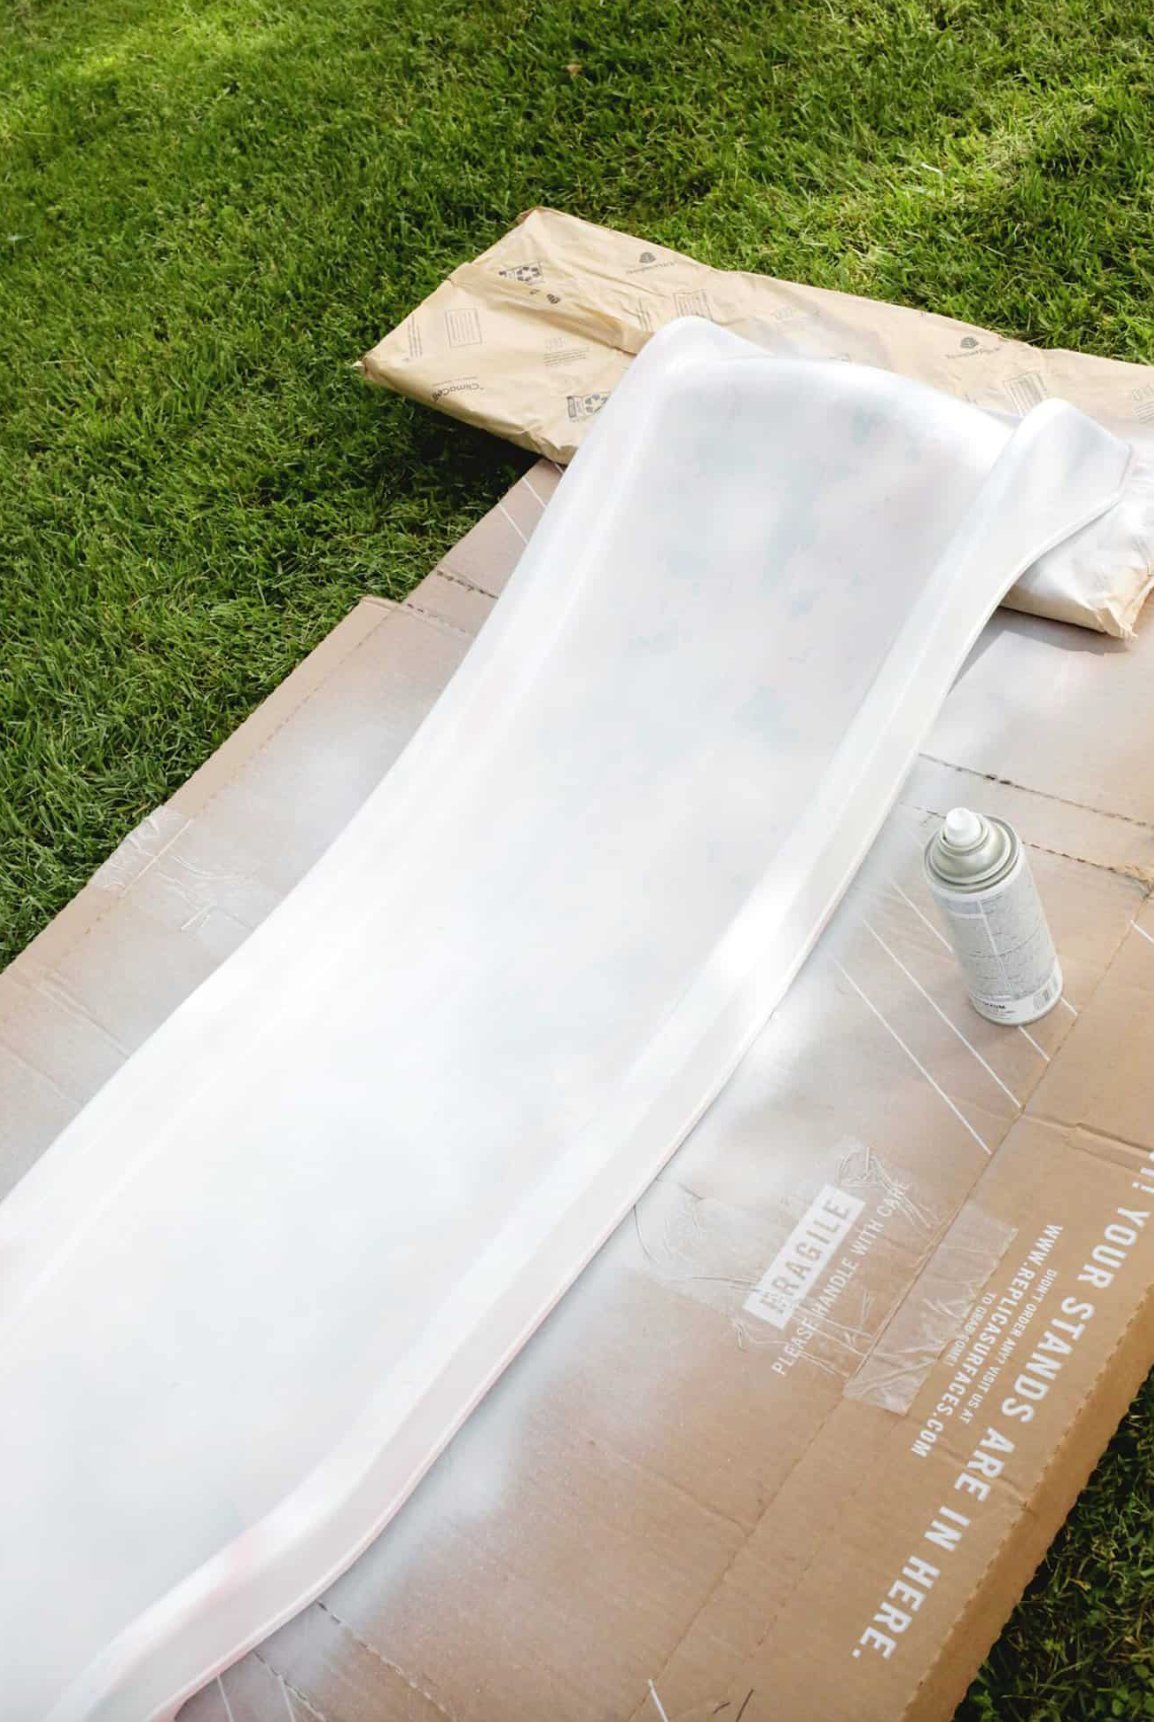
Step 3: Priming. Think of primer as your foundation – you can’t skip it. Put on a thin, even layer of plastic primer. Start around the edges with a fine brush, then do the main areas with a roller. Remember to tape off anything you don’t want primed – this stuff is stubborn once it dries.
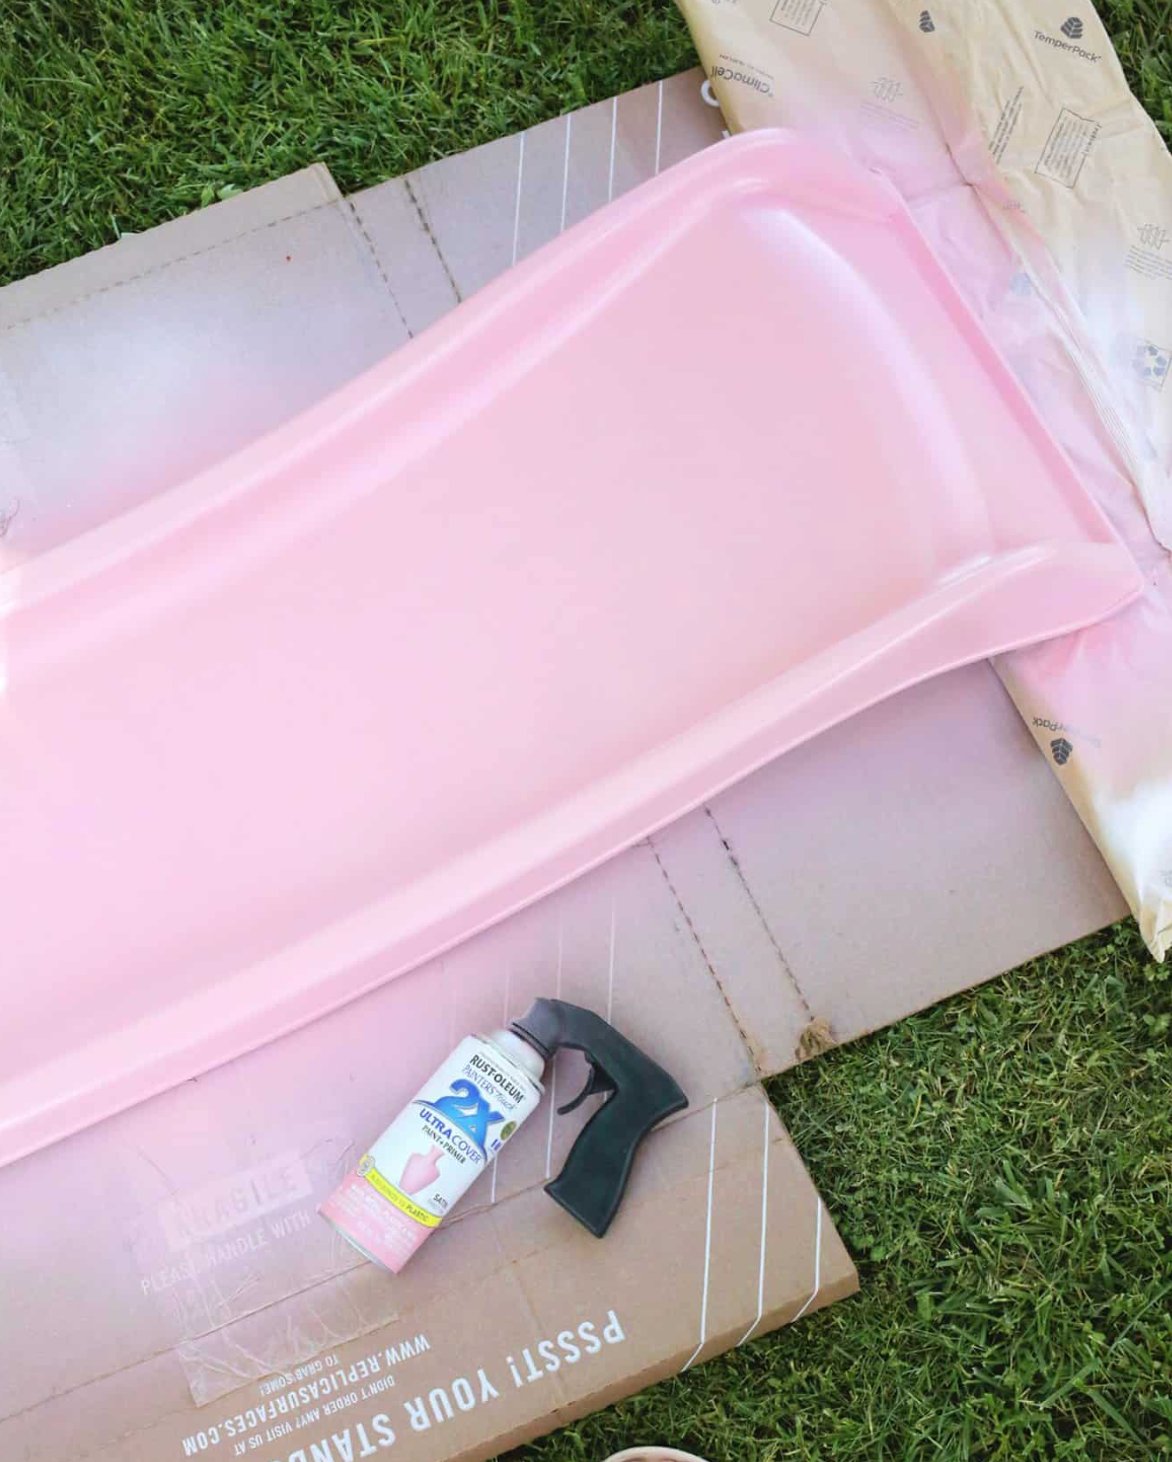
Step 4: Painting. The temperature really matters here. Aim for between 40°F and 70°F. Start with a thin first coat, working from the edges in. If you’re using both brush and roller, always smooth out brush strokes with the roller. Give it a good hour to dry, then put on a slightly thicker second coat.
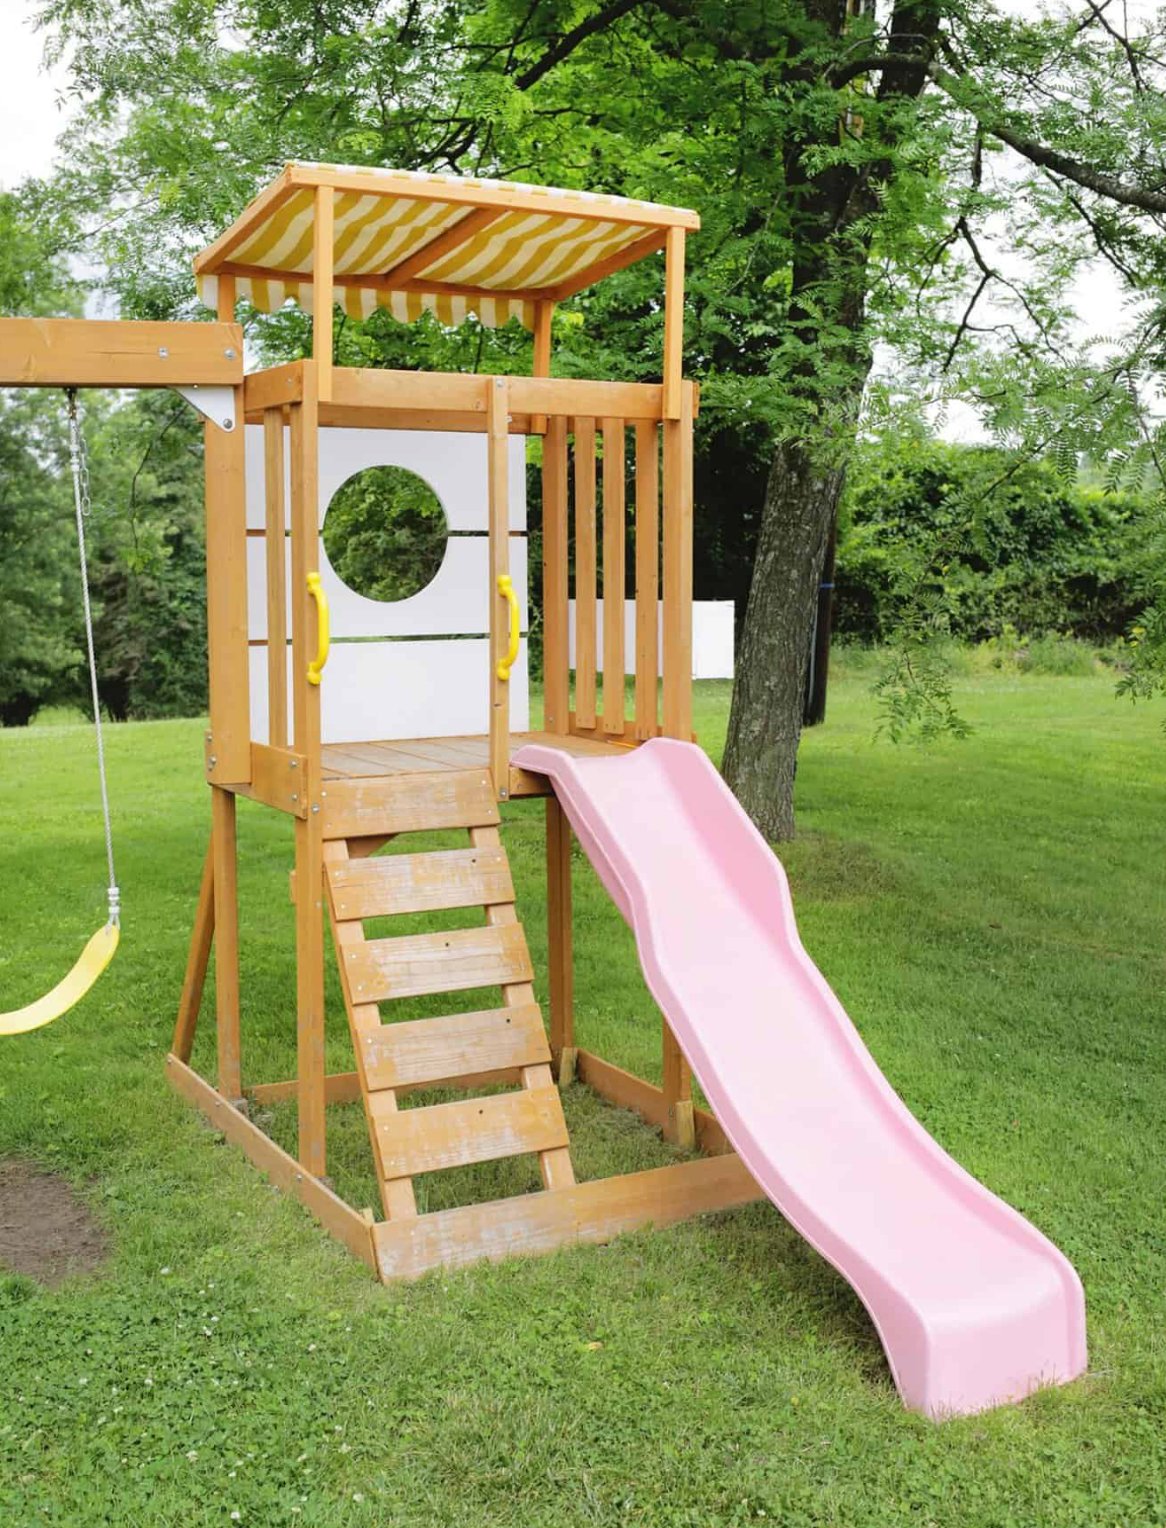
Step 5: Finishing Up. Once the second coat’s completely dry, check how it looks. If you see any patchy spots, go ahead with a third thin coat. Remember though – thin layers are your friend here. They’ll last longer and won’t drip like thick coats do.
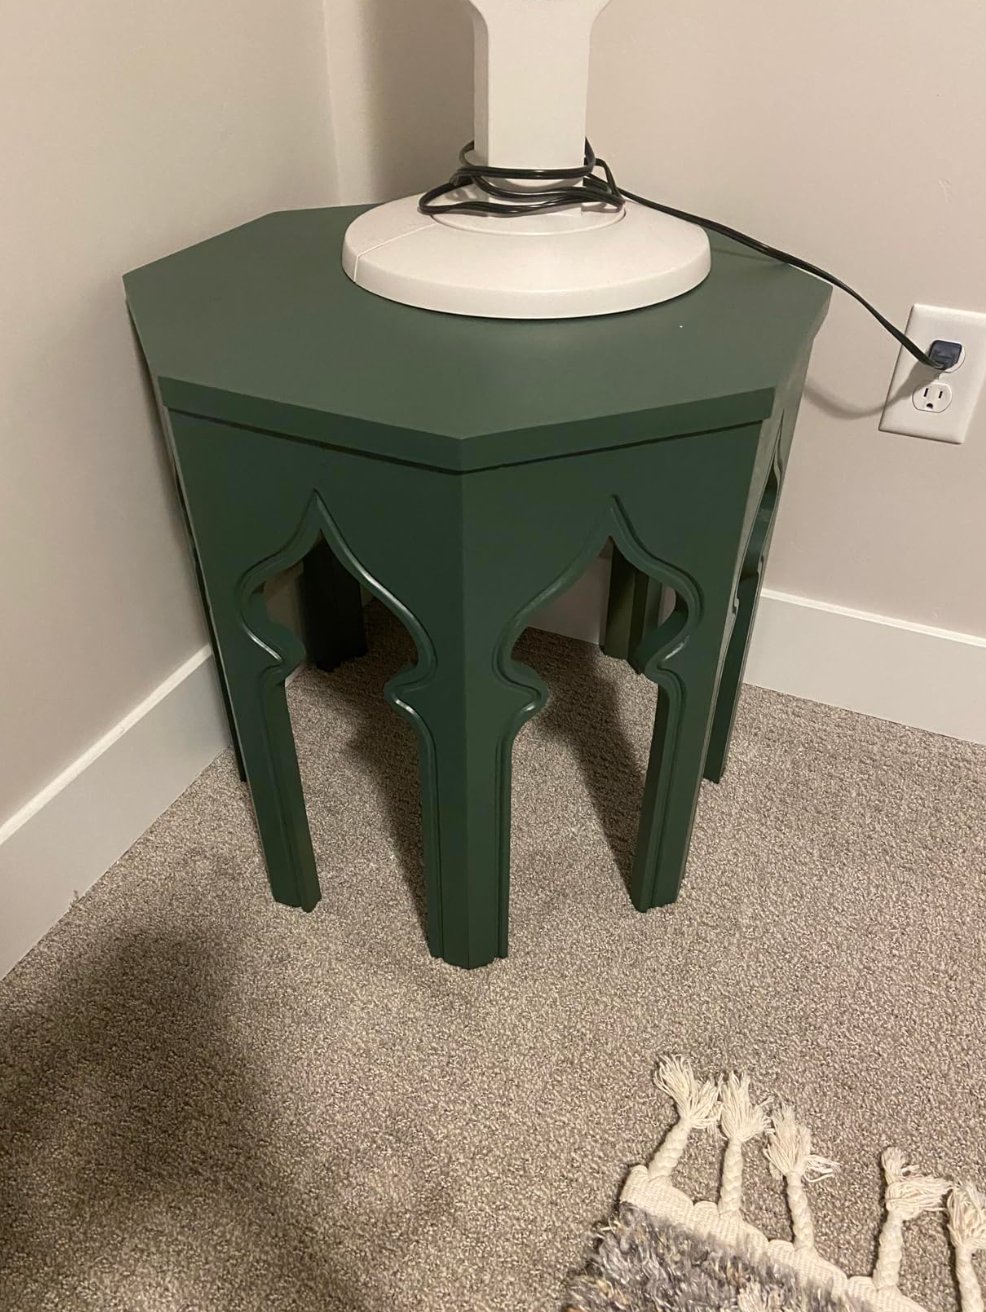
Here’s the thing about painting plastic – it’s really not as scary as you might think! I remember being intimidated by these projects myself, but now I can’t help but smile when I think back to my first attempts with garden pots.
The secret is taking your time and following all the prep steps – do that, and you can turn even the most basic plastic item into something special.