Many people think painting pressure-treated wood is a walk in the park. Grab some paint, a brush, and you’re good to go! But it’s not nearly that simple. What seems straightforward on the surface hides some quirks that can turn a simple paint job into a real hassle.
What’s the catch? It’s all about those special chemicals used to treat the wood. While they do a great job protecting against rot and unwanted wood-eating critters, they make painting quite tricky. After treatment, the wood stays wet much longer than regular lumber, and if you jump the gun on painting it, you’ll watch the paint peel right off.
Let’s explore which paint works best for pressure-treated wood and how to make sure your paint job actually lasts. Trust me – a little patience now will save you a ton of headaches (and money) down the road.
What Makes a Great Paint for Treated Wood?
Water-based latex paint is your best bet for treated wood. It plays nice with the treated surface and won’t flake off in chunks after a few months like oil-based paints often do. Plus, it lets the wood breathe naturally when humidity levels change.
Good paint for treated wood must withstand UV rays, moisture, and temperature swings. Always go for products labeled “exterior” for outdoor projects – they’re specifically engineered to handle the elements.
Coverage is critical too. You want paint that covers evenly and hides minor flaws in the wood. Just make sure it doesn’t go on too thick – that’s asking for cracks to develop over time.
Best Primer & Paint for Pressure-Treated Wood
Let’s explore how to choose the right primer and paint for pressure-treated wood. Since we’ve covered why water-based latex paints work best for treated lumber, I won’t go over that again.
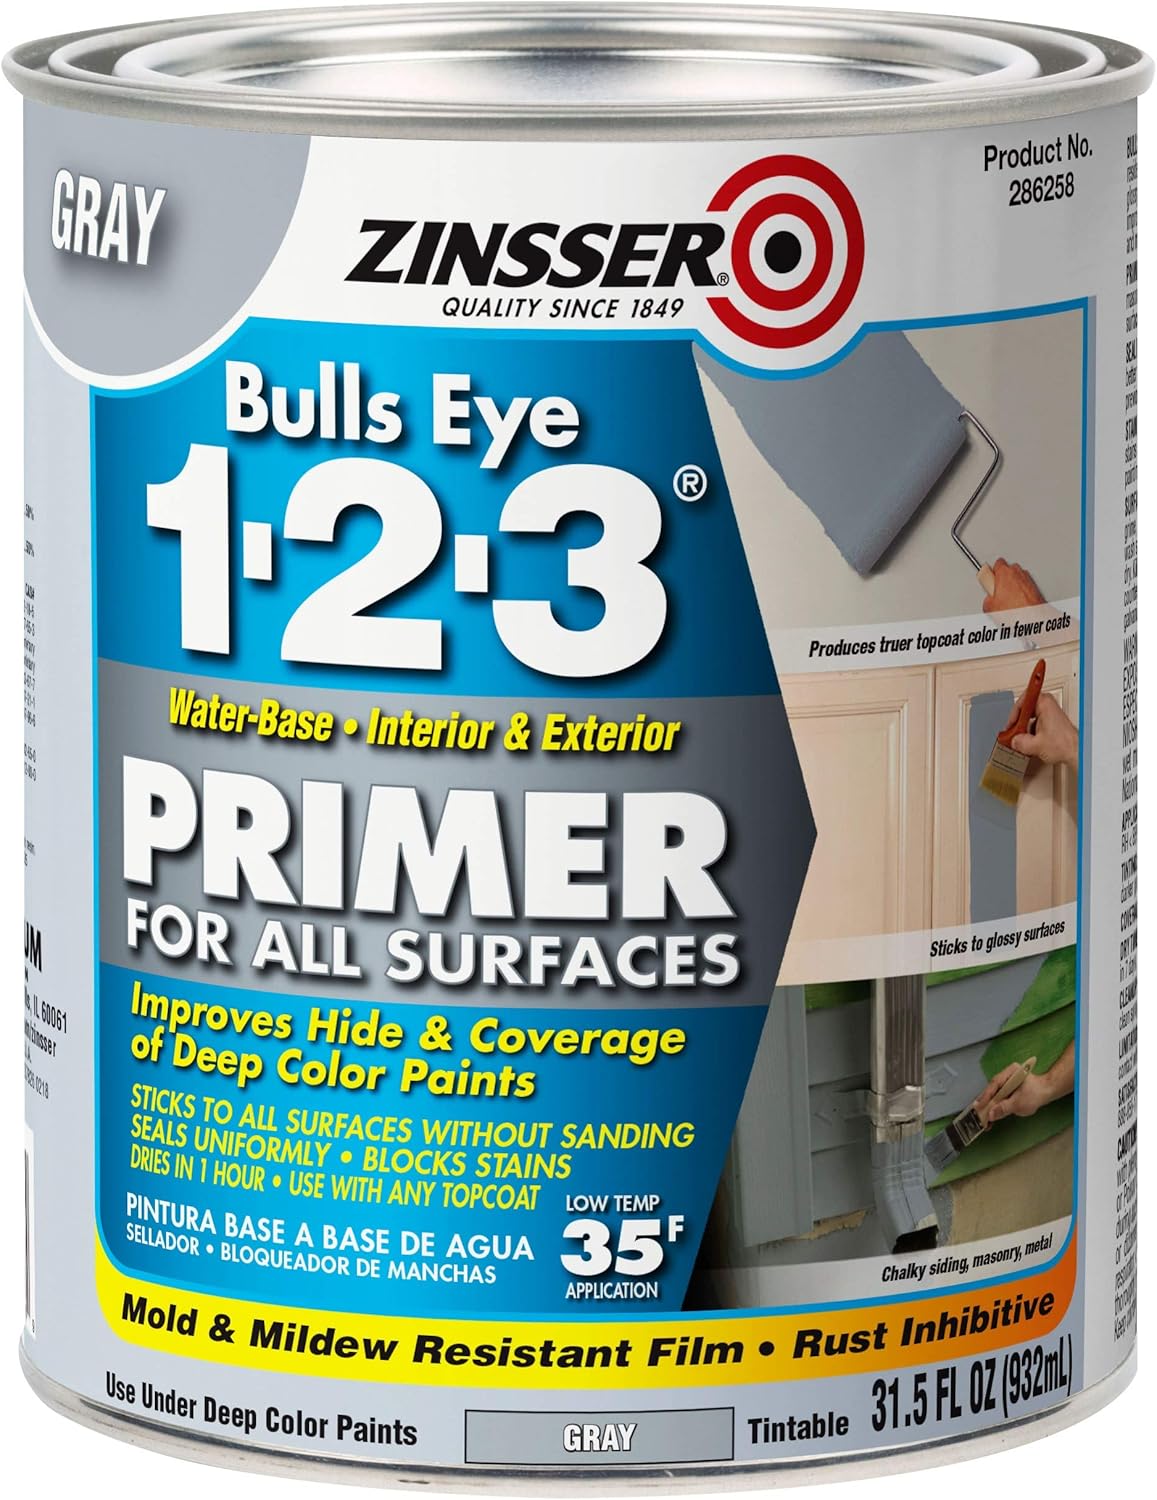
For primers, I’m a huge fan of Rust-Oleum ZINSSER Bulls Eye 1-2-3. What makes it great is its versatility – you can use it both indoors and out. It dries in about 35 minutes, and one coat usually does the trick. Plus, it works in temperatures as low as 35°F, which is perfect for those chilly days. A quart covers roughly 100 square feet, which is pretty decent coverage.
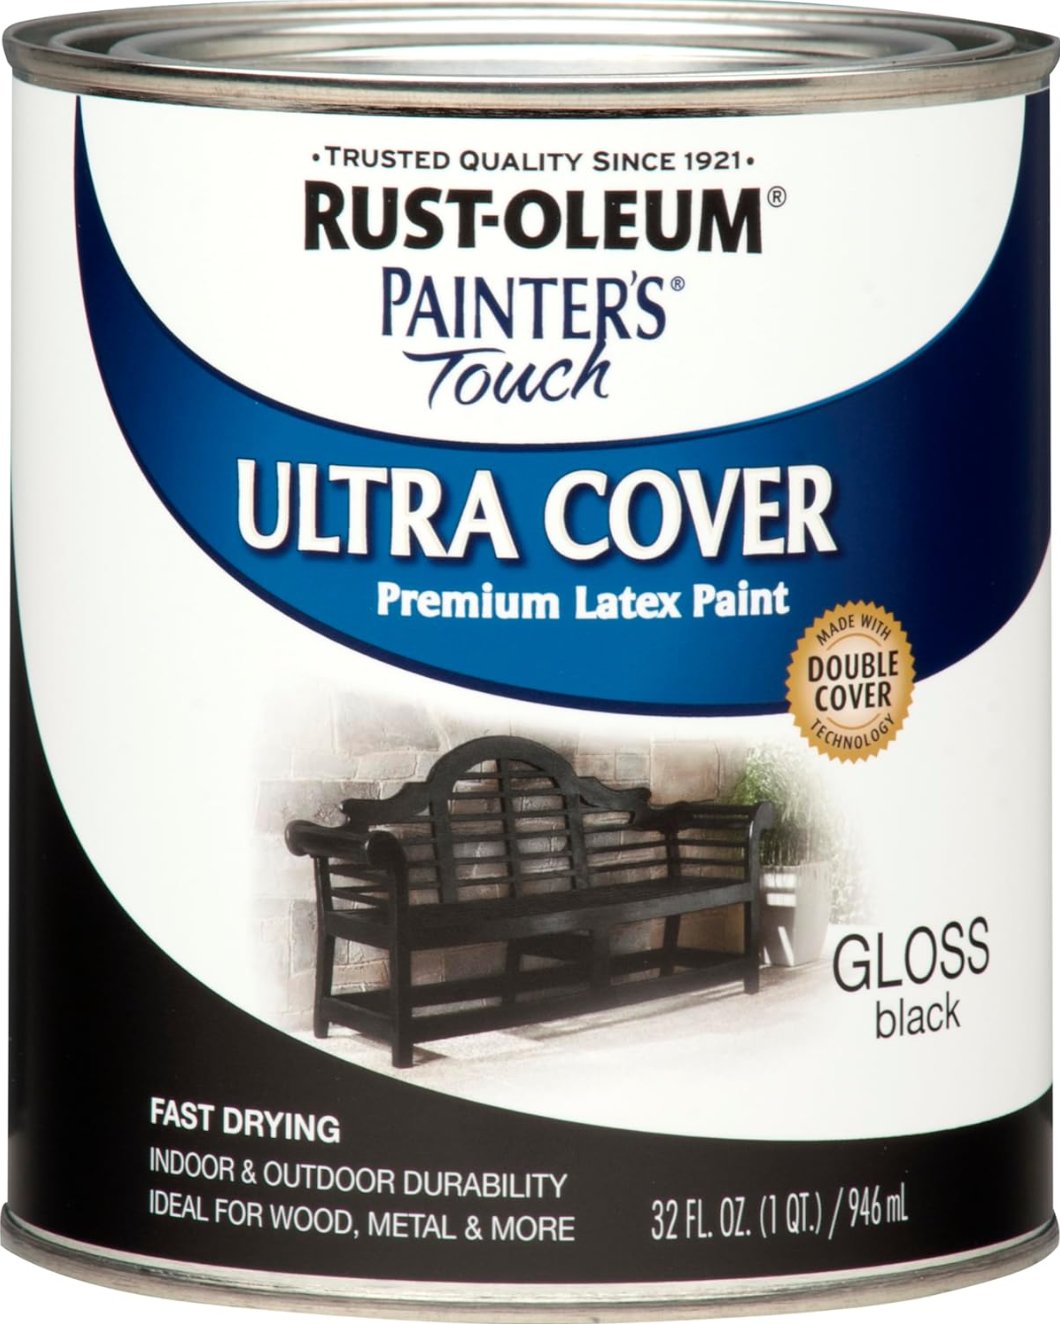
When it comes to paint, here’s what you should know. If you’re watching your budget, Rust-Oleum Painter’s Touch Latex Paint is a solid choice. It goes on smoothly, dries in 30 minutes, and covers about 120 square feet per can.
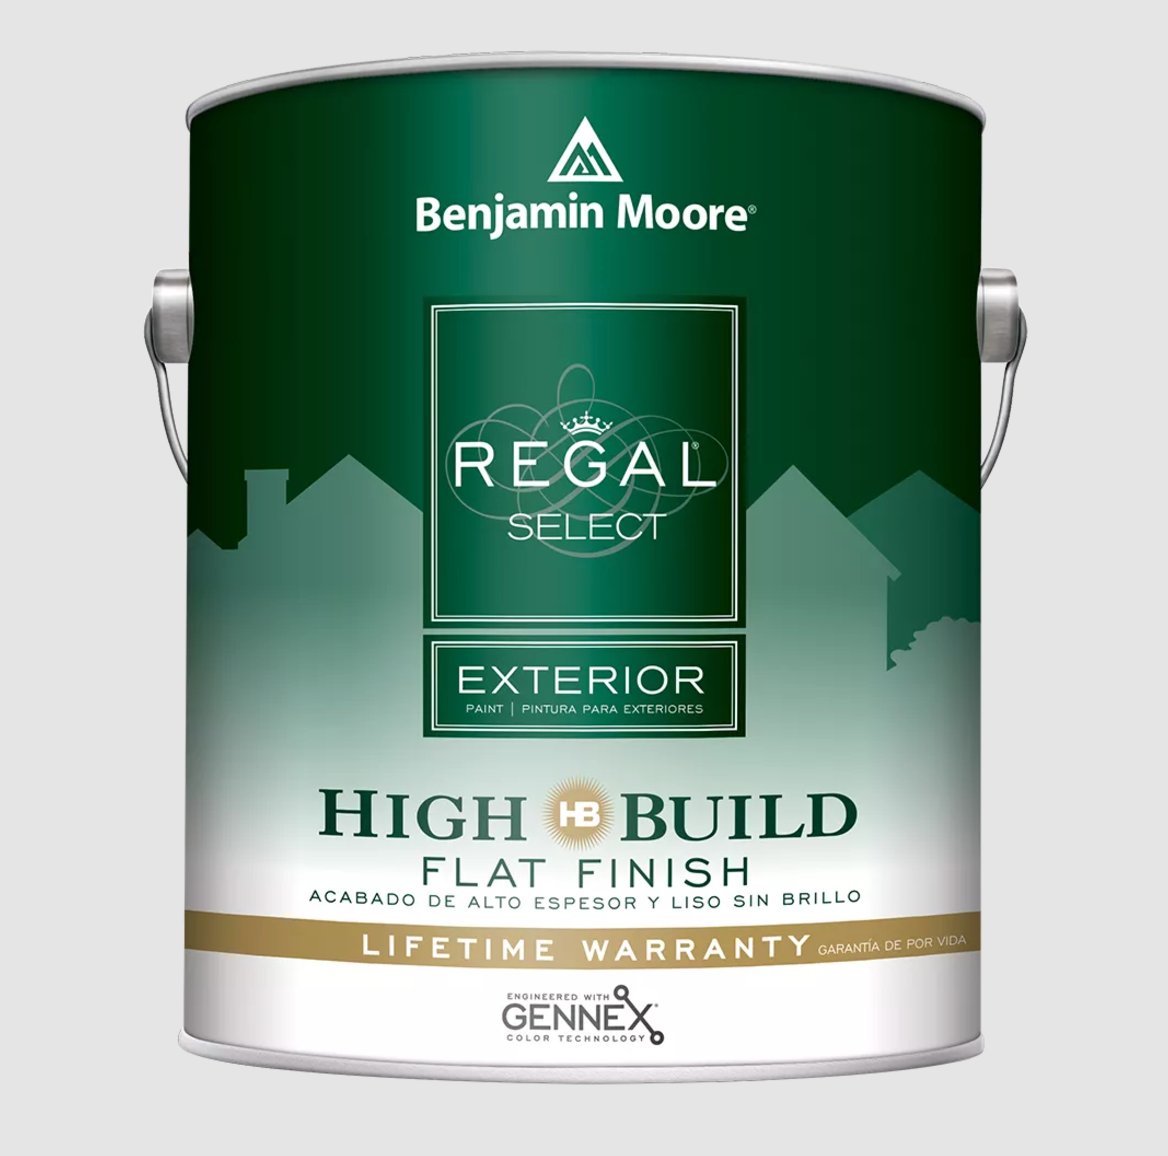
Benjamin Moore is the way to go for those willing to invest a bit more. Their Regal Select Exterior High Build is perfect for tricky surfaces – you can lay it on thick (up to 20 mils), and it’s great at hiding those pesky small cracks.
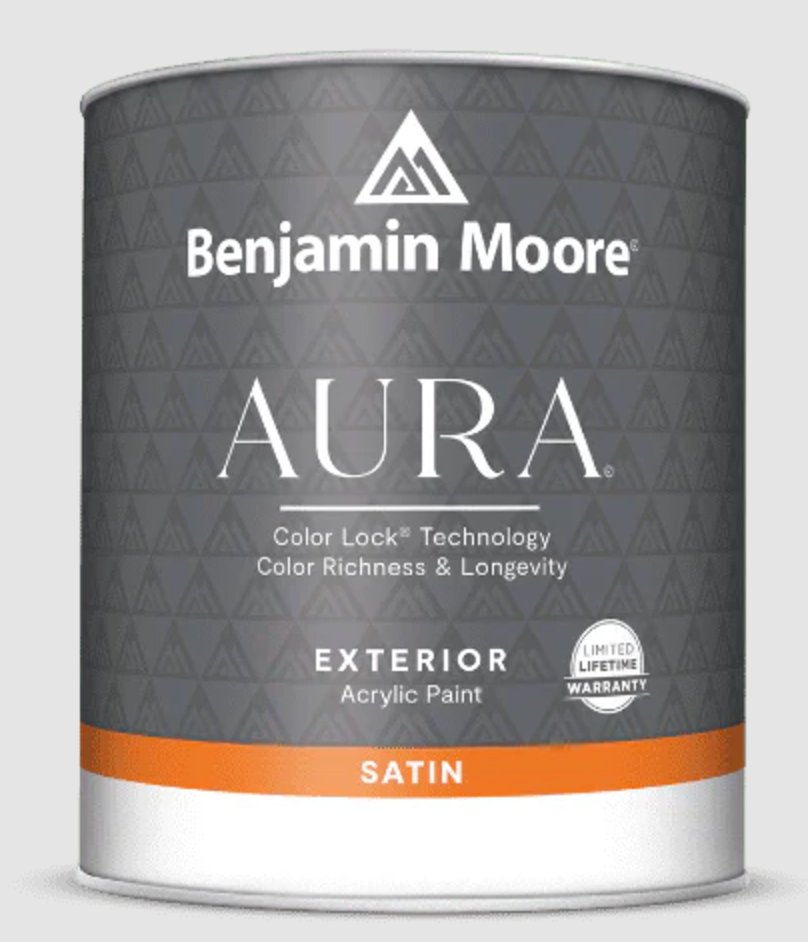
And if you want top-notch color retention, their Aura Exterior Paint with Color Lock® technology is hard to beat. Sure, it’s pricey, but it’s worth every penny for highly visible or important projects.
How to Paint Pressure-Treated Wood
Here’s the thing about painting pressure-treated wood – it’s pretty straightforward as long as you have the right tools. Just take your time and follow these steps:
Tools & Materials:
- Stiff-bristled brush
- Mild cleaner
- Paint roller (3/8-inch nap)
- 4-inch paintbrush
- Exterior primer
- Latex exterior paint
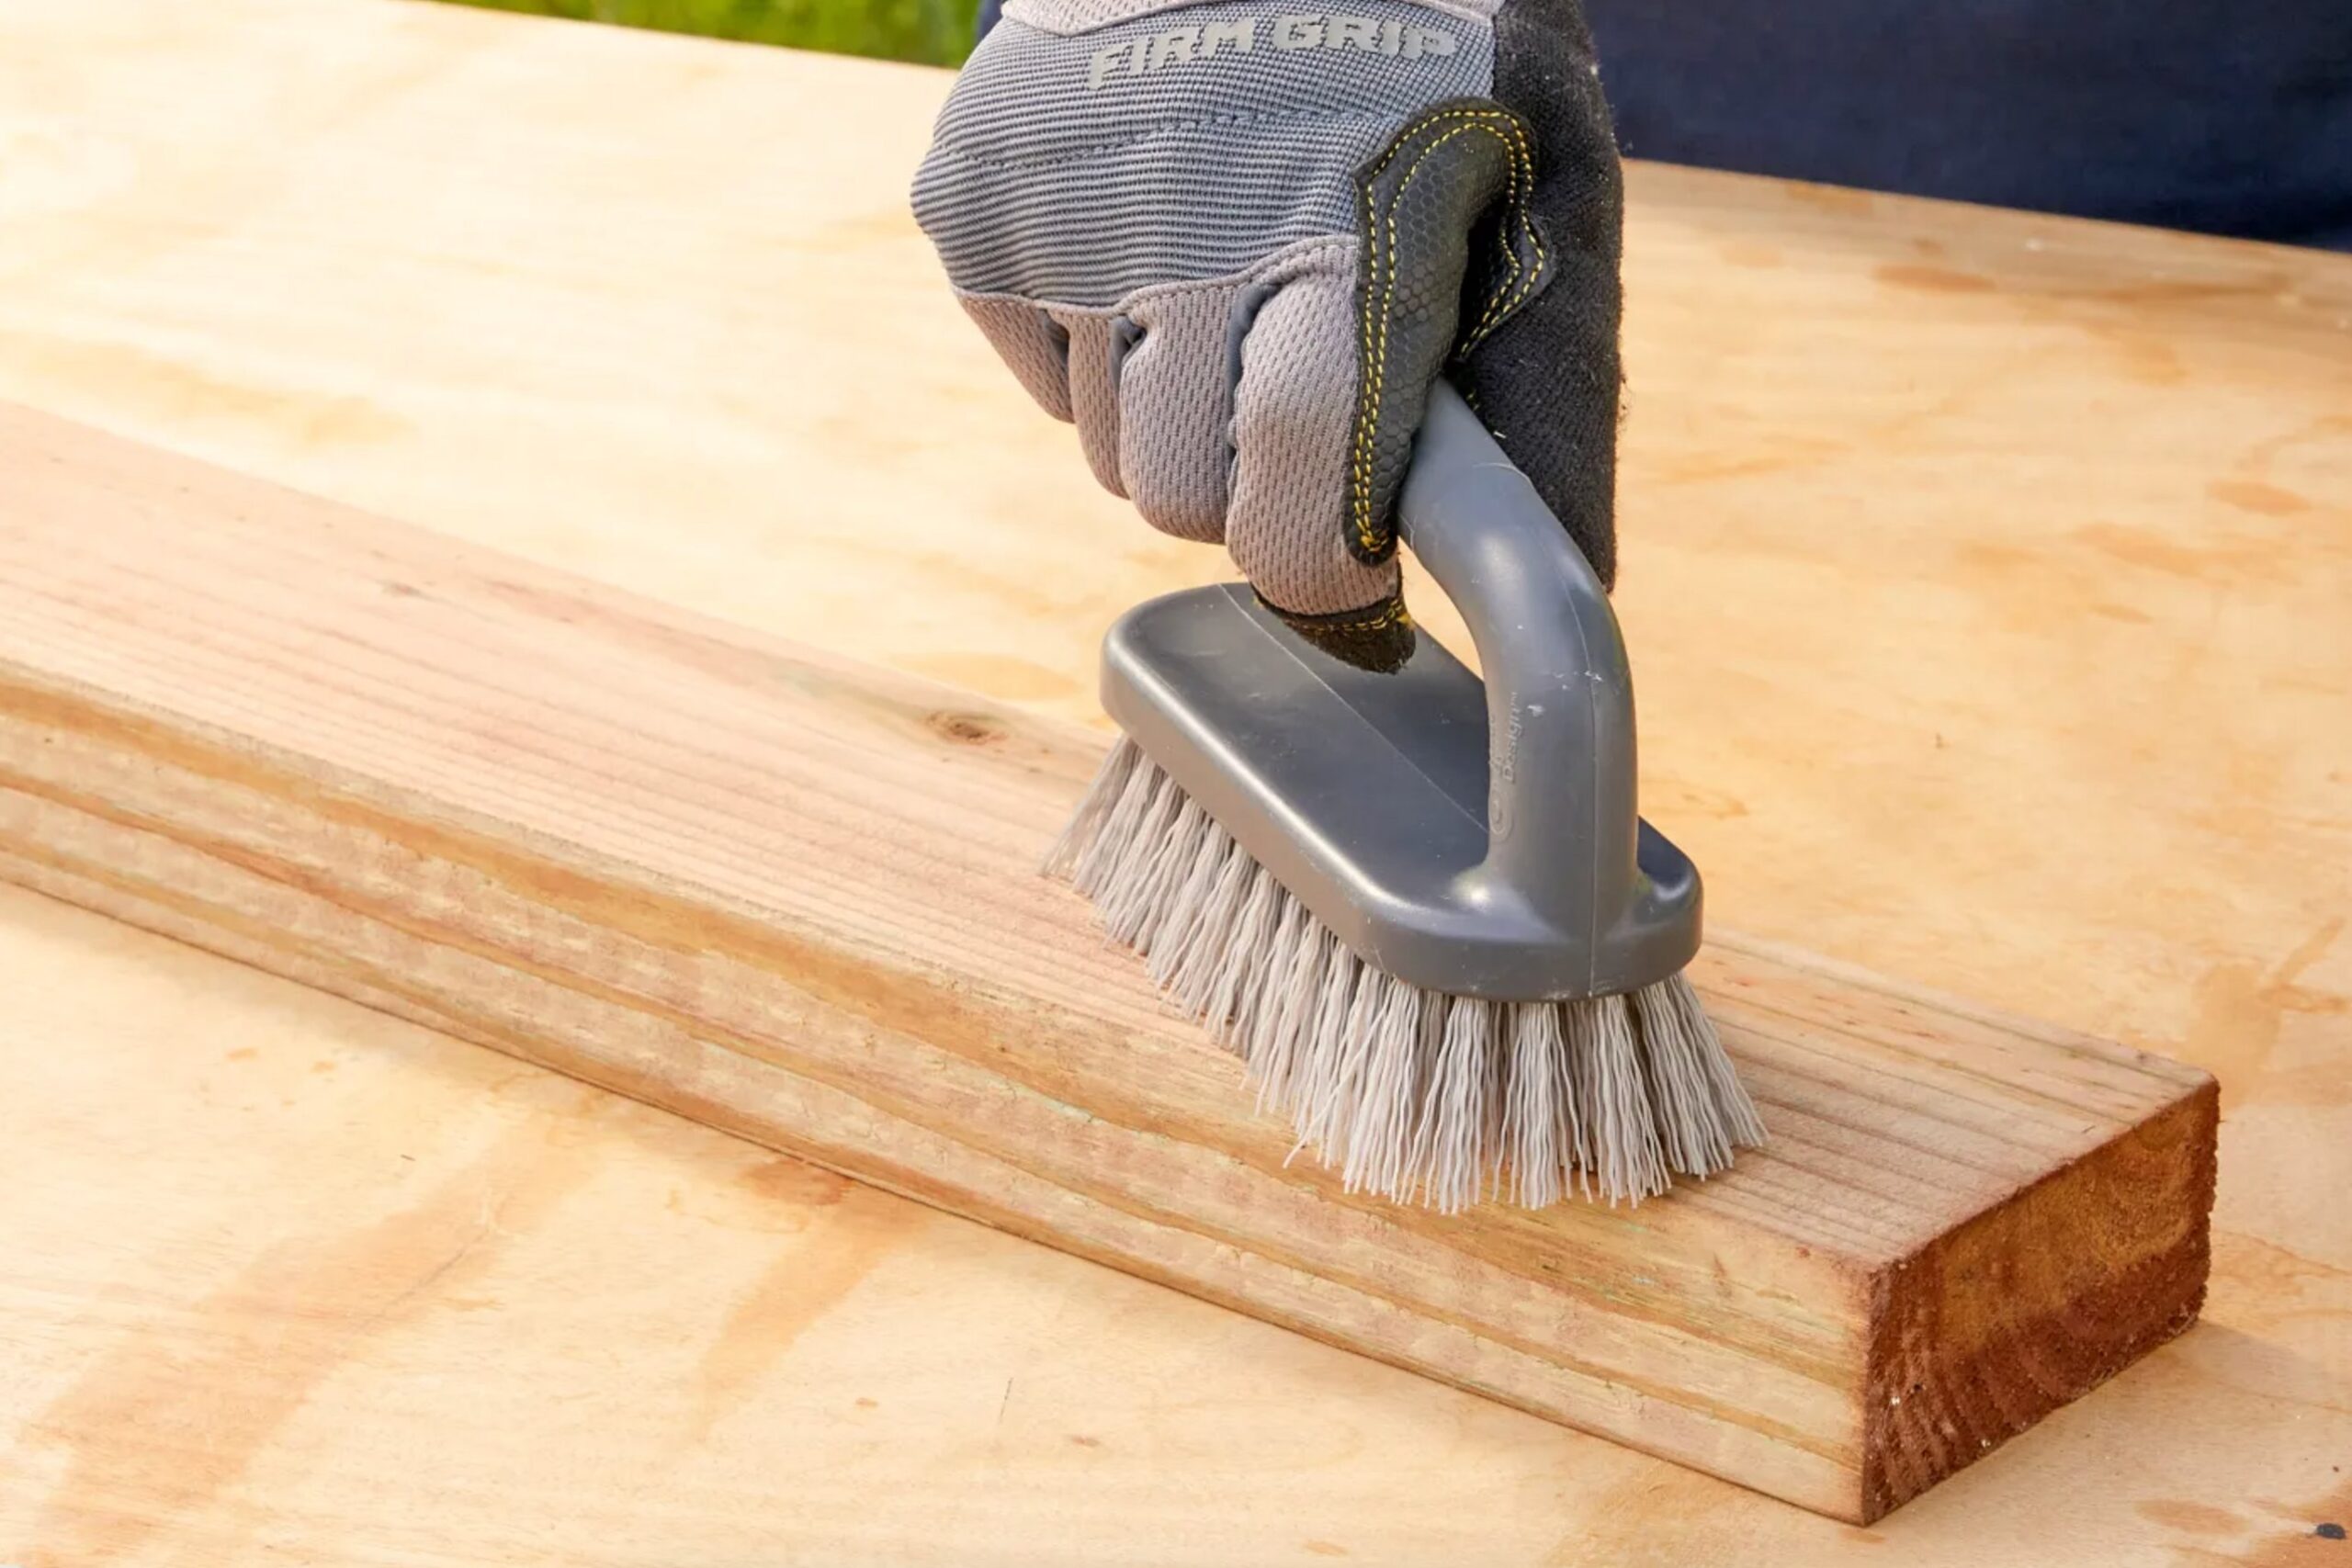
Step 1: Clean the Surface. Start by getting the surface nice and clean. New wood just needs a quick dust-off with a brush. Older wood needs more attention – grab some water with a mild cleaner and a stiff brush. It’s amazing at getting rid of dirt and mildew.
Step 2: Check Moisture Level. Here’s the crucial part – making sure the wood is dry enough. The quick test is dropping water on it – if it soaks in quickly, you’re good to go. Personally, I like using a moisture meter to be sure (you want it under 15%).
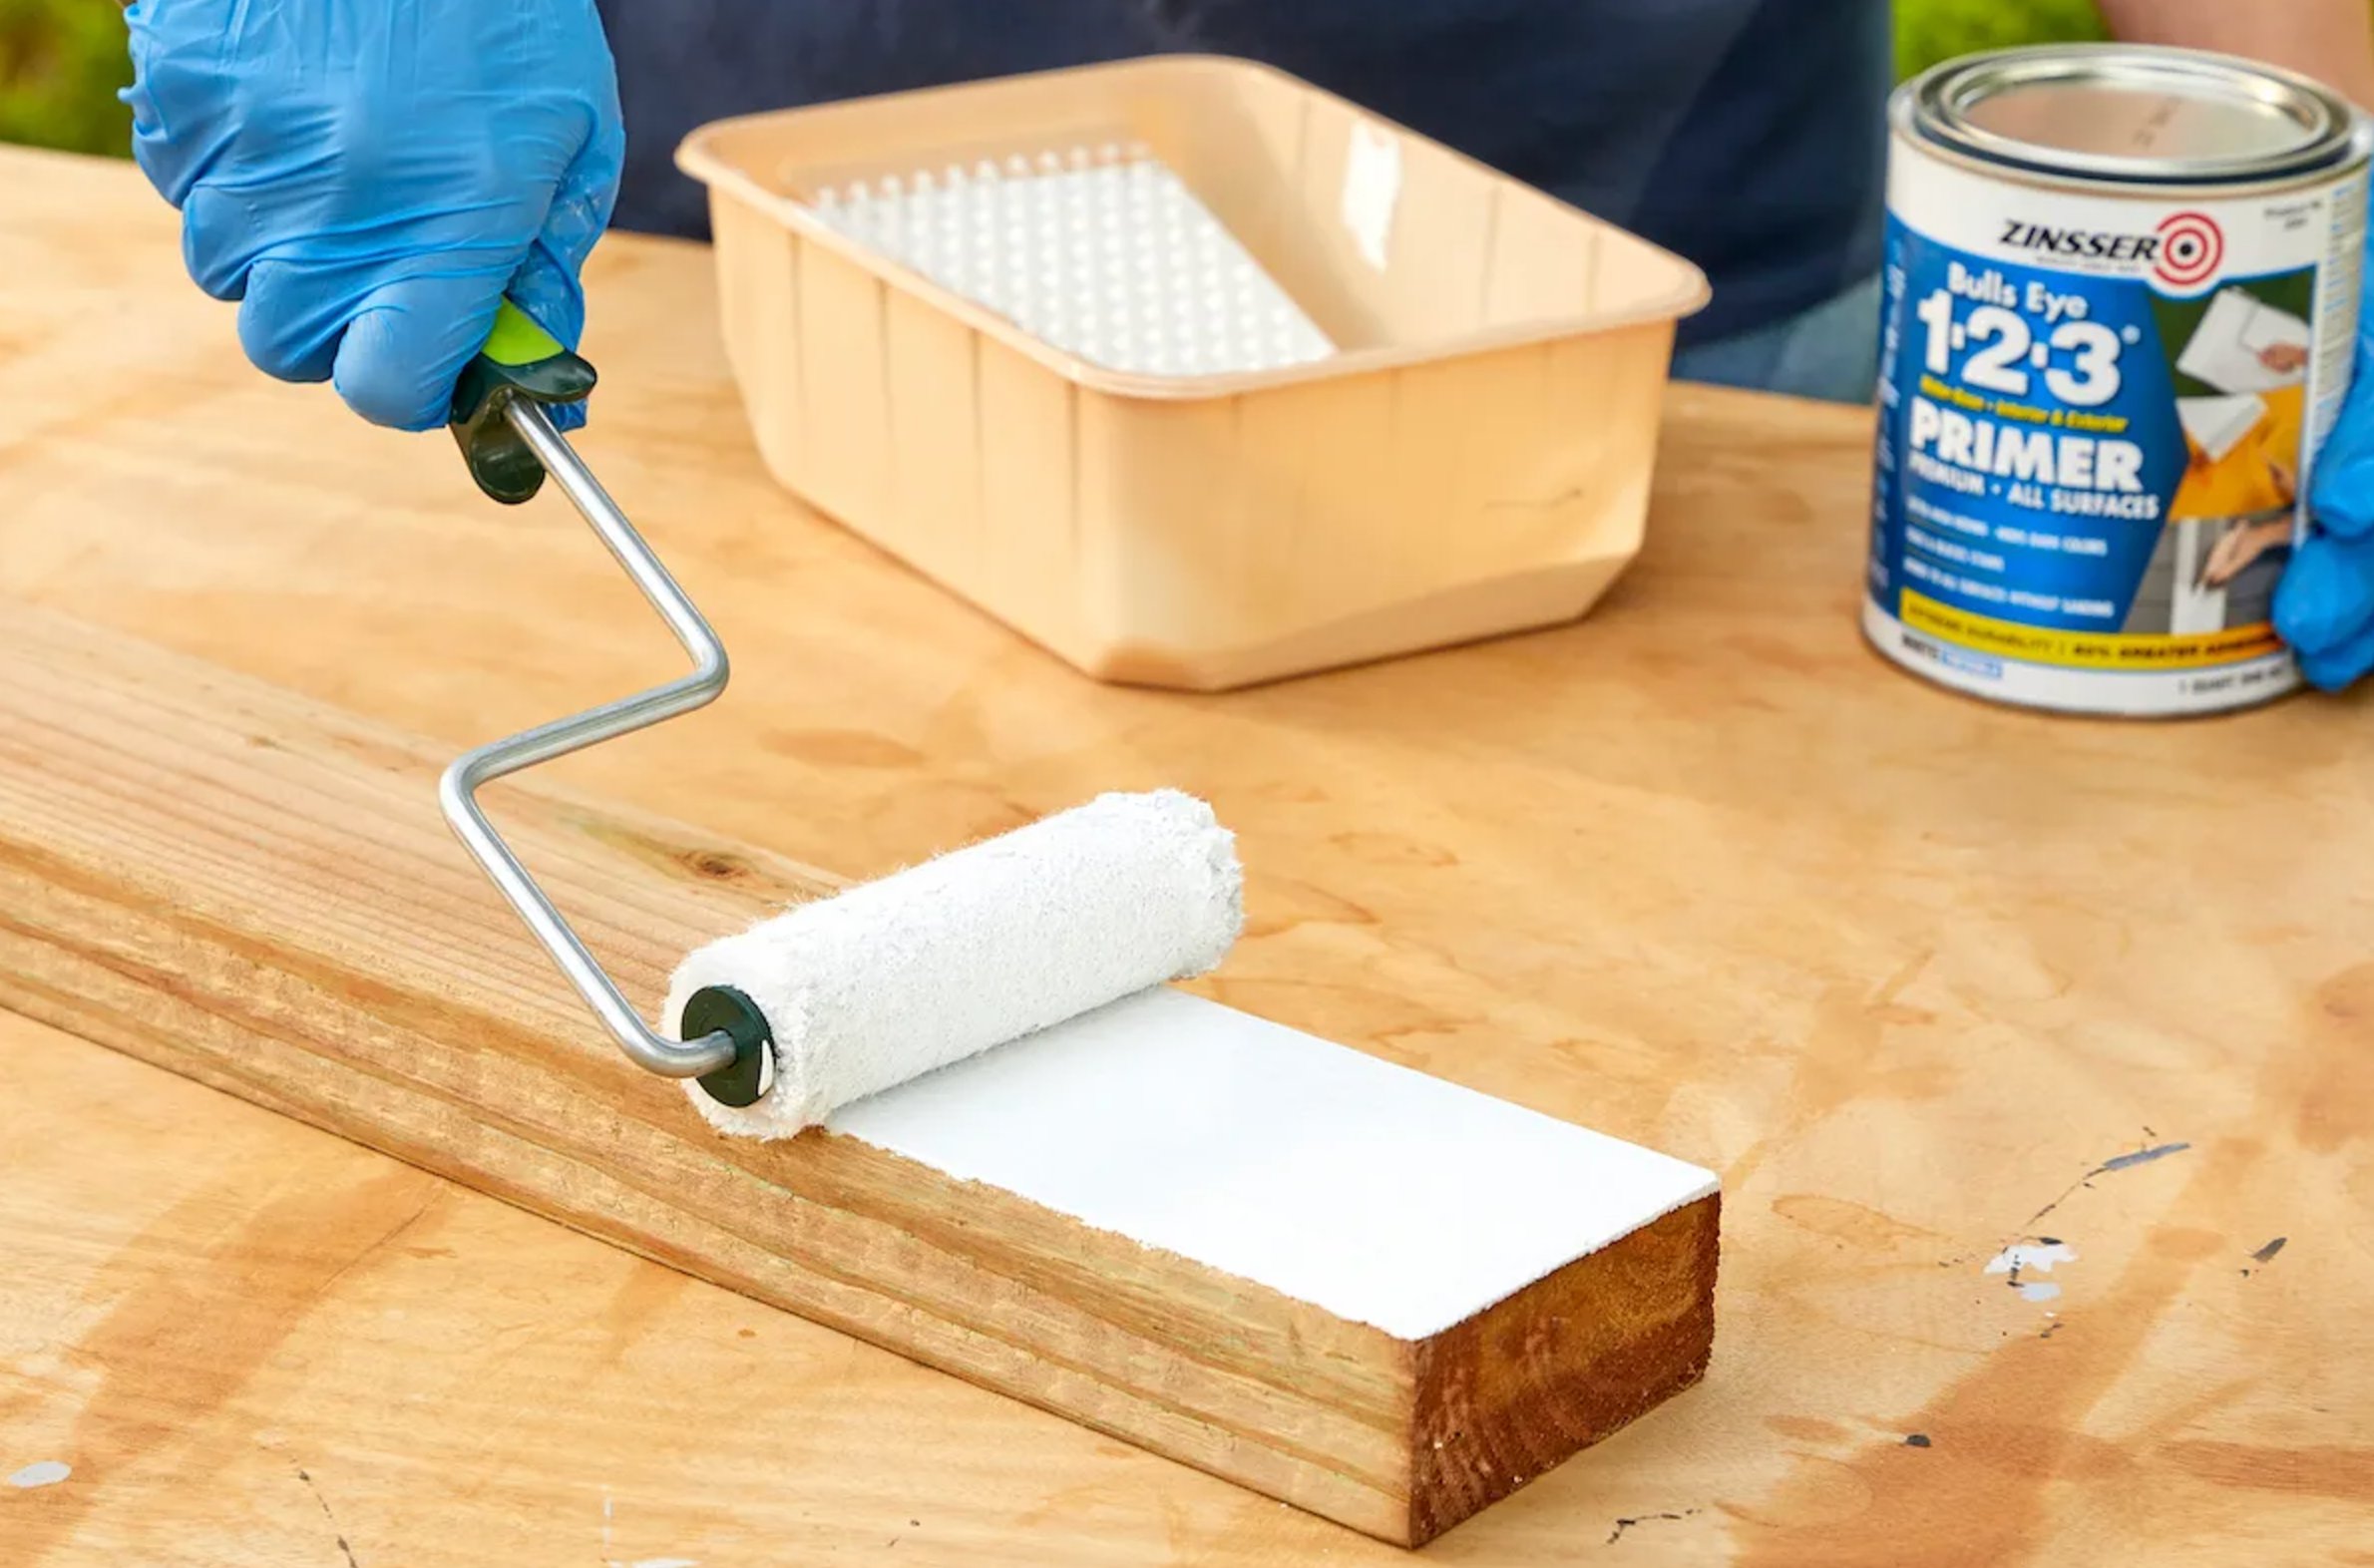
Step 3: Time for primer. Make sure it’s an exterior primer meant for treated wood. Roll it on where you can, and use a brush for the tight spots. Give it a full day to dry – no shortcuts here.
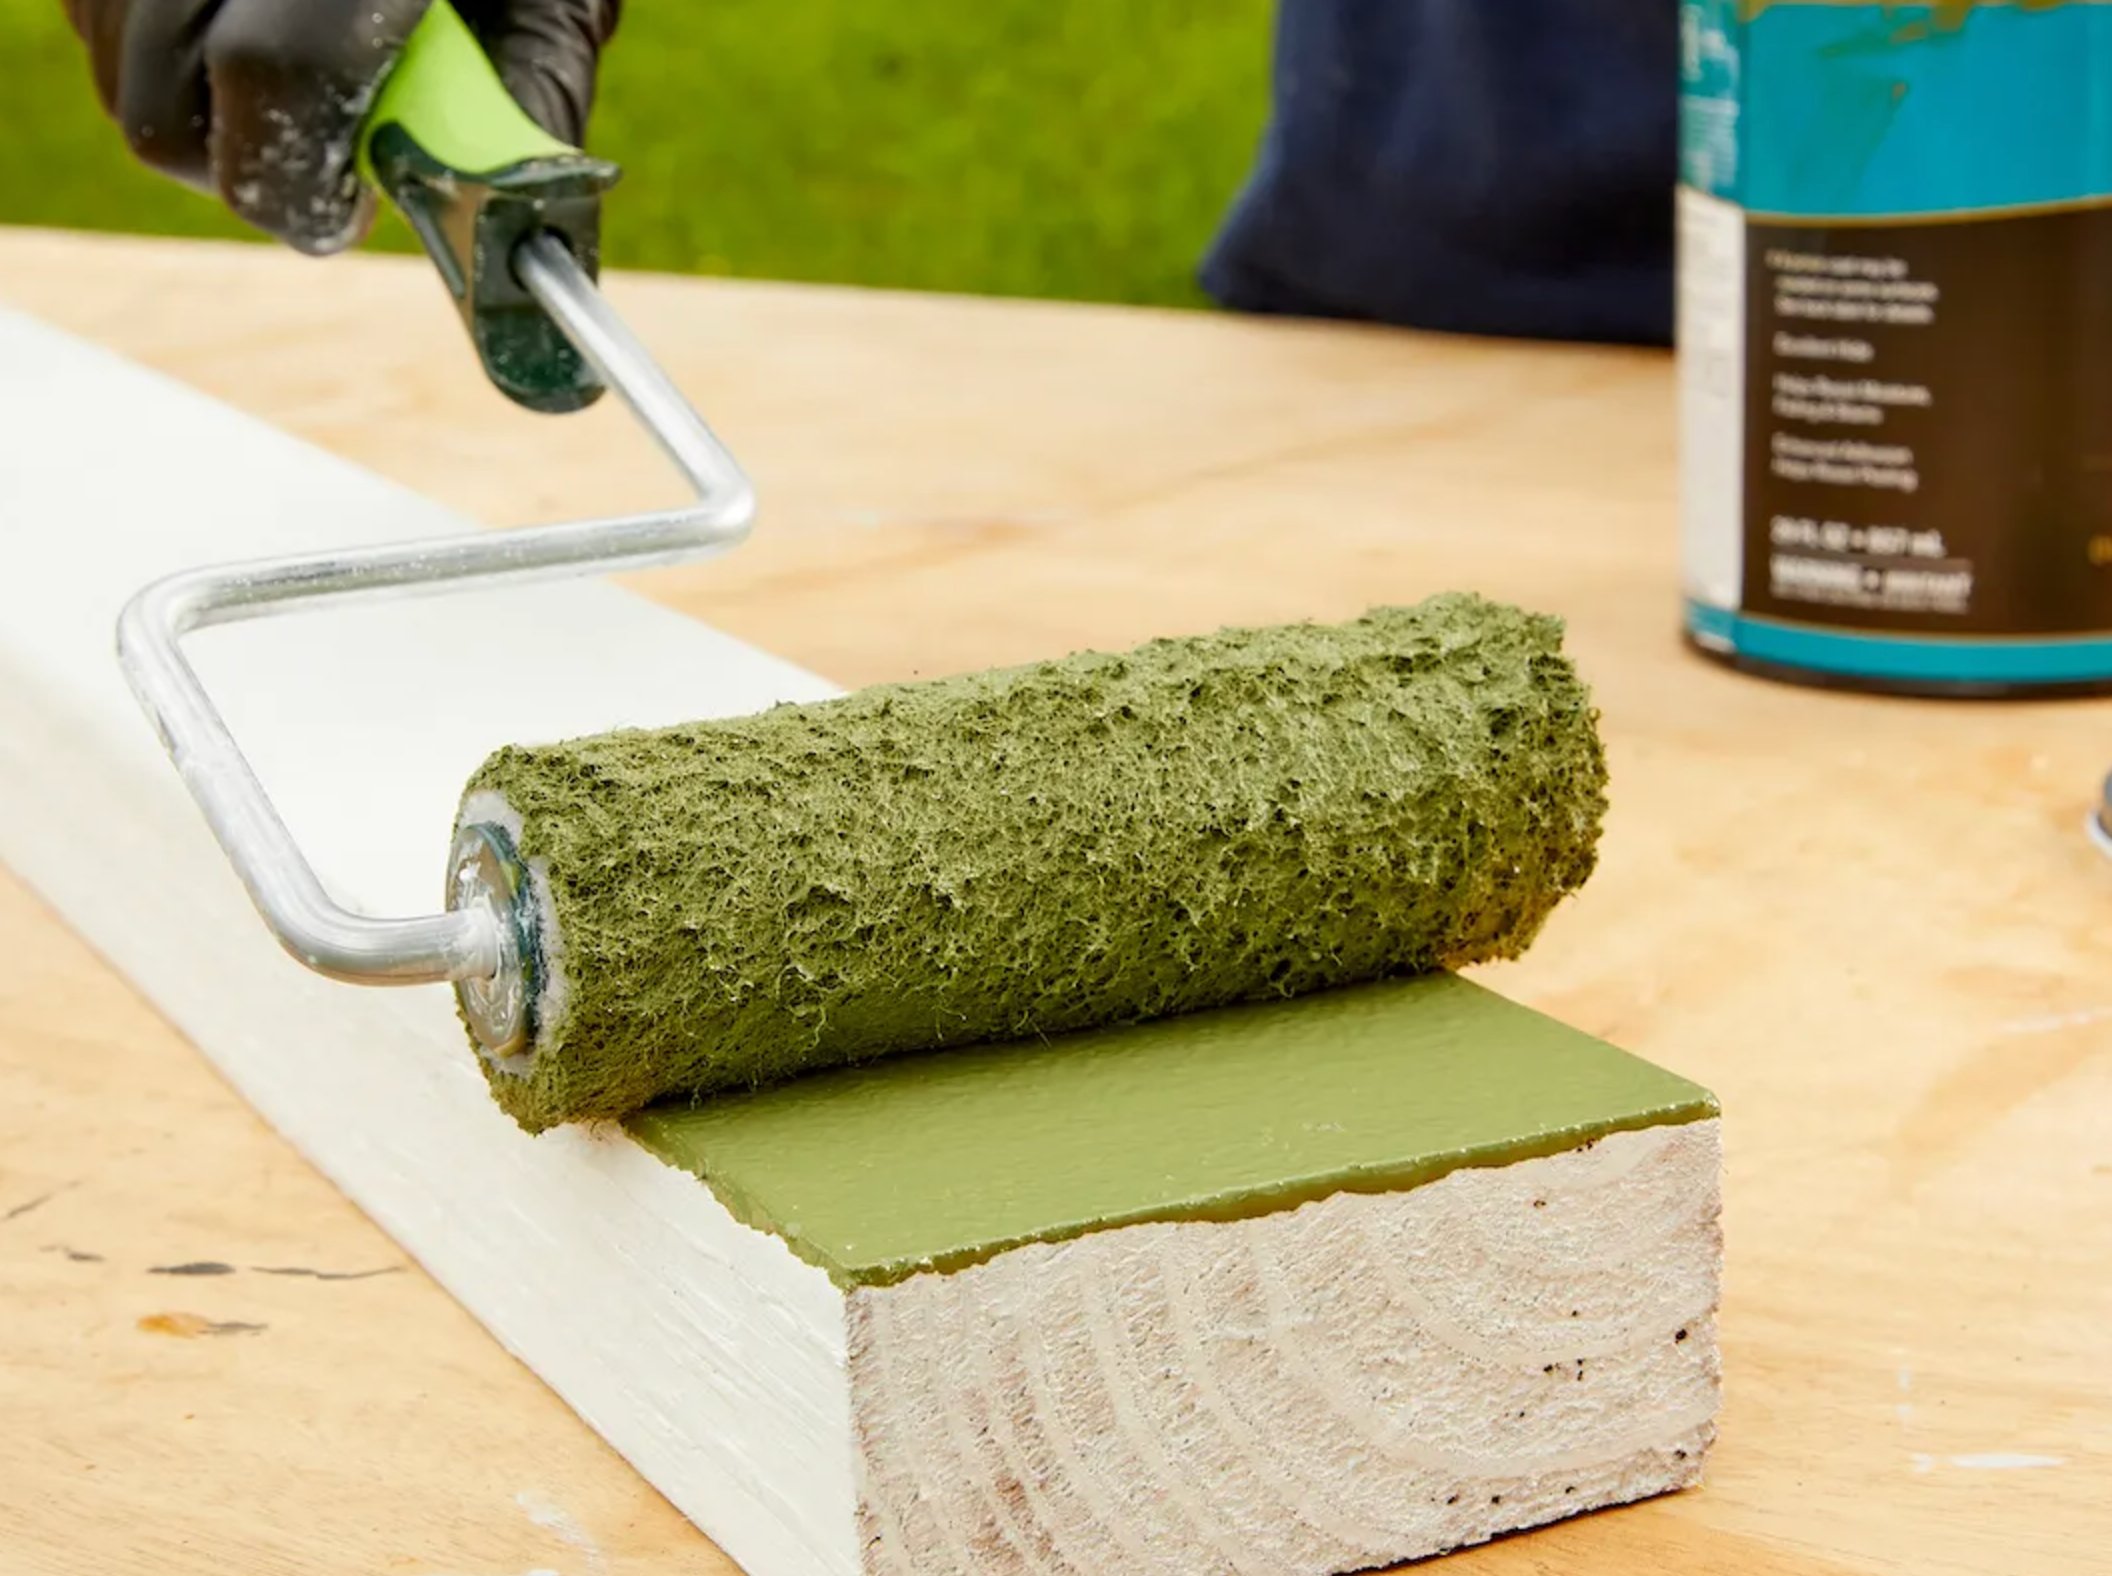
Step 4: Now comes the fun part – painting! Put on two coats of exterior latex paint. Wait 2-3 hours between coats (check the can for exact timing). And skip the oil-based paints – they’re just not right for this job.
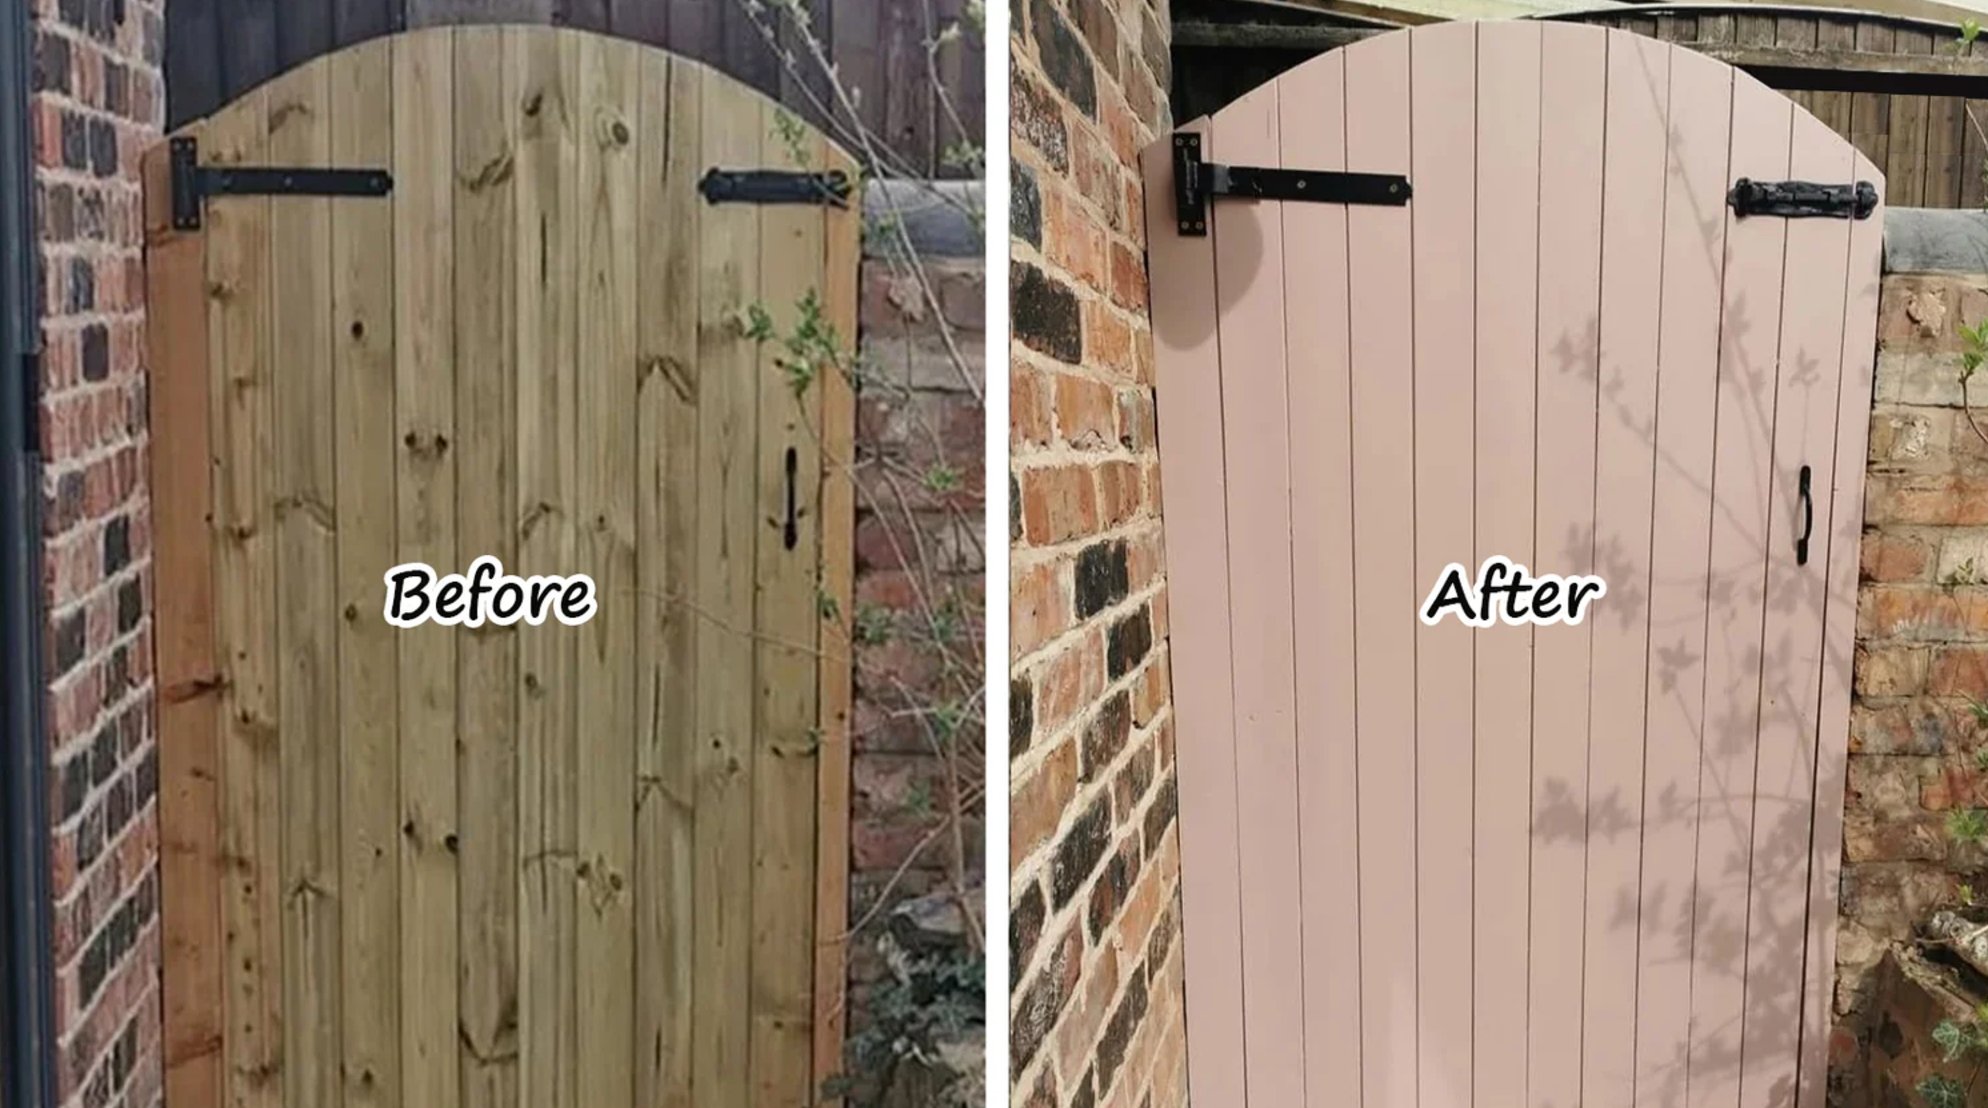
Maintenance Note. You’ll need to touch up the paint every 2-3 years, but it’s definitely worth the effort. The paint doesn’t just make the wood look better – it’s like giving it a protective shield.
Remember, painting pressure-treated wood isn’t rocket science. Get suitable materials, be patient, and follow the steps. Do that, and you’ll have results that last for years. Good luck with your project!