When I first used a paint sprayer for painting kitchen cabinets, it completely changed my approach to DIY projects! I remember standing there in shock, looking at the perfectly smooth finish — no drips, no brush marks. Since then, I’ve repainted practically everything in my house, from walls and doors to garden furniture.
A paint sprayer turns tedious work into a quick and enjoyable process. Instead of spending hours with a brush or roller, you can apply an even coat of paint in just minutes. Moreover, the result often beats hand painting — especially on complex surfaces.
In this article, I’ll tell you about three paint sprayers I frequently use in projects. Each one is suitable for specific tasks and skill levels — from compact HVLP sprayers for small projects to powerful airless systems for large-scale work.
What Can You Actually Paint With a Paint Sprayer?
A paint sprayer lets you tackle pretty much anything – from tiny figurines to entire house exteriors!
From my experience, paint sprayers really shine when it comes to tricky surfaces. Those ornate chair backs, textured walls, and fancy decorative pieces that would have you twisting and turning with a brush or roller? A sprayer reaches all those nooks and crannies without breaking a sweat.
Let me break down where these tools really excel:
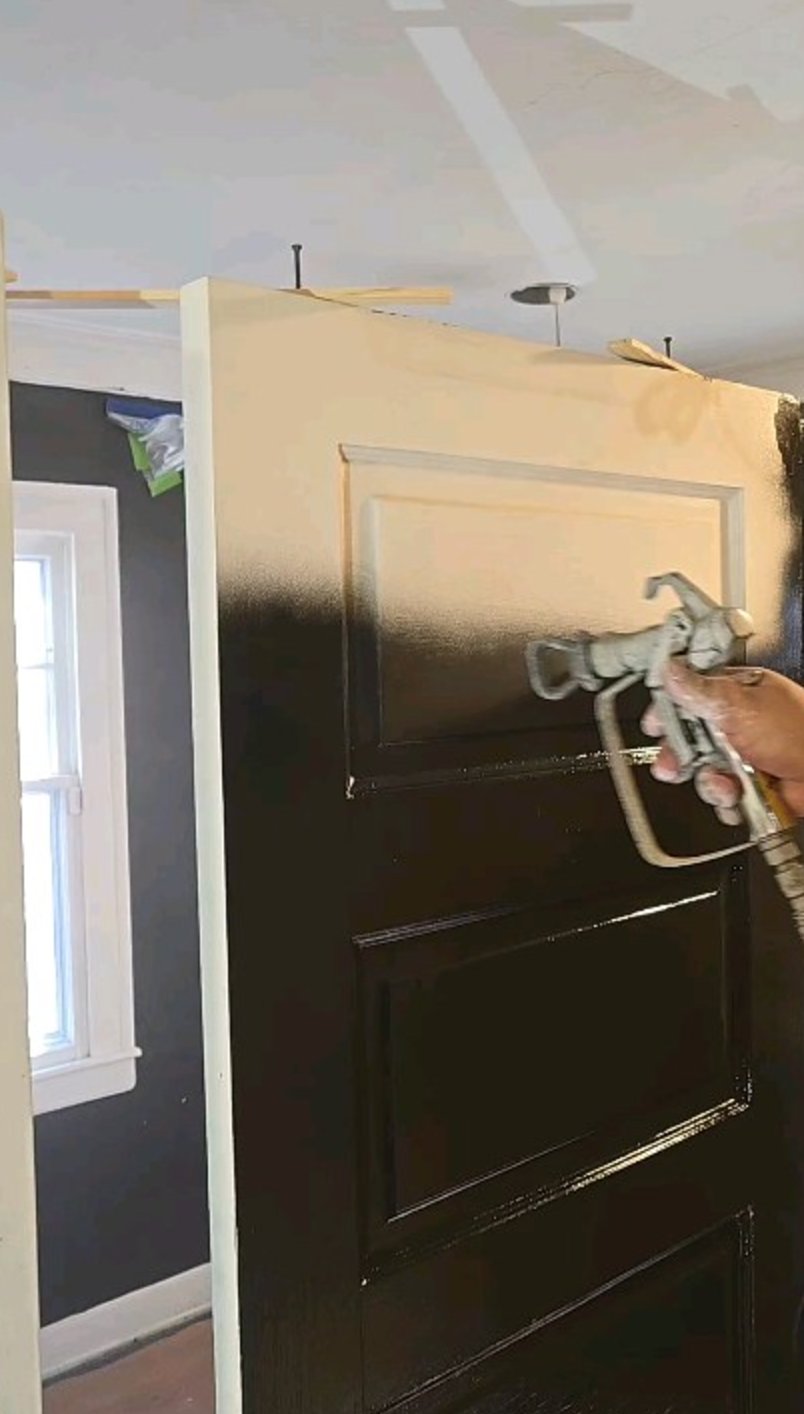
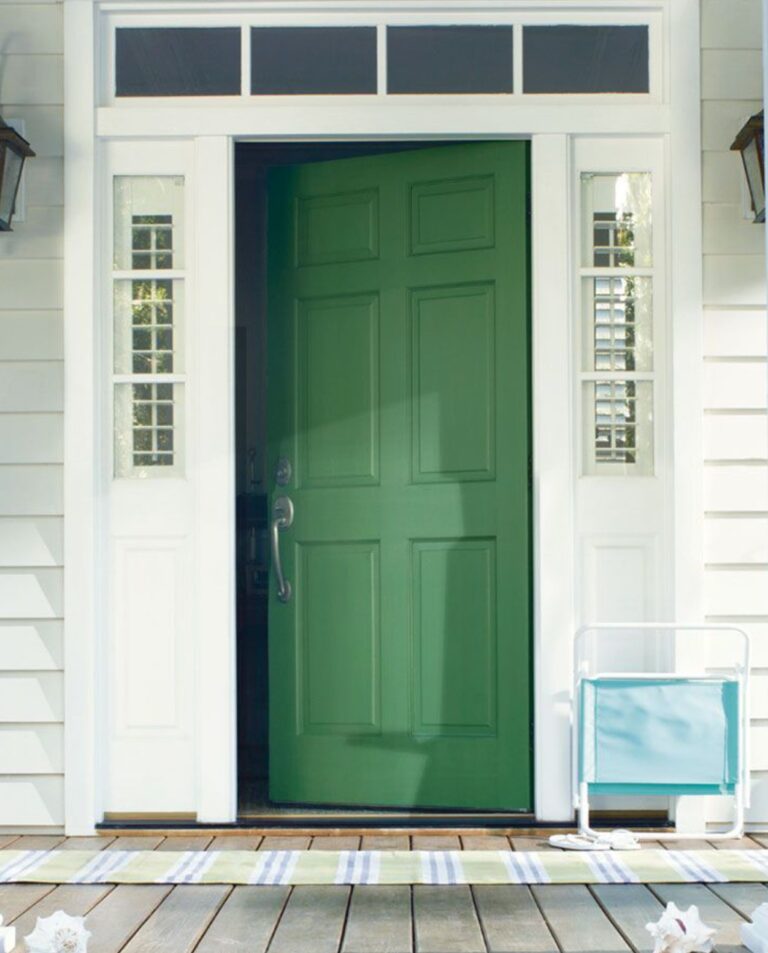
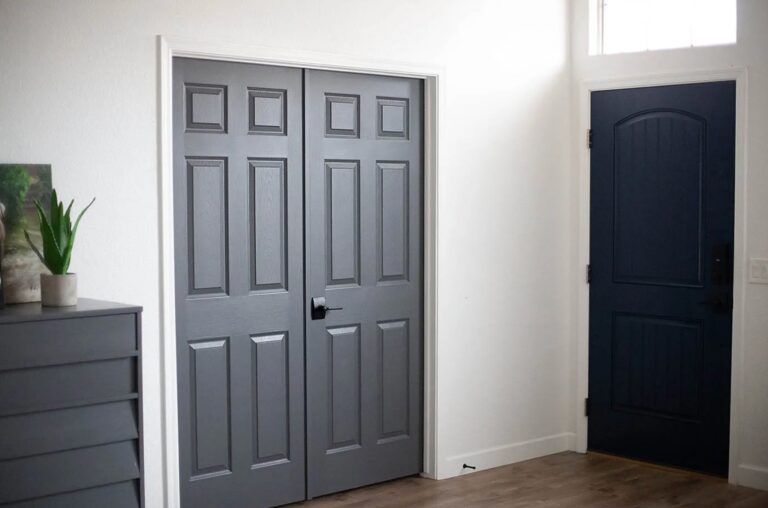
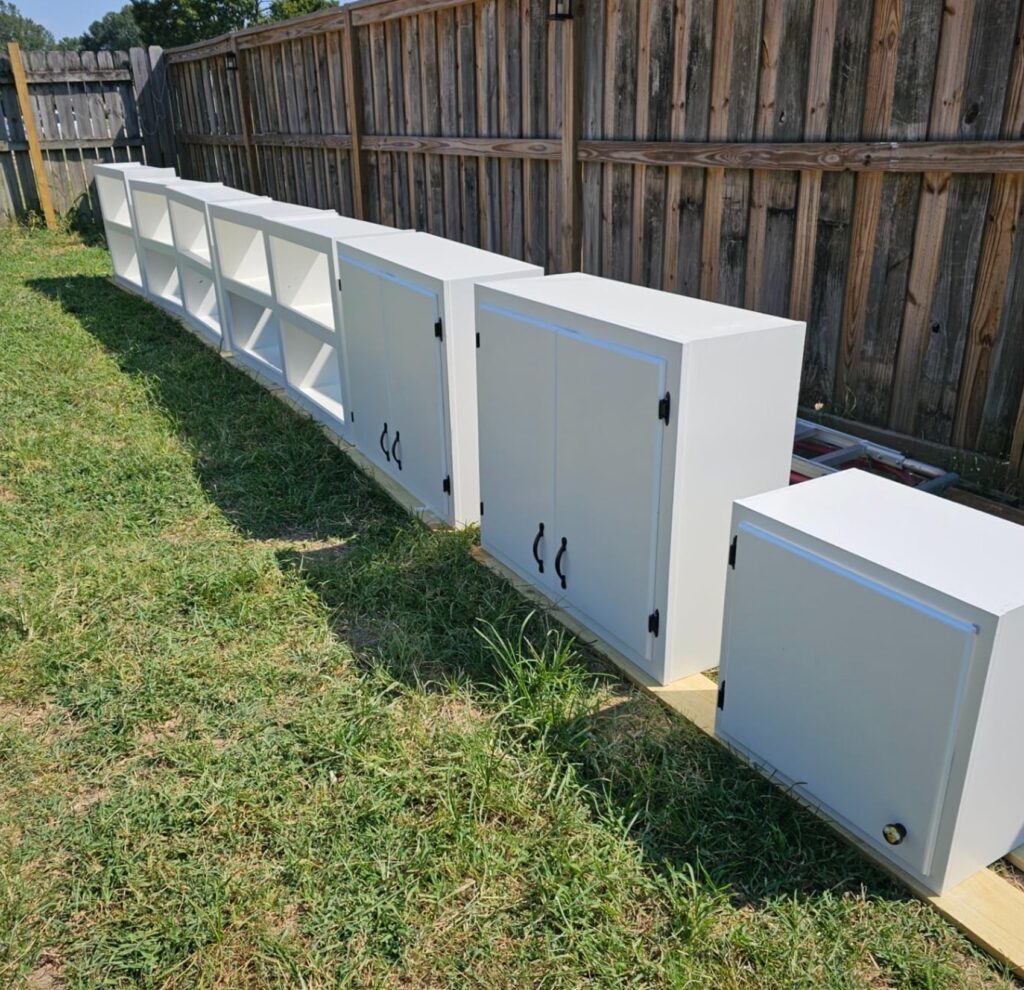
Inside your home, they’re perfect for walls, ceilings, and especially kitchen cabinets. The finish comes out so smooth that people have actually asked me if I hired professionals to do the job.
And talk about time savings – you can knock out an entire room in a couple of hours instead of spending a whole day with a roller!
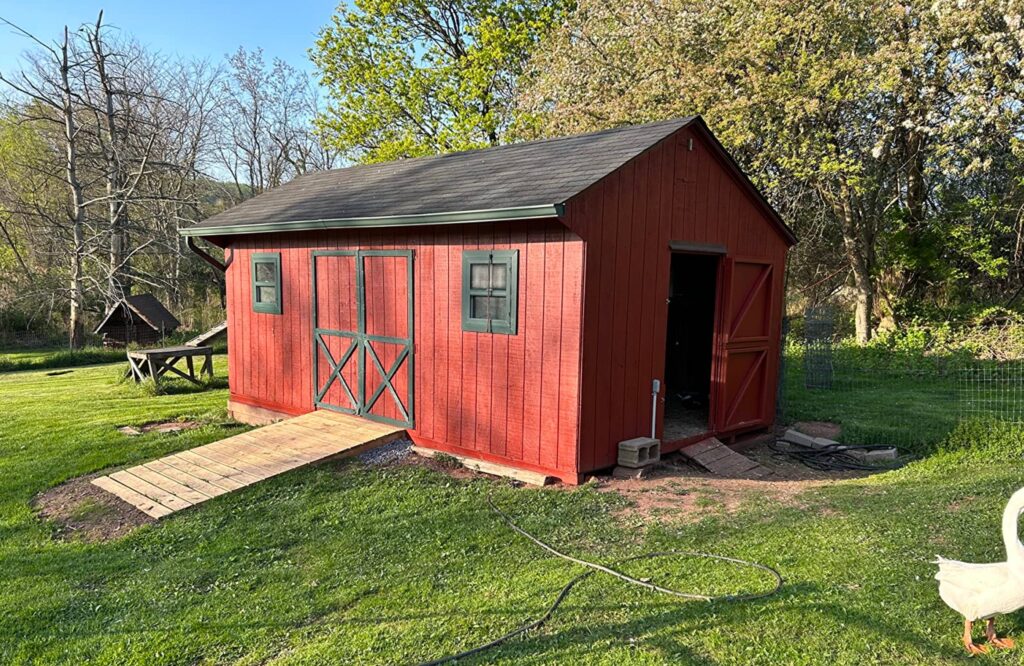
Outside, paint sprayers are game-changers for large surfaces. That fence that would’ve eaten up days with a brush? It becomes a single-morning project with a sprayer. The same goes for decks and house exteriors – the speed and even coverage will blow you away.
As for furniture, this is where paint sprayers really come into their own. They’re perfect for wooden pieces with intricate details – carved chairs, decorative dressers, and wicker furniture. The paint goes on in a nice, thin layer that enhances the texture instead of hiding it.
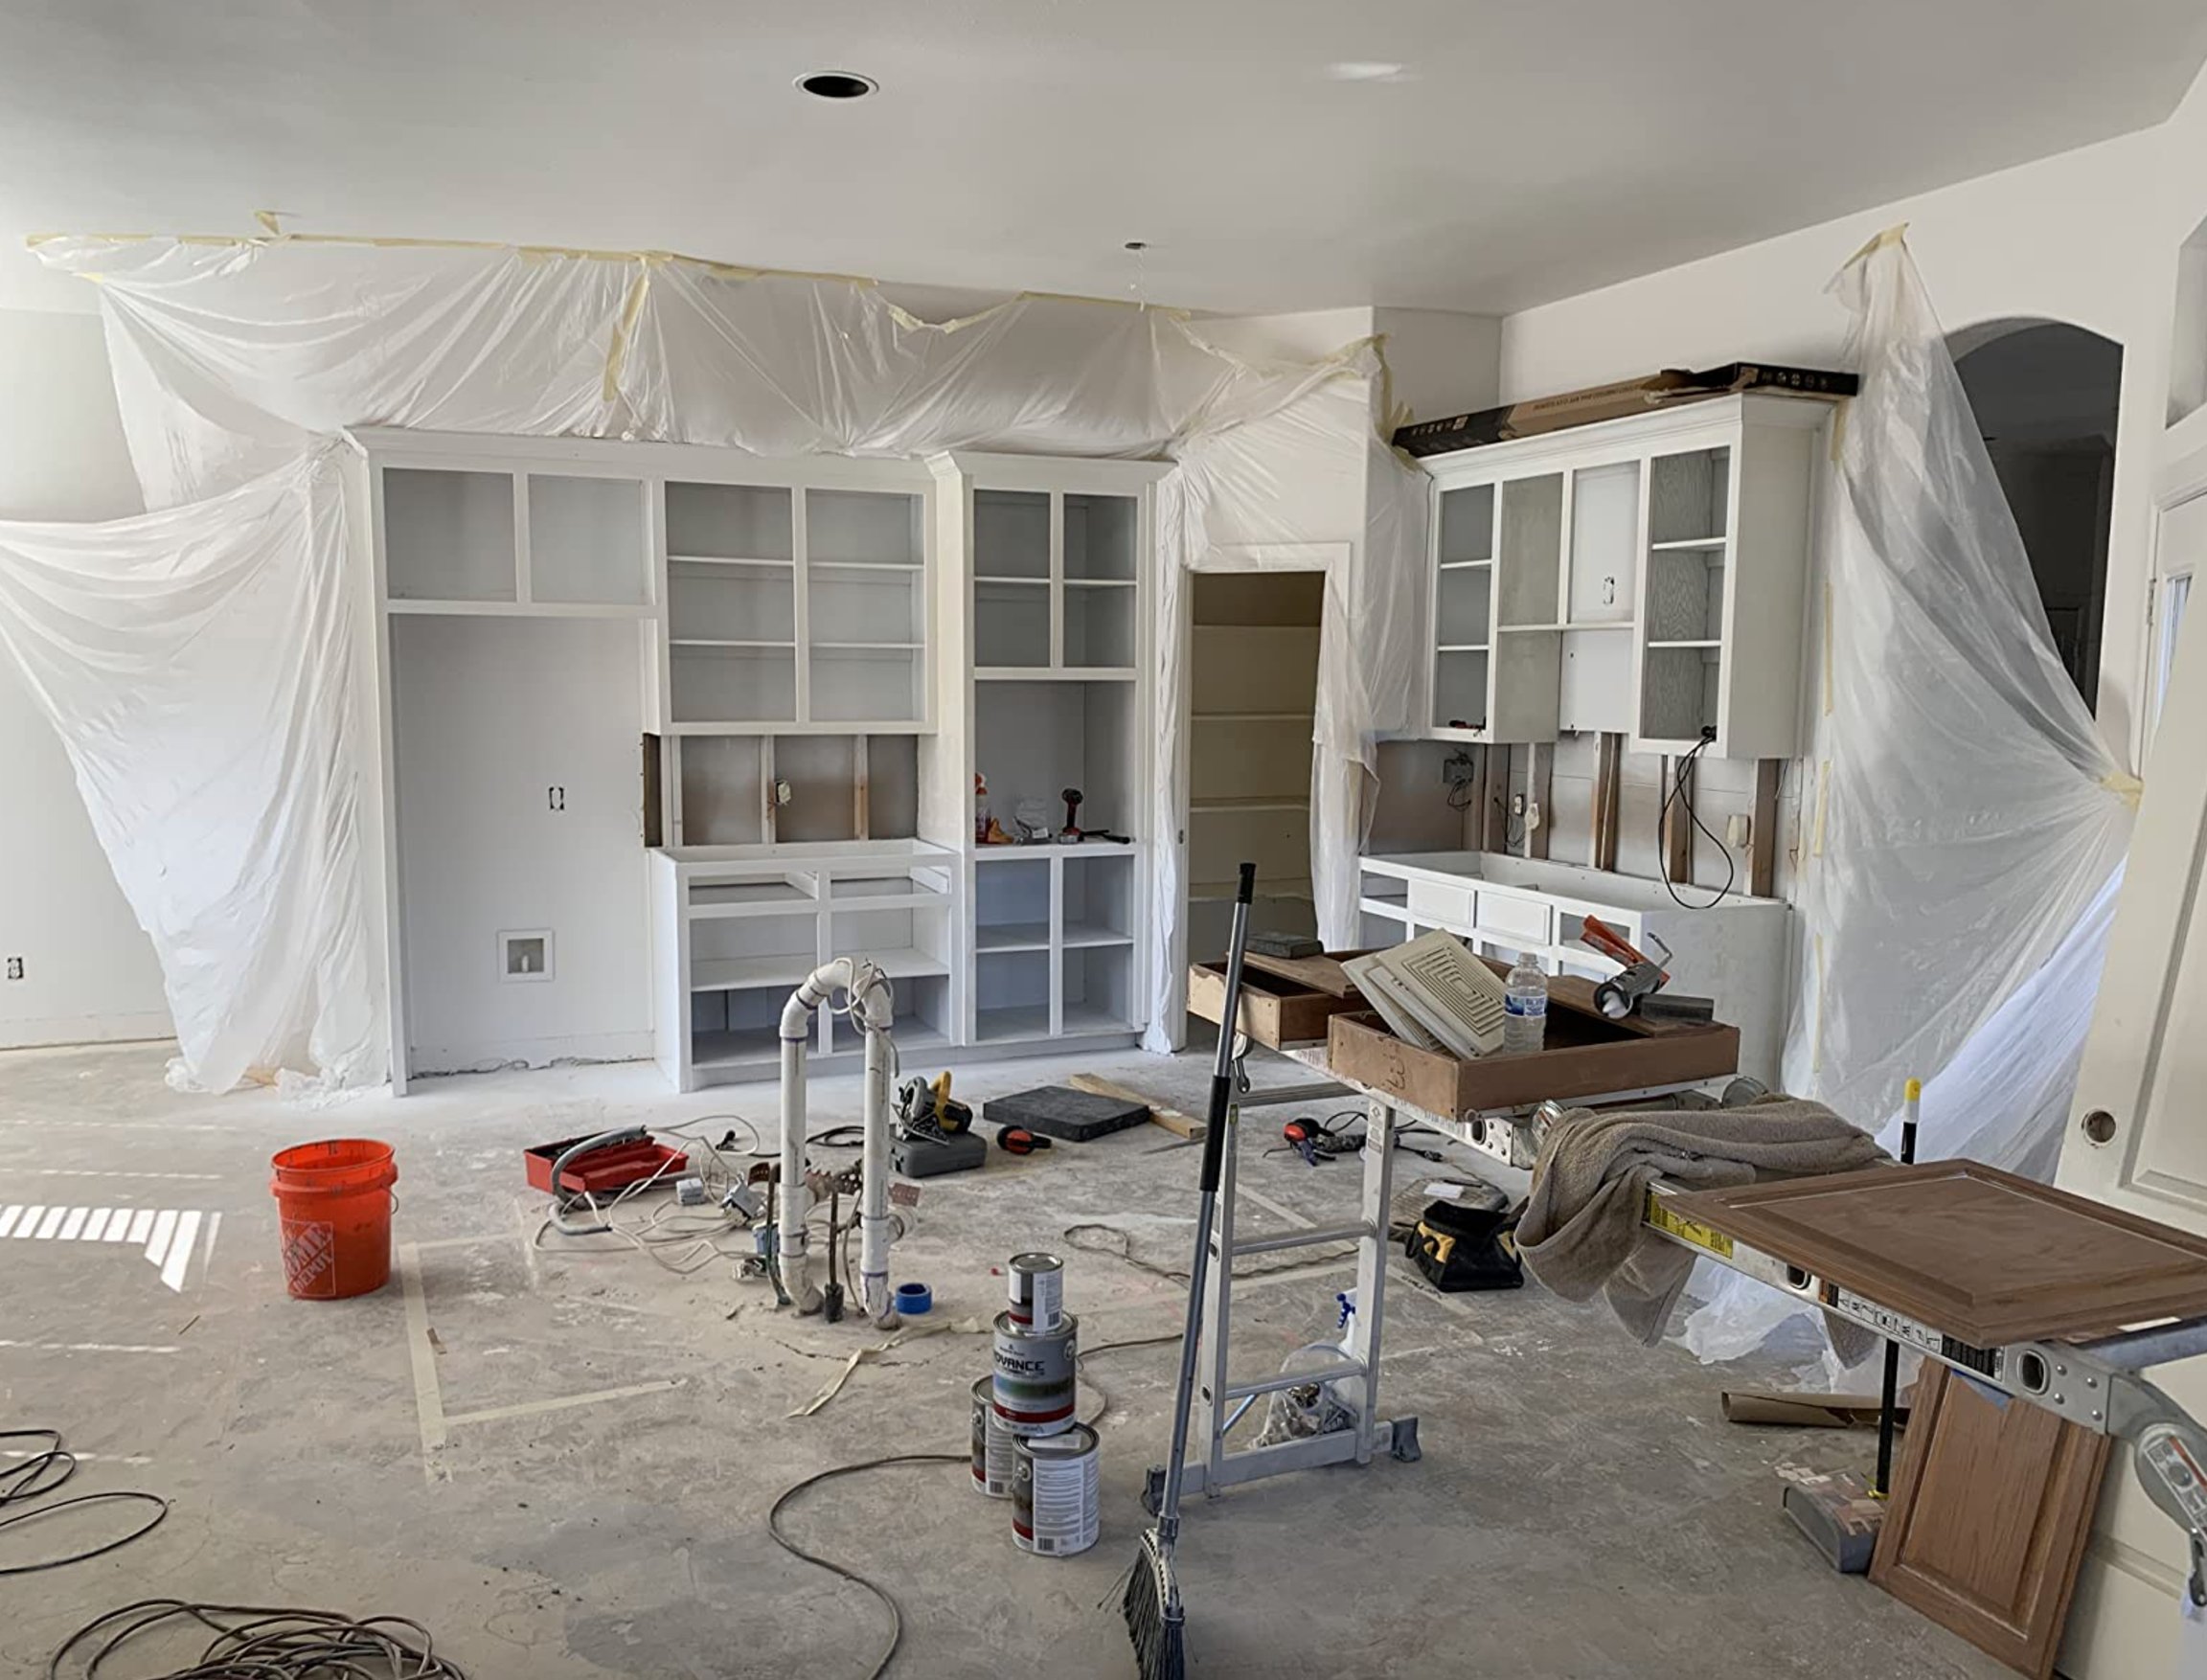
Just one thing to keep in mind – prep work becomes super important. You’ll need to spend some time masking everything off, but trust me, the actual painting will be way faster and cleaner than with any other tool.
My Favorite Paint Sprayer Gun for DIY Projects
After trying tons of sprayers, I’ve settled on the cordless IEBUDA as my go-to. Full disclosure – it’s your typical Amazon no-name brand, pretty much identical to LESONJOY. I treat them as consumables – just grab whichever one’s on better sale.
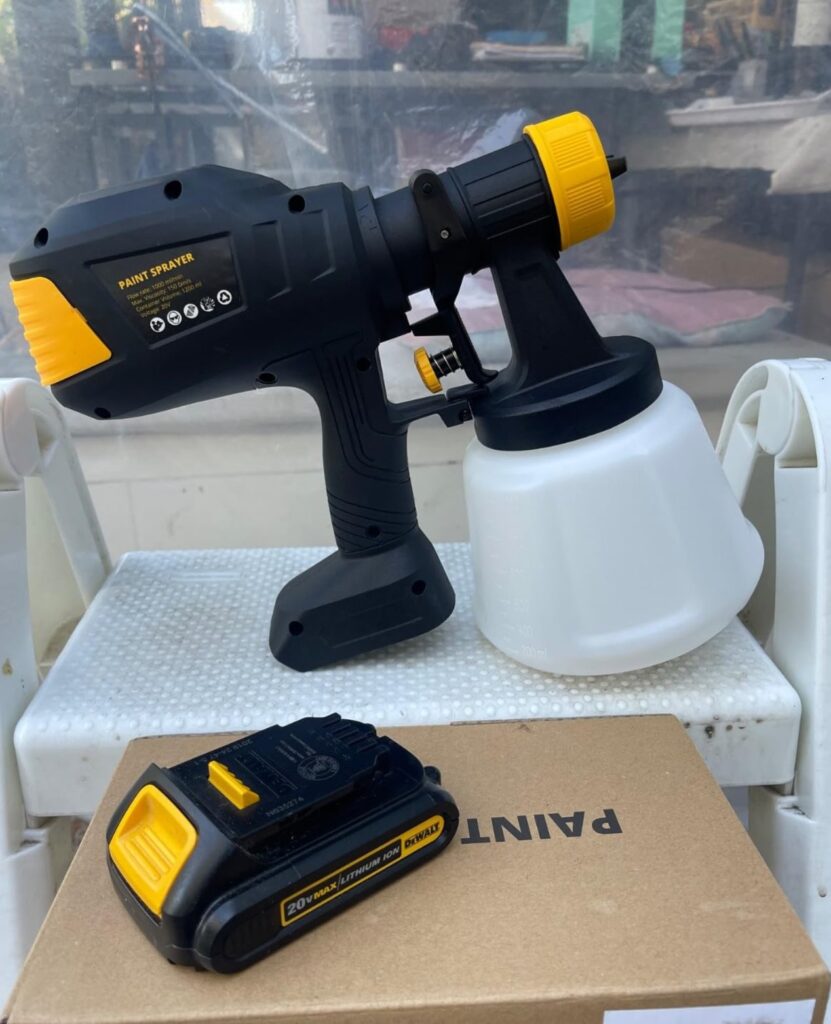
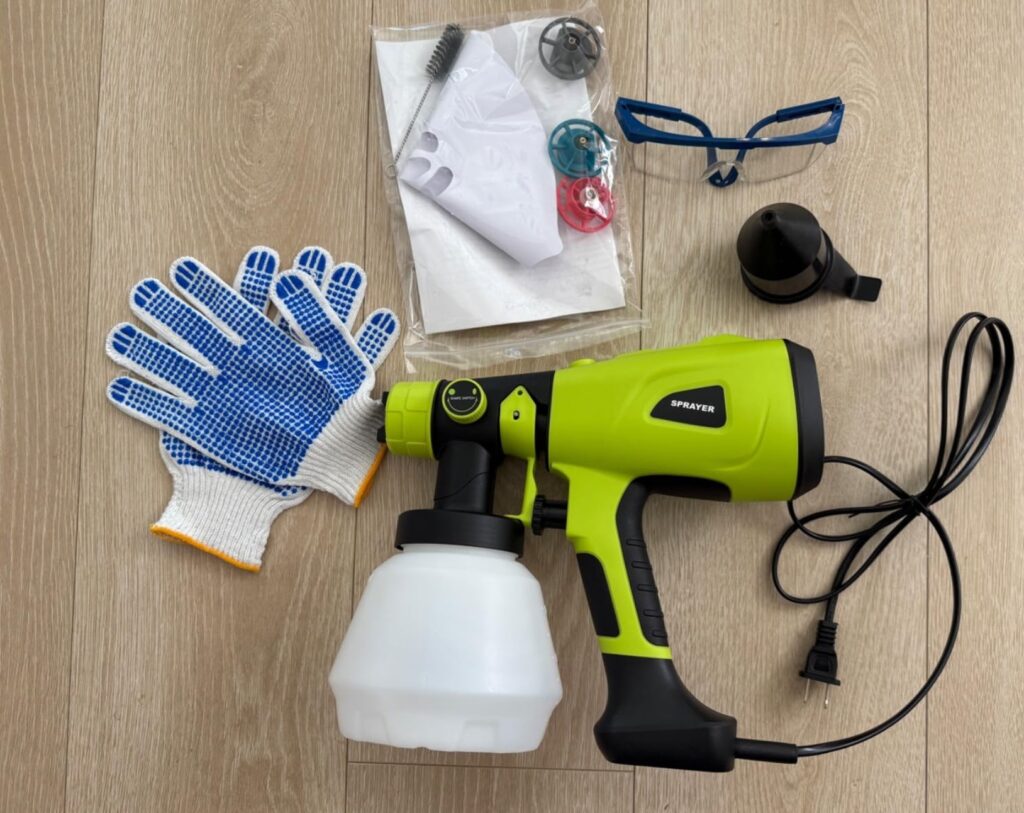
The best part? It works with DeWalt 20V batteries. Since I’ve got a bunch from other tools, it’s super convenient. The brushless motor runs quietly and puts out plenty of paint flow – perfect for DIY projects.
It comes with 4 different nozzle sizes and you can switch between spray patterns: horizontal, vertical, or circular. The paint cup is big enough to cover decent-sized areas without constant refills.
What I love about it is how versatile it is with different coatings. You can use latex paint straight out of the can and the same with polyurethane or stain. Oil-based enamels and primers need a bit of thinning, but that’s pretty standard.
The downside? The plastic body isn’t winning any durability awards. But at this price point, I’m not too fussed. When one gives up the ghost, I just grab another. Plus, you won’t lose sleep if you drop it or misplace it.
Best Paint Sprayer for Serious DIYers
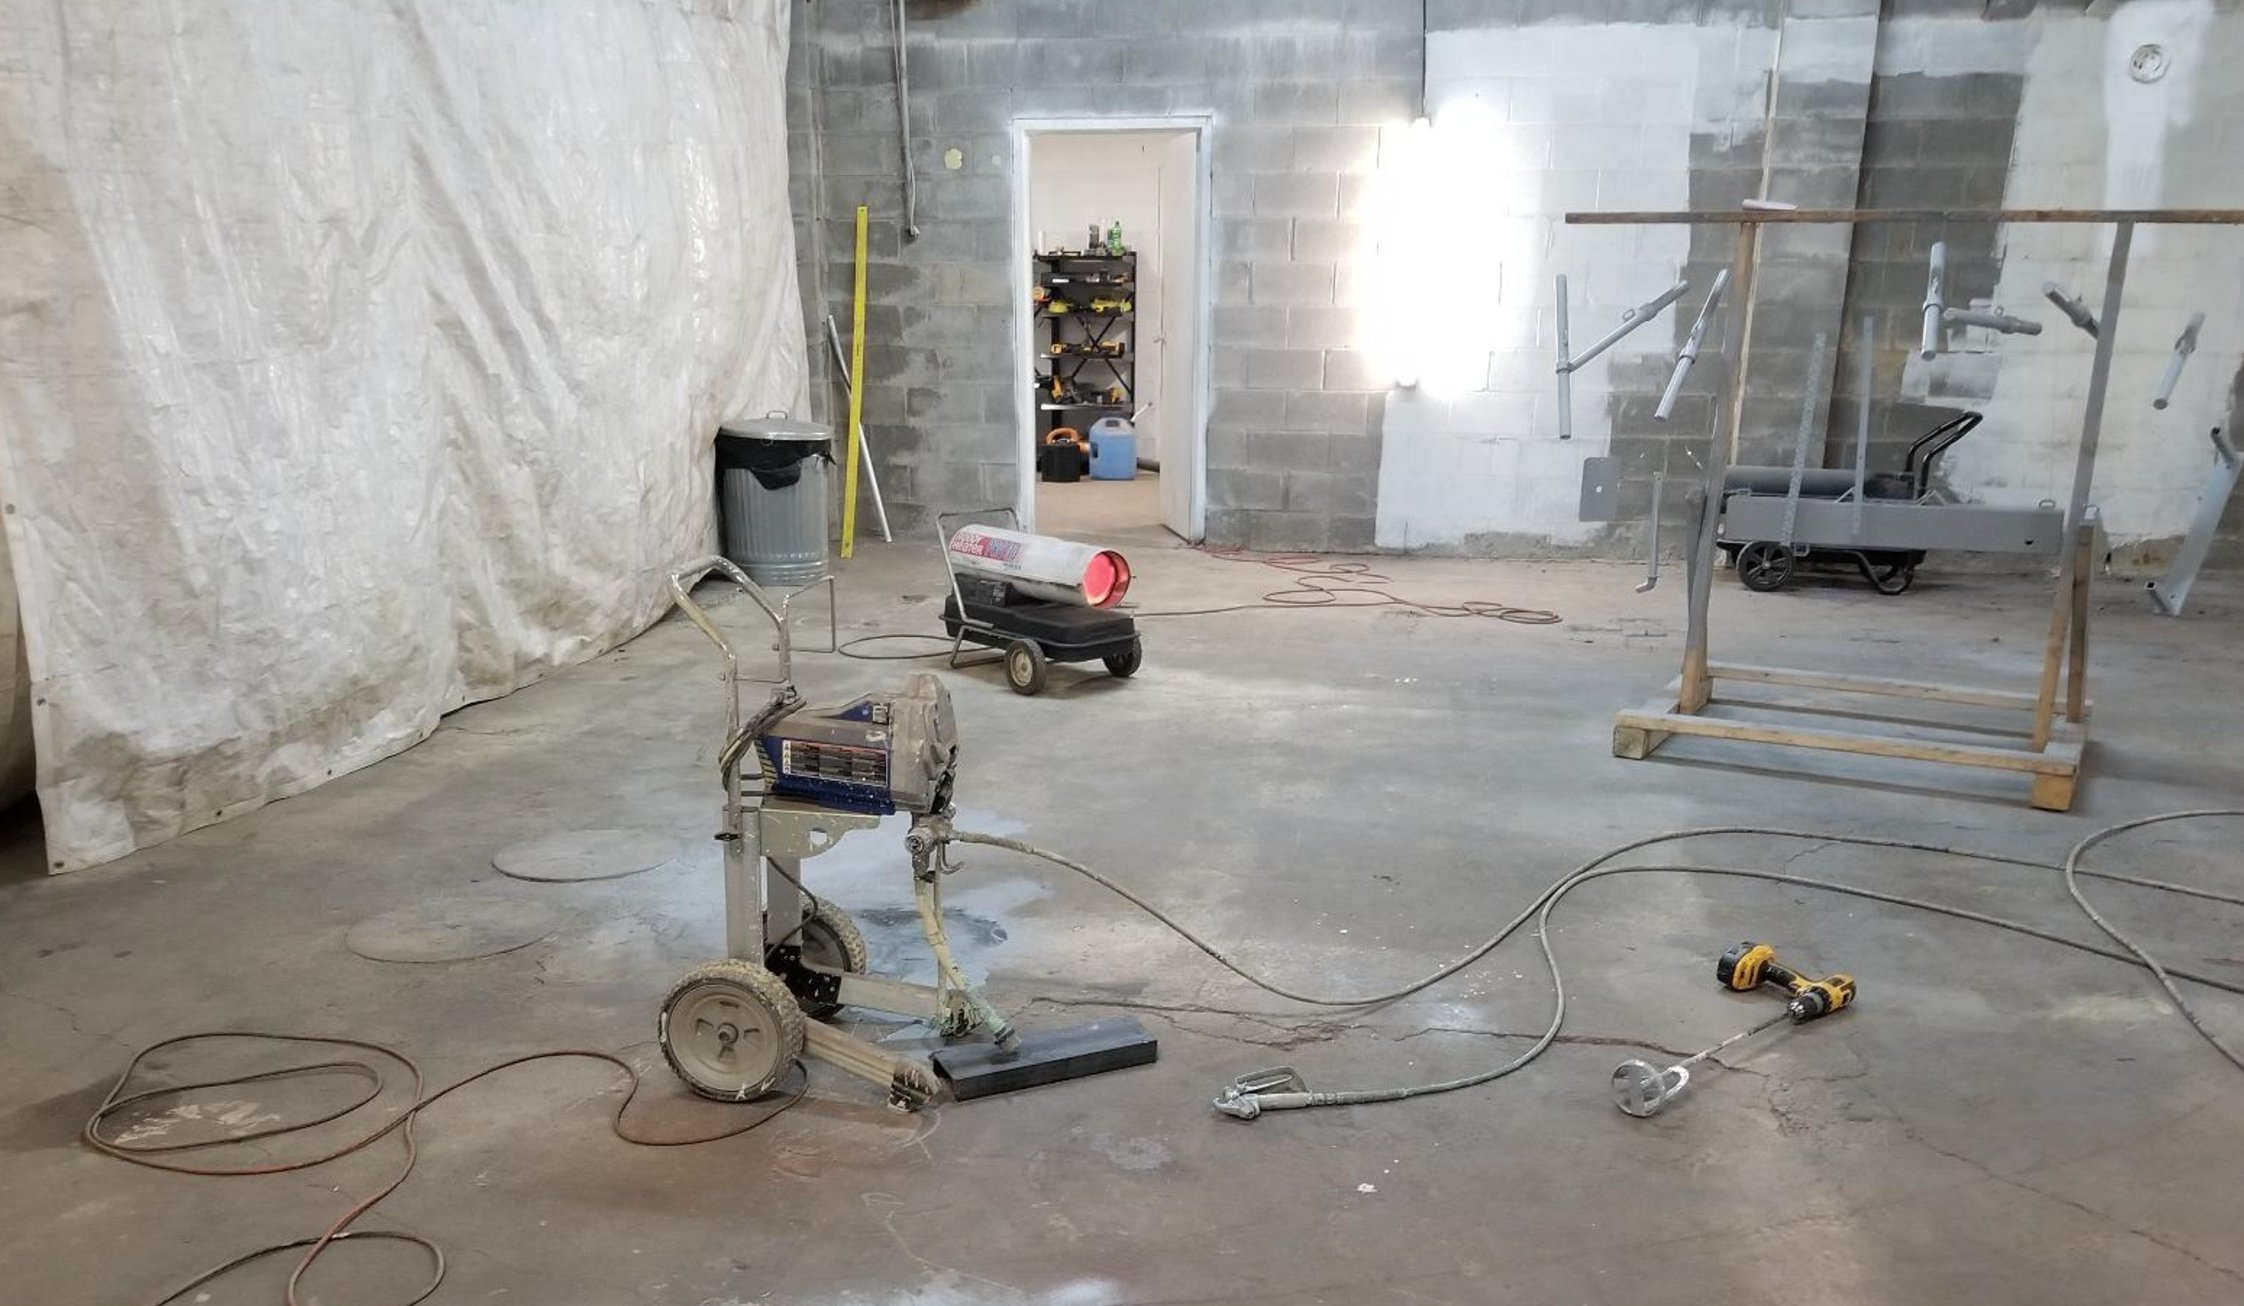
Looking to tackle big projects or repaint your whole house? Check out the Graco Magnum X5. Sure, it’s quite a bit pricier than budget models (around $350 compared to $50), but it’s in a whole different league.
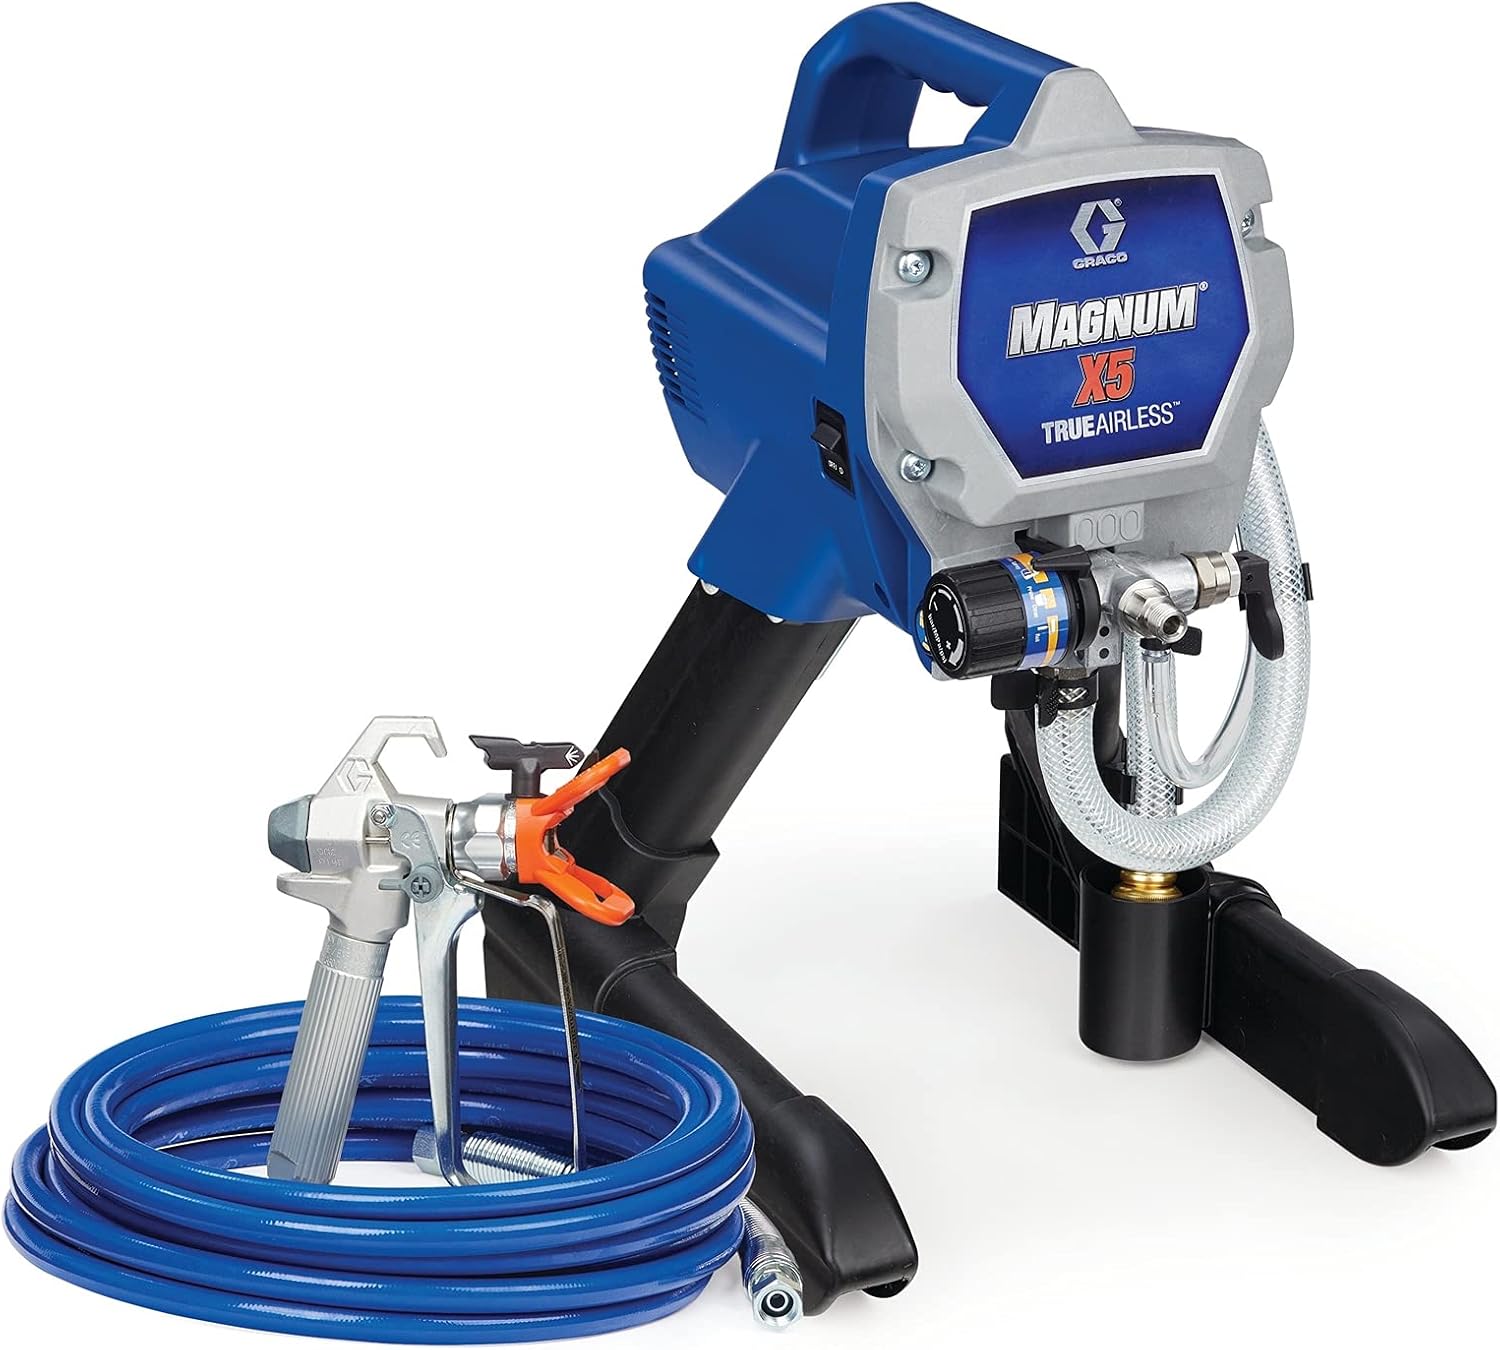
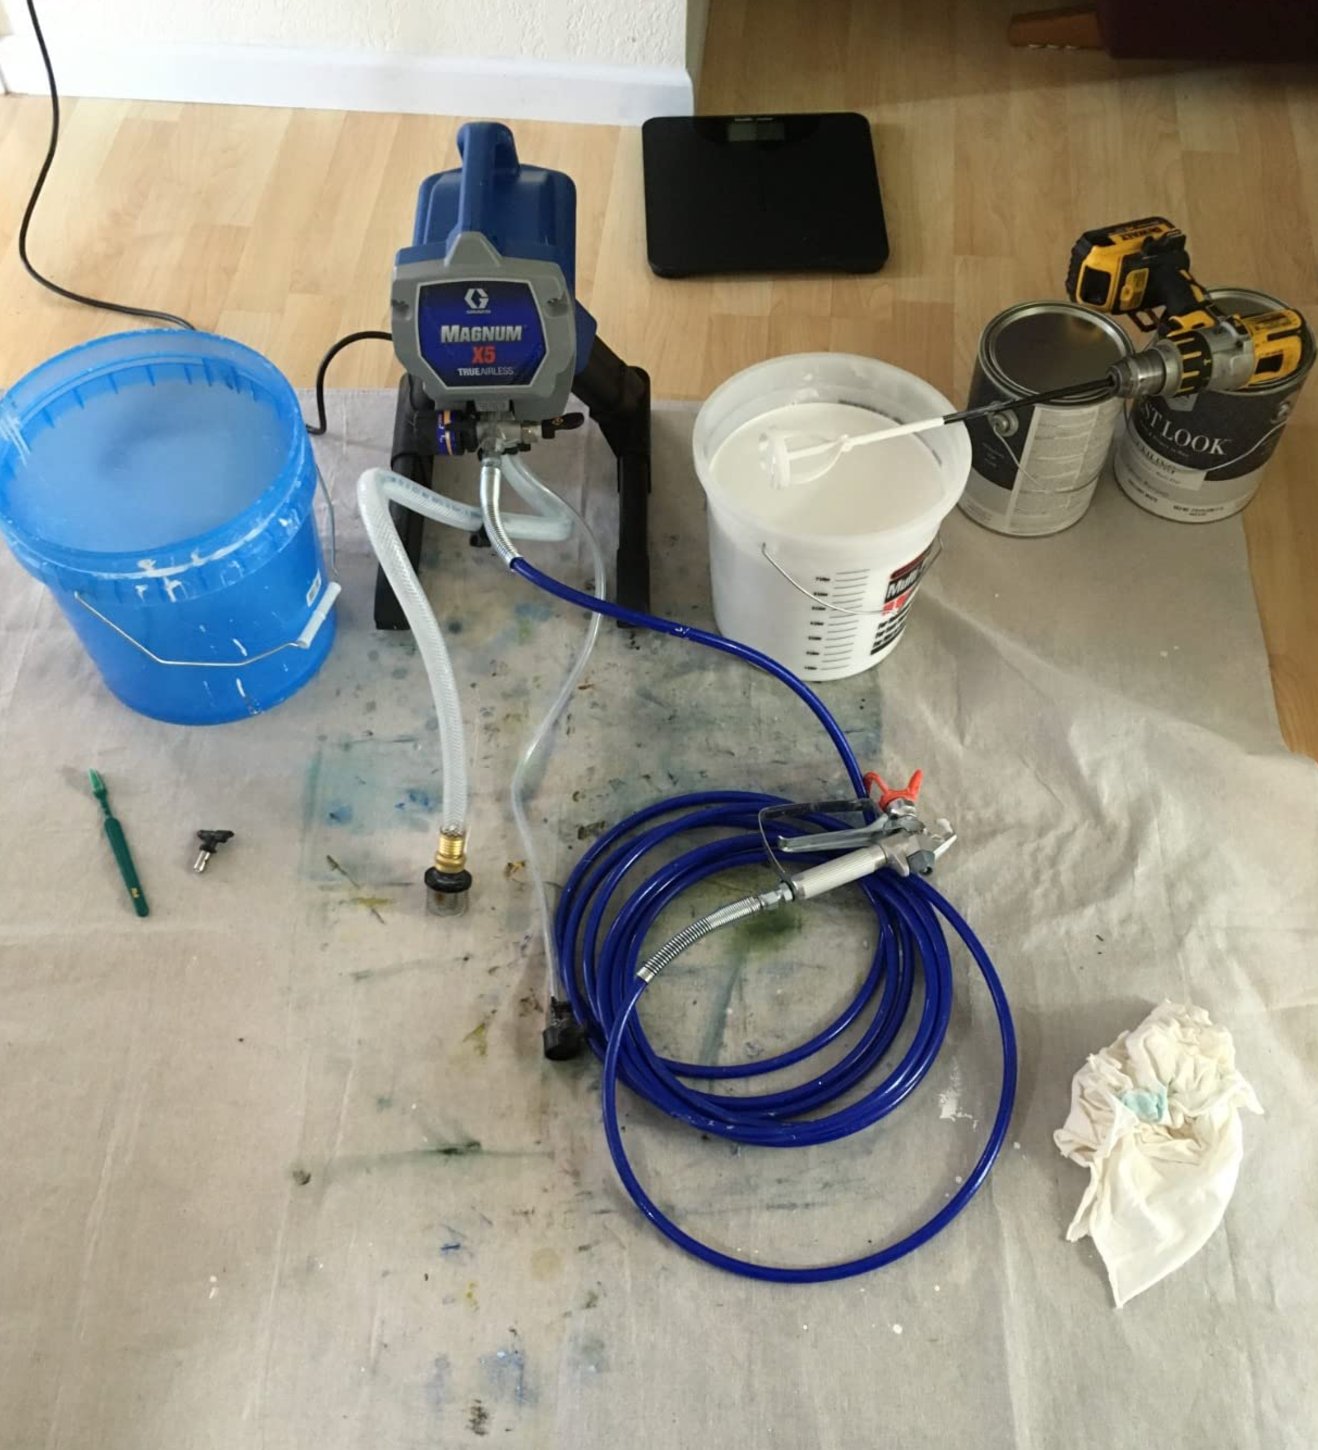
What makes the X5 stand out is how versatile and powerful it is. It handles everything from cabinets to two-story house exteriors like a champ. I’ve used it for both, and it never disappoints!
On the tech side, it’s got some muscle: 3000 PSI means you can use paint straight from the can, and the 75-foot hose lets you move around freely, even when you’re working on tall walls.
The spray gun weighs less than a pound, so your arm won’t give out even after hours of painting. Plus, you can paint straight from a 5-gallon bucket, which really speeds things up.
Just keep in mind a few things: You’ll use about 50% more paint than with a roller. When the paint level drops to about 2 inches in the bucket, the pump starts losing suction – you’ll need to pour the leftovers into a smaller container.
Also, do yourself a favor and read the manual first. I spent one evening getting to know all the features, and it made a huge difference.
Best Professional-Grade
The Graco ProX19 is getting into semi-pro territory – perfect for when you’ve outgrown the basics. For $750, you get a serious stainless steel piston pump that handles undiluted paint at high pressure.
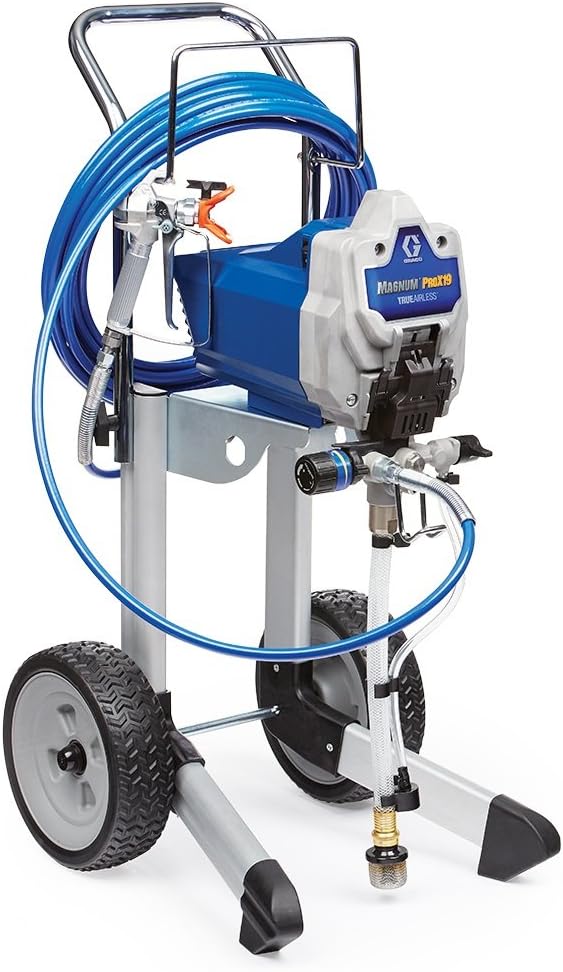
It can handle up to 500 gallons per year – plenty for most DIY work and even small commercial jobs. The ProXChange system is pretty sweet – you can swap out the pump right on site without any tools if you need to.
It’s worth the investment if you’ve got big projects lined up and the budget for it. For occasional small jobs, though, it’s probably more than you need.
Essential Accessories for Paint Spraying
Even top-notch sprayers need the right gear. Here’s what you’ll want to have on hand:
Protection:
- A good respirator with organic vapor filters and safety goggles
- Coveralls or old clothes with long sleeves
- Several pairs of nitrile gloves
Prep work:
- ScotchBlue painter’s tape
- Drop cloths for floors and furniture
- Surface degreaser
- 120 and 220 grit sandpaper
Cleanup:
What to Look for in a Paint Sprayer
When I first started looking at paint sprayers, all the tech specs made my head spin. Now that I’ve used quite a few different models, I can tell you what really matters. Here’s the breakdown:
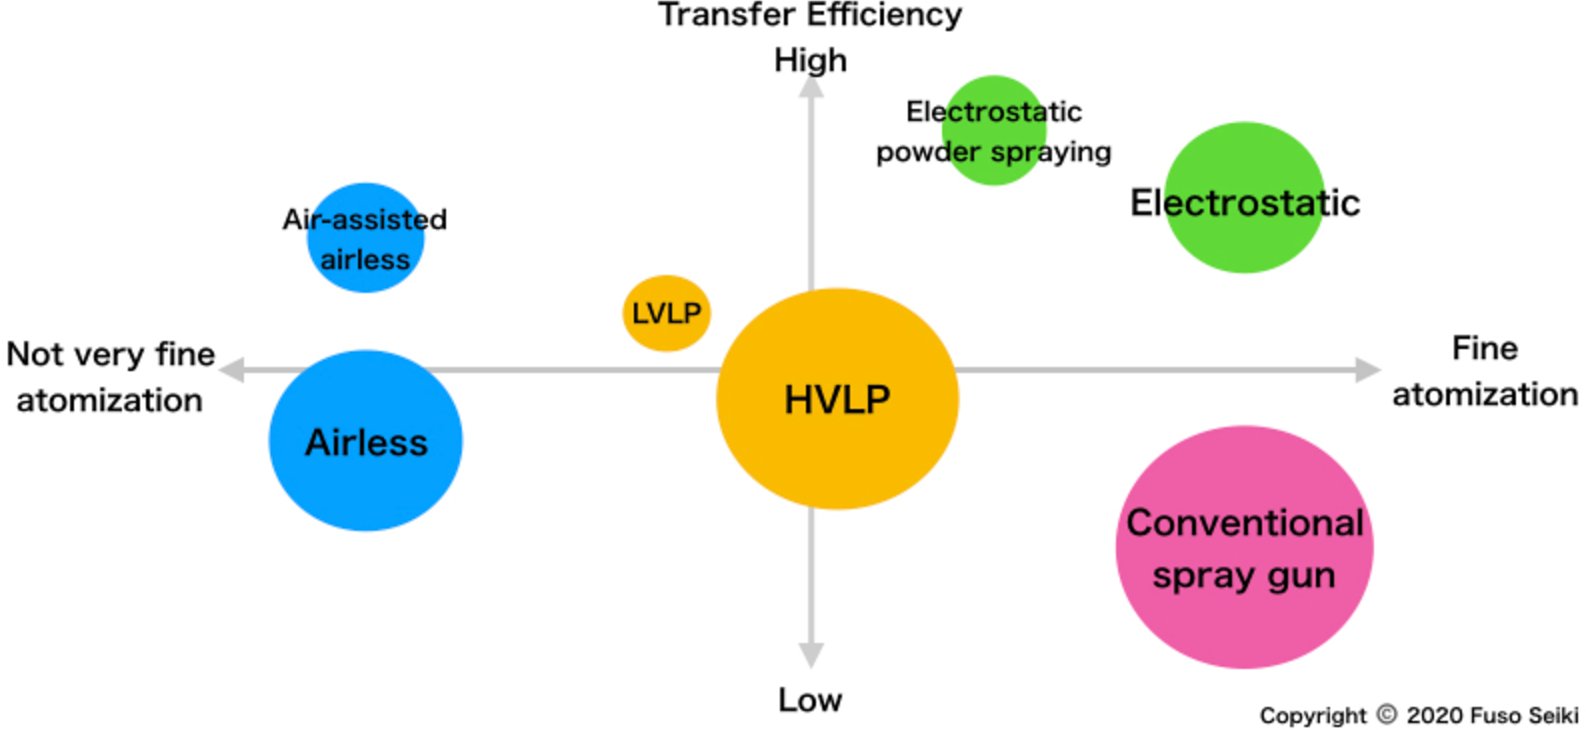
1) First up is spray type. Airless sprayers are great workhorses for thick paints and big surfaces – that’s what I use for walls and ceilings. HVLP systems are more precise and waste less paint – perfect for furniture and detailed work.
Power and pressure make a big difference in your results. Too little pressure, and your paint goes on patchy and drippy. Too much, and you’re just creating a paint cloud and wasting material.
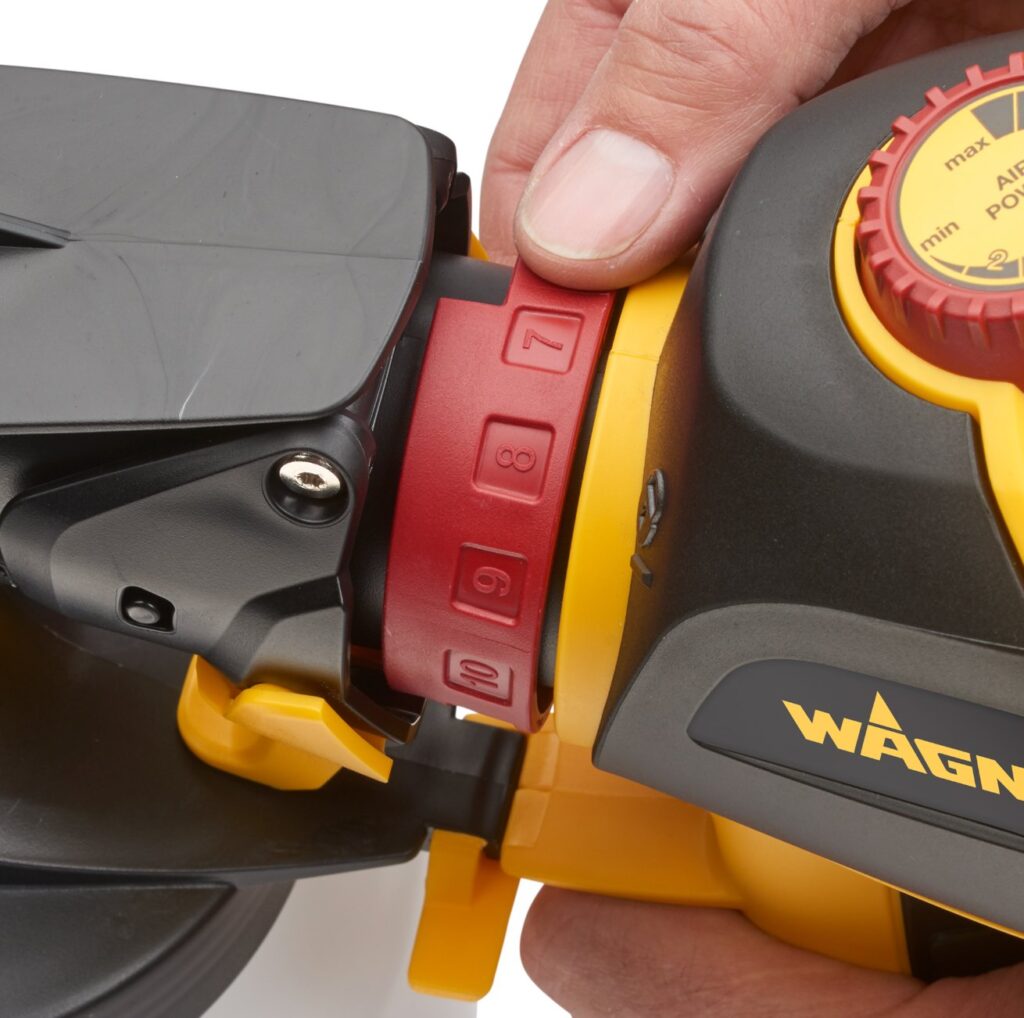
2) Power and pressure make a big difference in your results. Too little pressure, and your paint goes on patchy and drippy. Too much, and you’re just creating a paint cloud and wasting material.
Look for a sprayer that lets you adjust these settings to match what you’re doing.
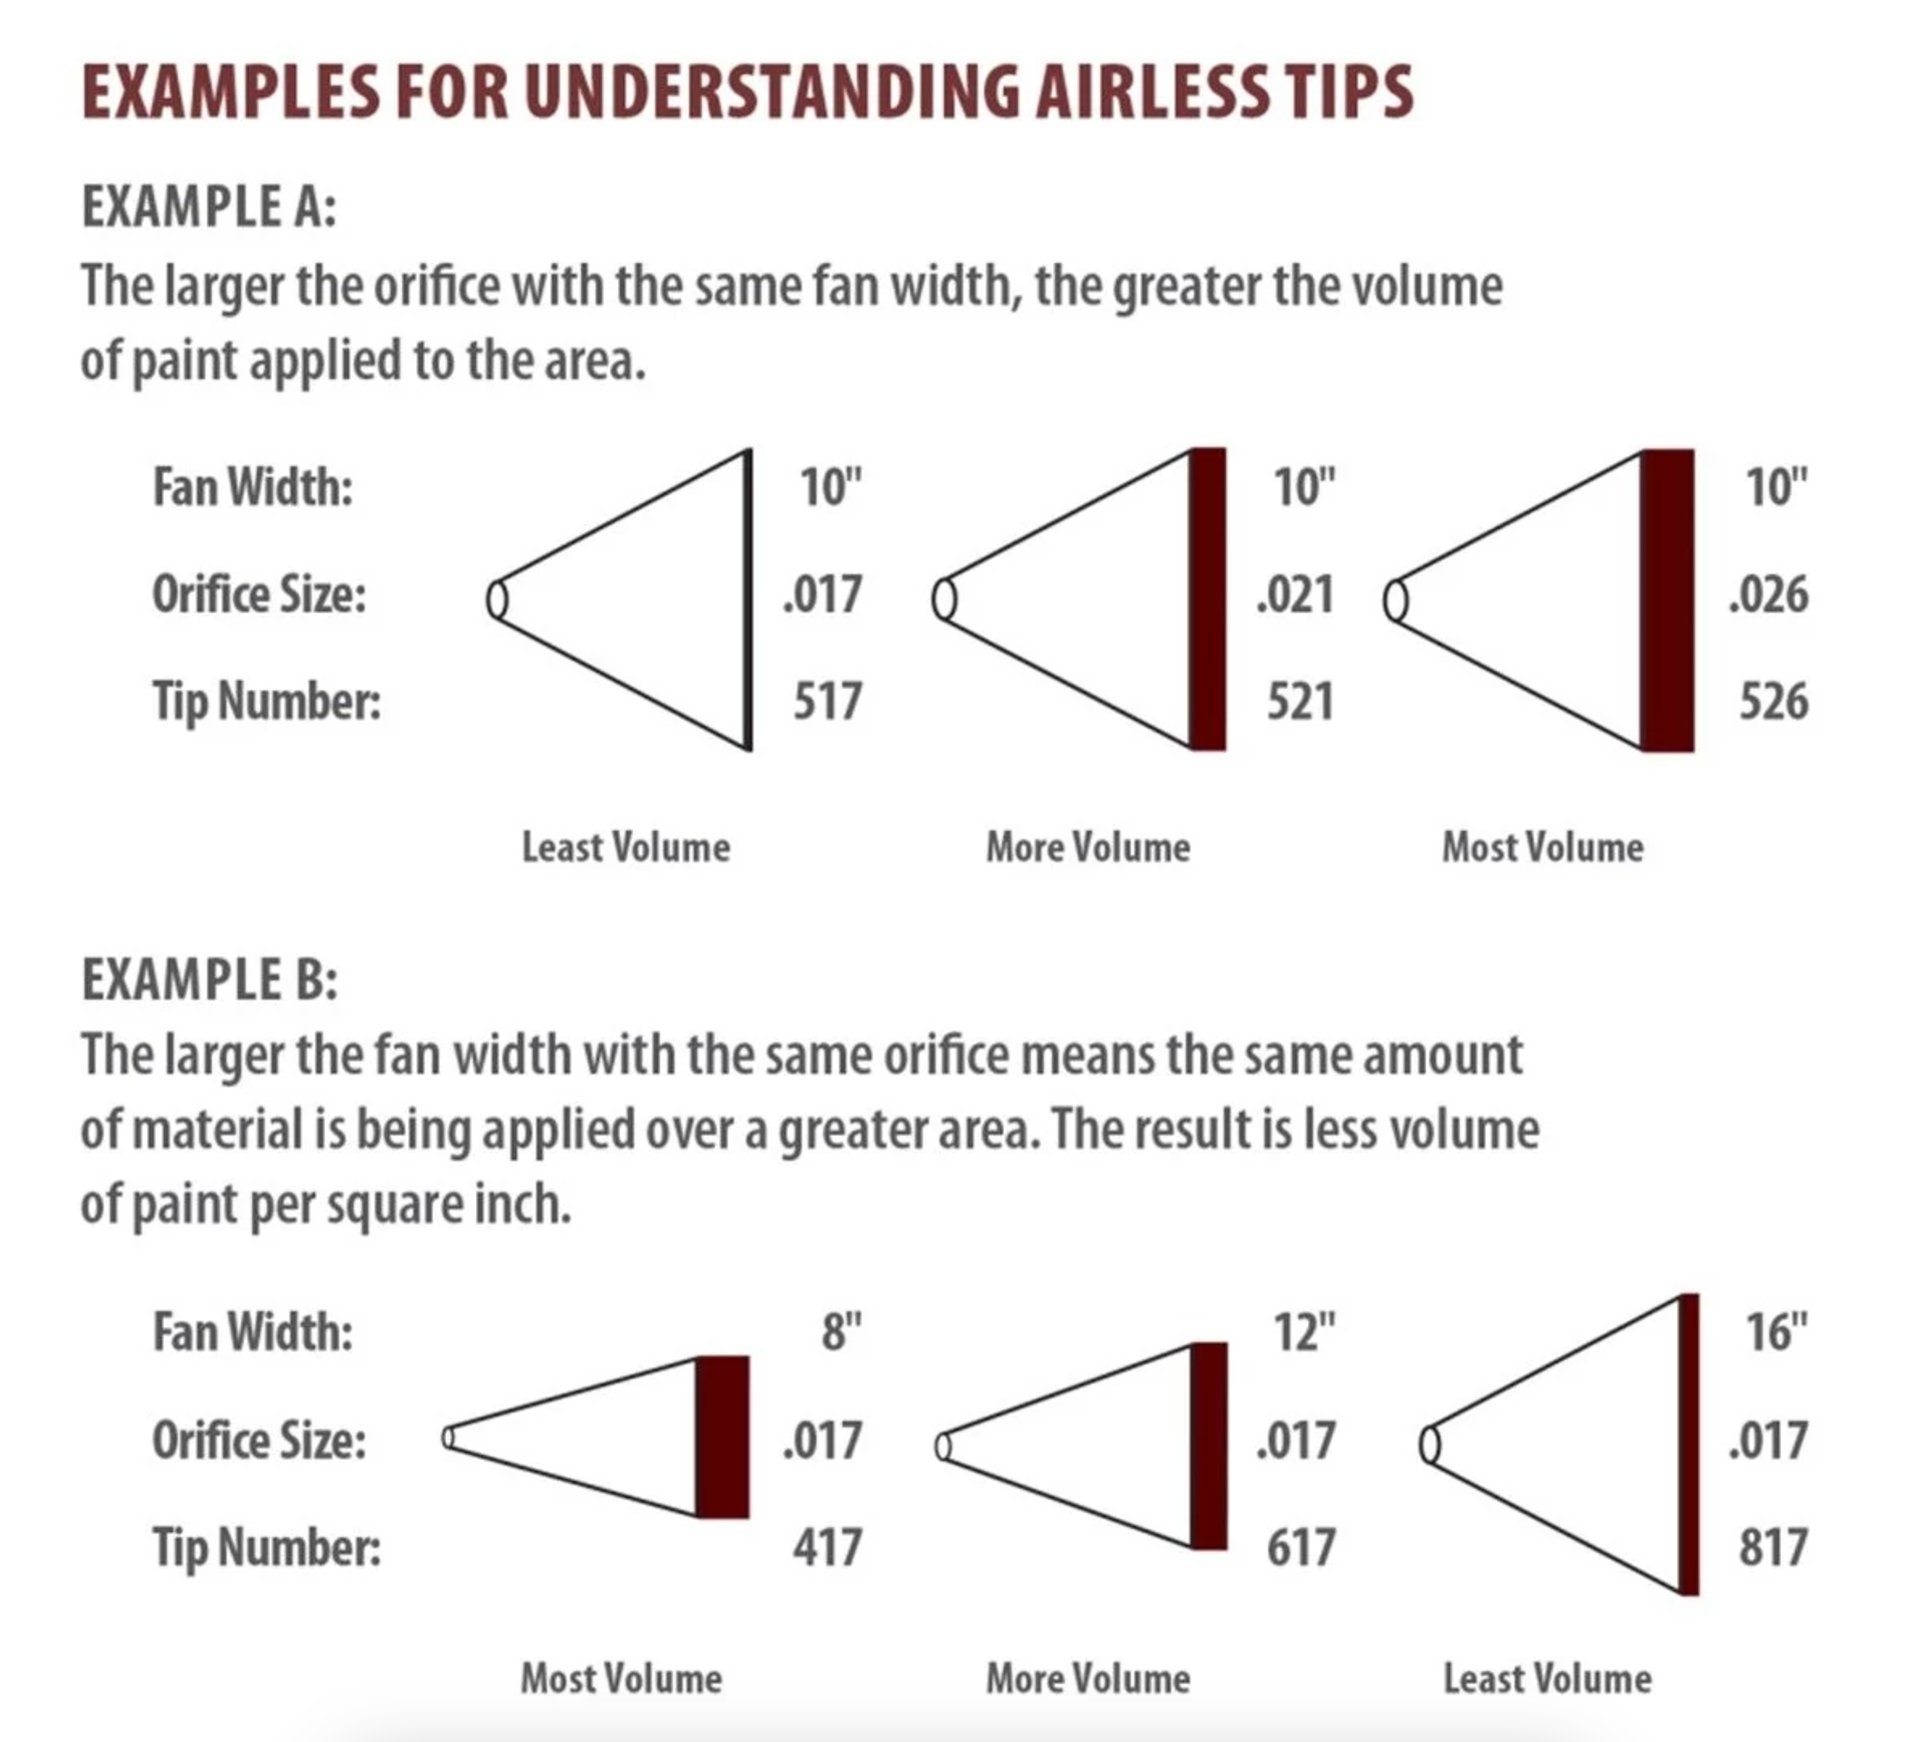
3) Tip size really matters: latex paints need at least 0.015 inches, while stains work fine with 0.011. Some models let you swap tips, which is super handy if you use different coatings.
4) Don’t overlook the filters. Good ones keep clogs from happening and help your paint go on smoothly. Found that out the hard way when my sprayer clogged mid-project.
5) Pay attention to how the sprayer feels when used. Weight, hose length, and how easy it is to adjust settings make a huge difference when you’re painting all day. For big jobs, get one with wheels – your back will love you for it.
Best Paint for Airless Sprayers
People often ask about which paint works best in a sprayer. It’s actually pretty straightforward – most modern airless sprayers can handle most paints you’ll find at the store.
Water-based latex paints are your go-to option. They dry fast and cover evenly, especially on big surfaces like walls and fences.
For furniture and cabinets, I lean toward acrylic enamels – they’re more durable and less drippy when you spray. Oil-based paints need a bit more attention – you’ll definitely need to thin them out to get the right consistency.
Getting your paint ready for spraying is key. Too thick, and it’ll clog your tip. Too thin, and you’ll have drips everywhere.
Here’s a quick test: dip a stir stick in the paint – it should flow like heavy cream.
Look for low-VOC paints for indoor work – they won’t stink up your house. Get something with UV protection and mold resistance built-in for outdoor stuff.
And whatever you do, clean your sprayer right after you finish – dried paint can really mess up your equipment.
Tips for Using a Paint Sprayer
Here are some real-world tips that’ll help you avoid the most common headaches:
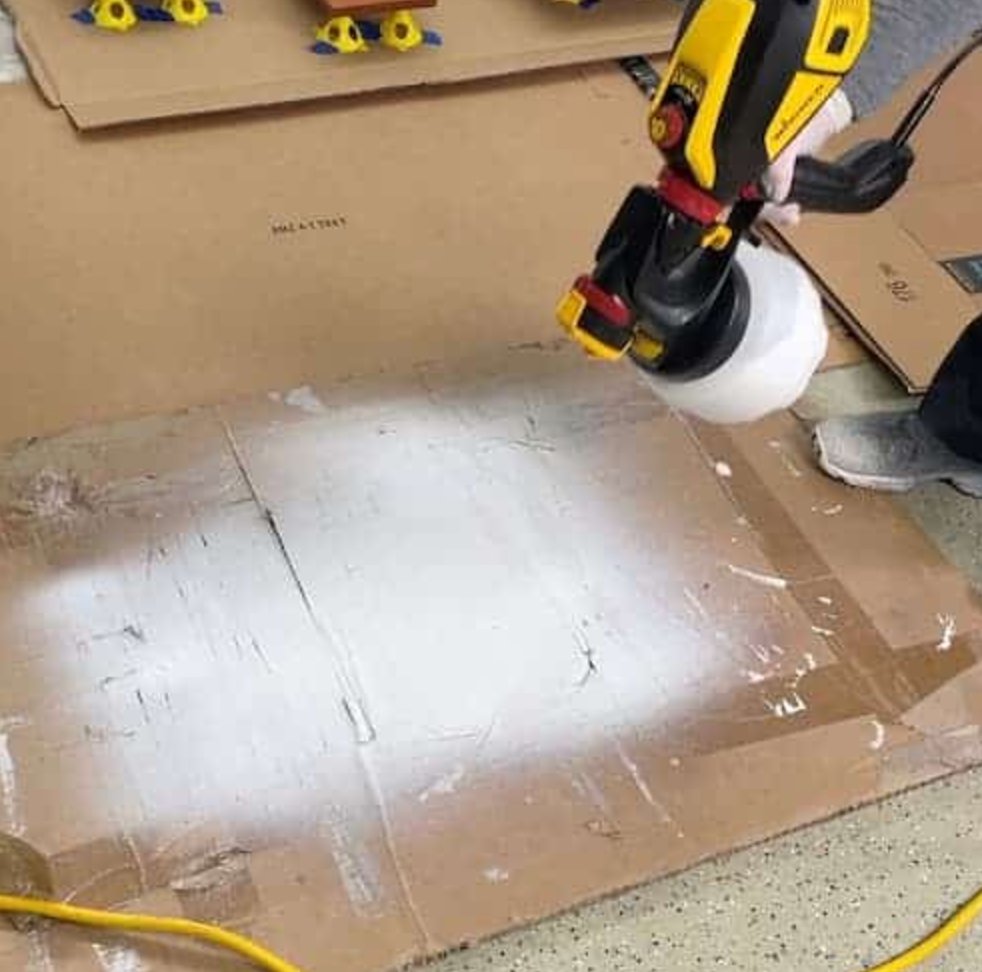
1) Test Run on Cardboard
Always start by spraying on some cardboard. It helps you figure out the right distance and speed to get even coverage.
You can also play around with spray patterns – vertical, horizontal, or round – to see what works best.
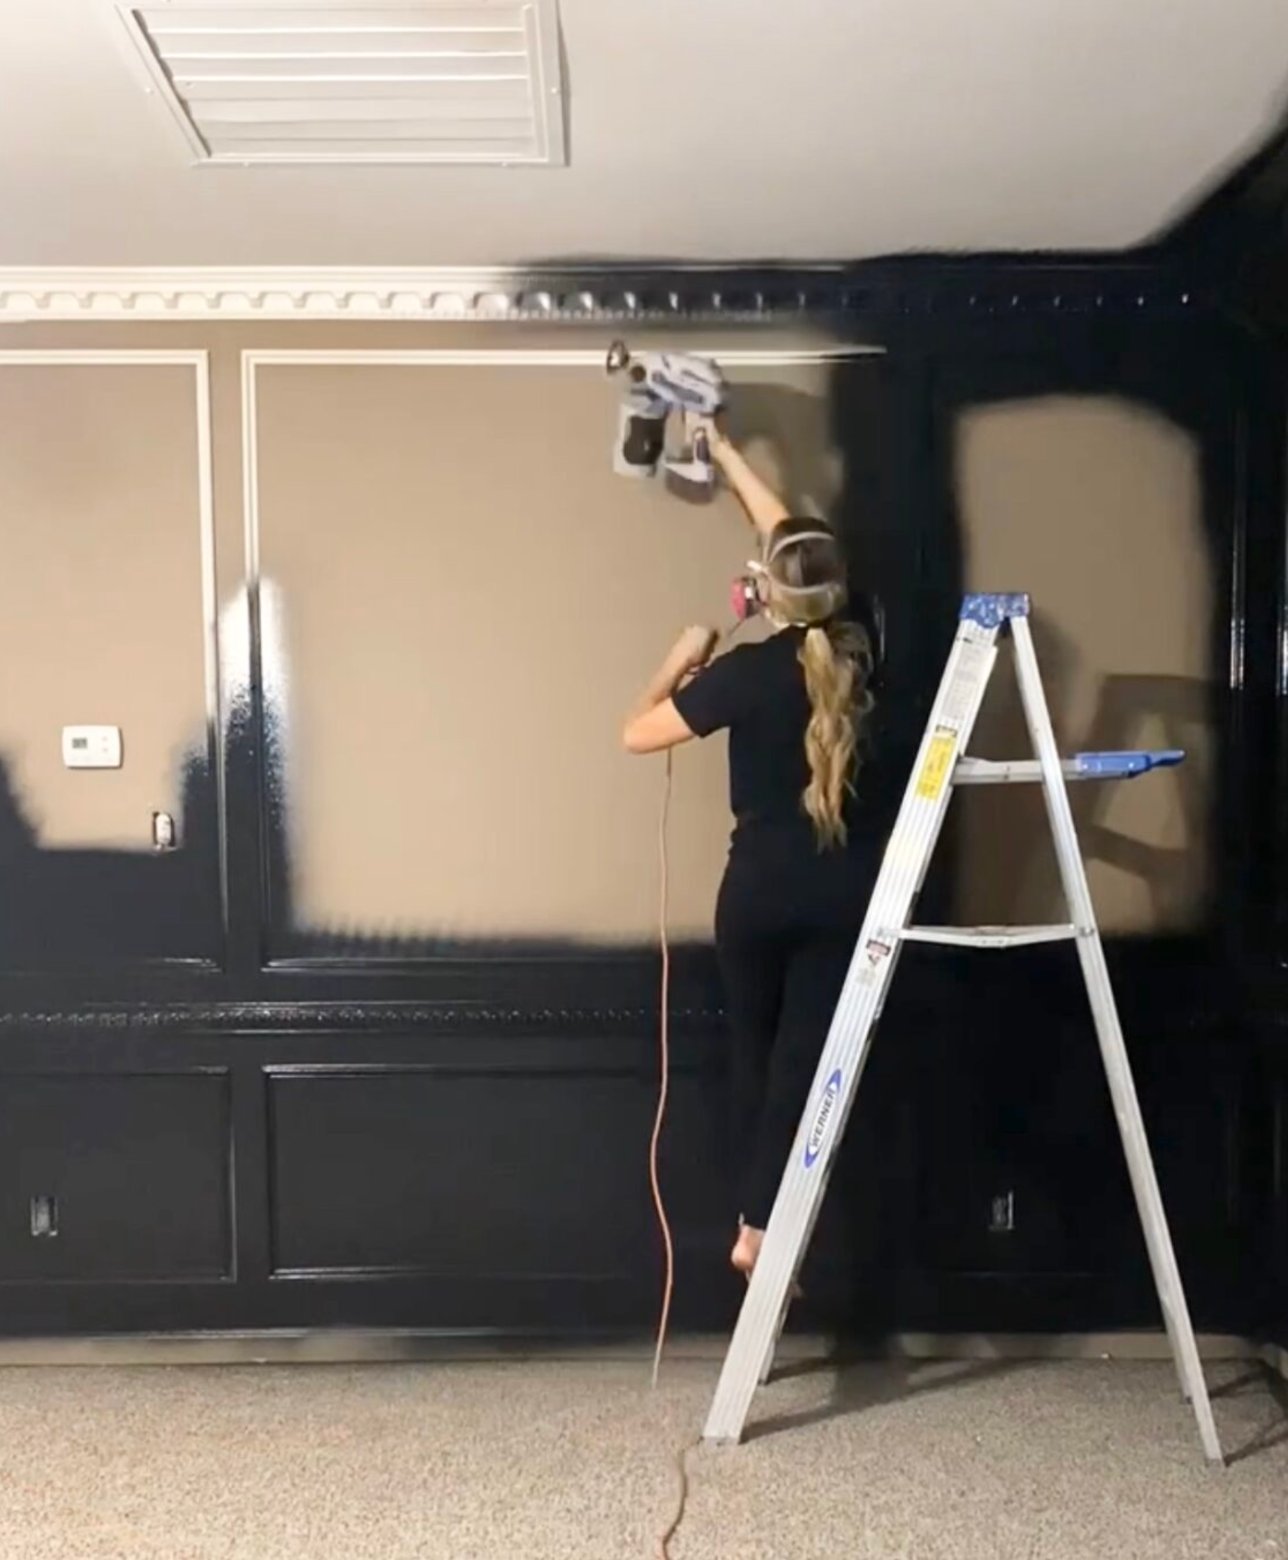
2) Spraying Technique
Here’s the golden rule – keep moving. Stop for even a second, and you’ll get runs in your paint.
Think of it like mowing the lawn – nice, steady passes, overlapping each stroke by about half.
3) Paint Prep
There’s no magic formula for thinning paint. Start with what the paint can tells you, then adjust based on how it’s spraying.
4) Safety First
Don’t skip the safety gear. Wear a respirator even with “safe” water-based paint. And put up more protection than you think you need – paint overspray has a way of getting everywhere.
5) Cleanup
Last but super important – clean everything right away. Letting paint dry in your sprayer is asking for trouble. Yes, taking everything apart and cleaning it is a pain, especially when you’re tired after painting all day, but it’ll keep your sprayer working like new.