Painting floors isn’t nearly as challenging as people think. I hear clients’ concerns all the time, but trust me – it’s one of the easiest DIY projects out there. All you really need is the right paint and some basic know-how!
Often, a single coat of quality paint does the trick. Plus, gravity works in our favor – the paint naturally levels itself out, making the whole process even simpler.
Among all the options out there, Benjamin Moore’s INSL-X Tough Shield is my go-to recommendation. While it’s priced a bit higher than average, it’s worth every penny. For more budget-friendly options, check out KILZ and C2.
In this article, I’ll walk you through the best floor paints for different materials and share some tried-and-true application techniques. Let’s paint!
Can I Paint Floors?
So, can you paint your floors? The quick answer is yes – most floors can be painted if you prep them right.
source
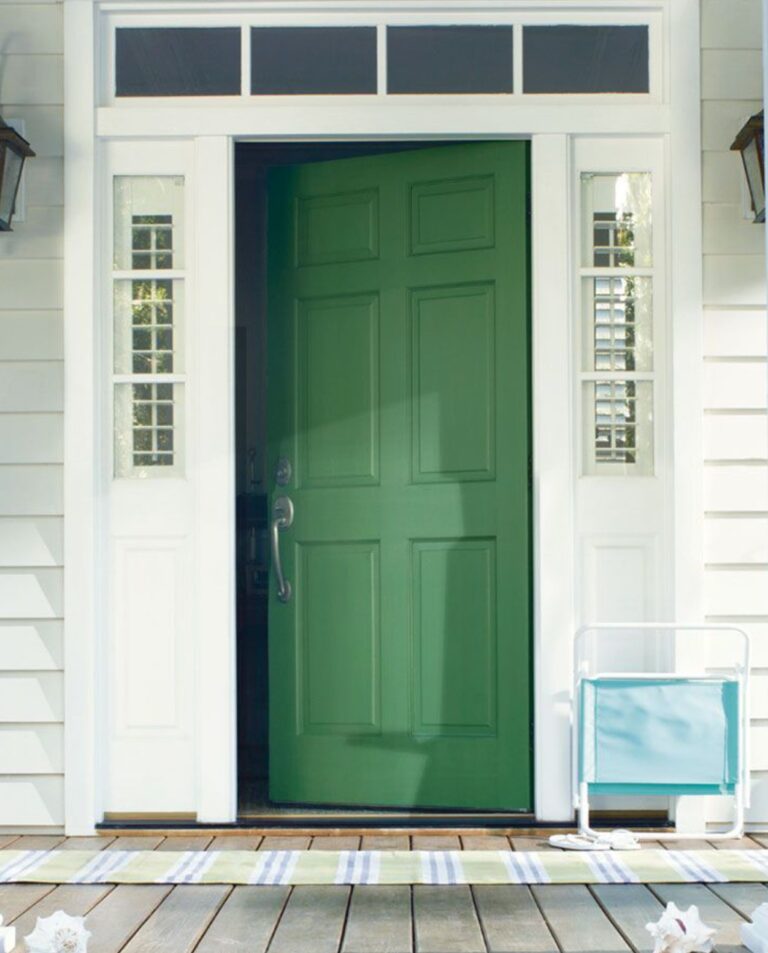
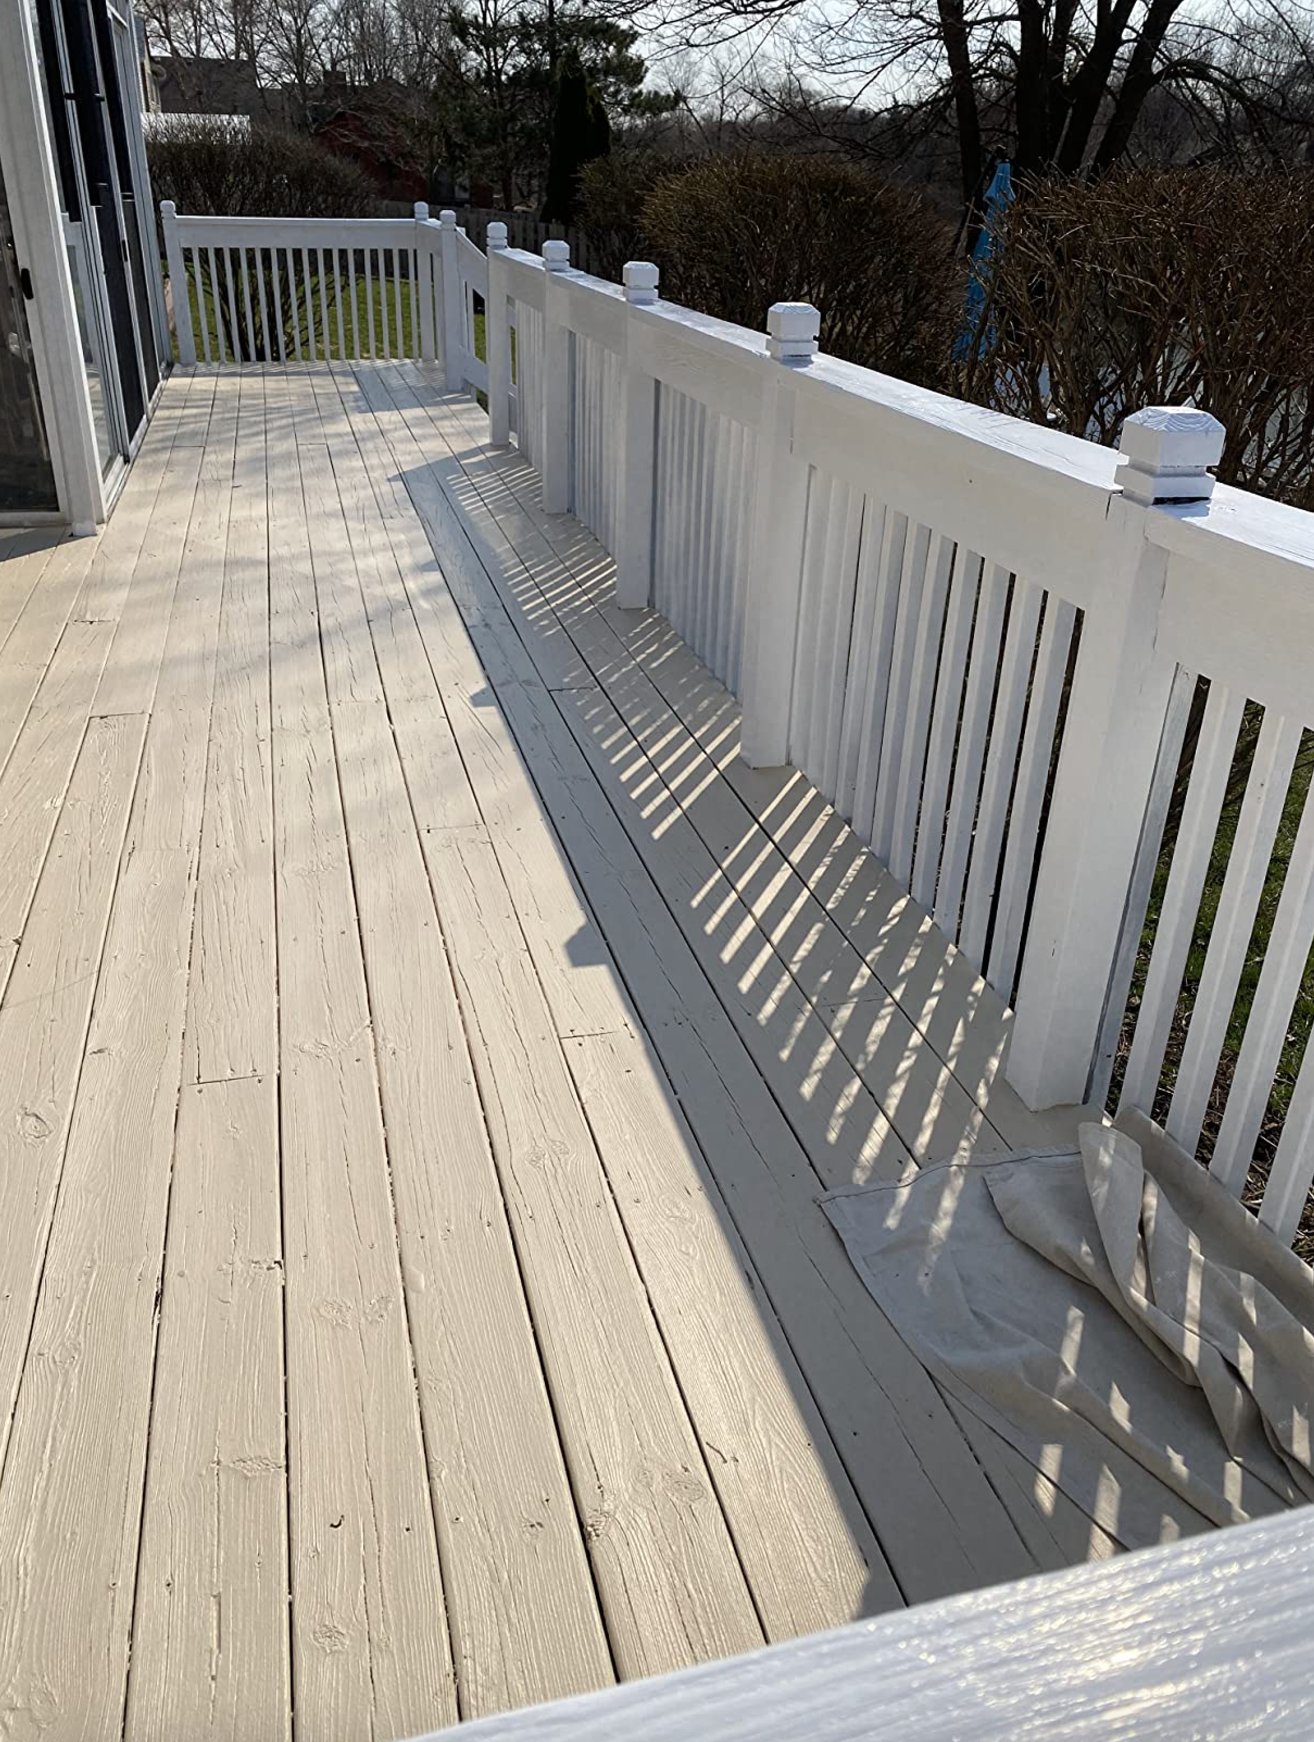
Wood floors are a dream to work with – they’re the most forgiving material by far. Just sand them down, prime them, and apply your floor paint.
source
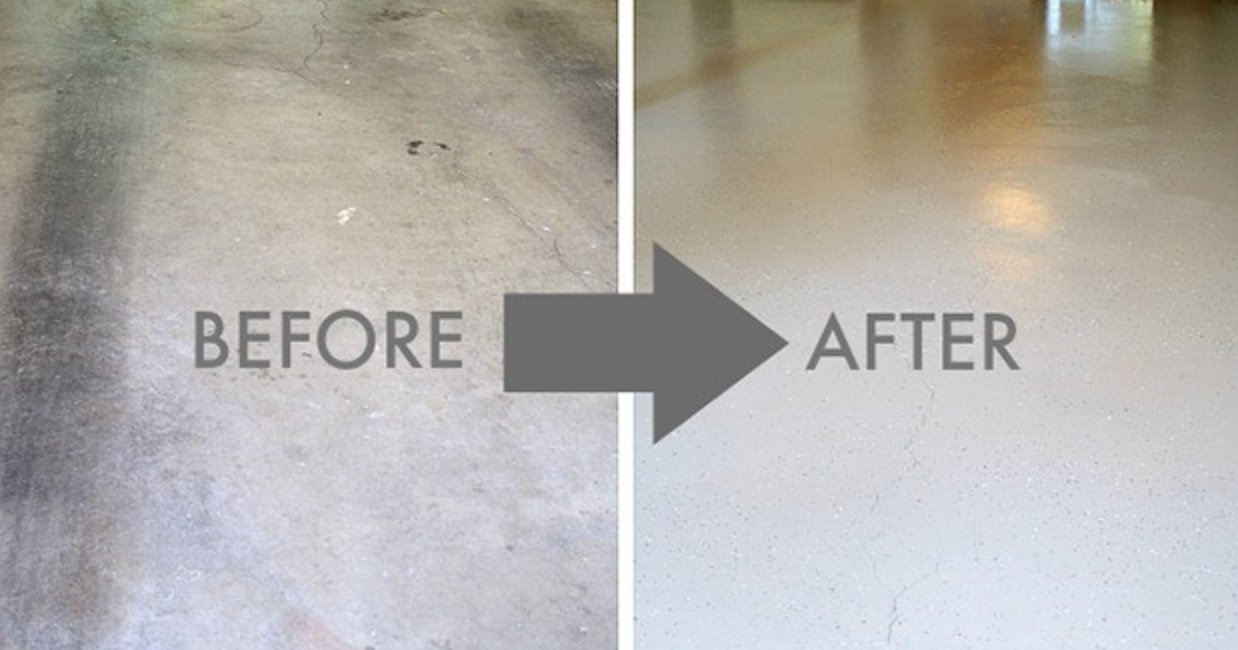
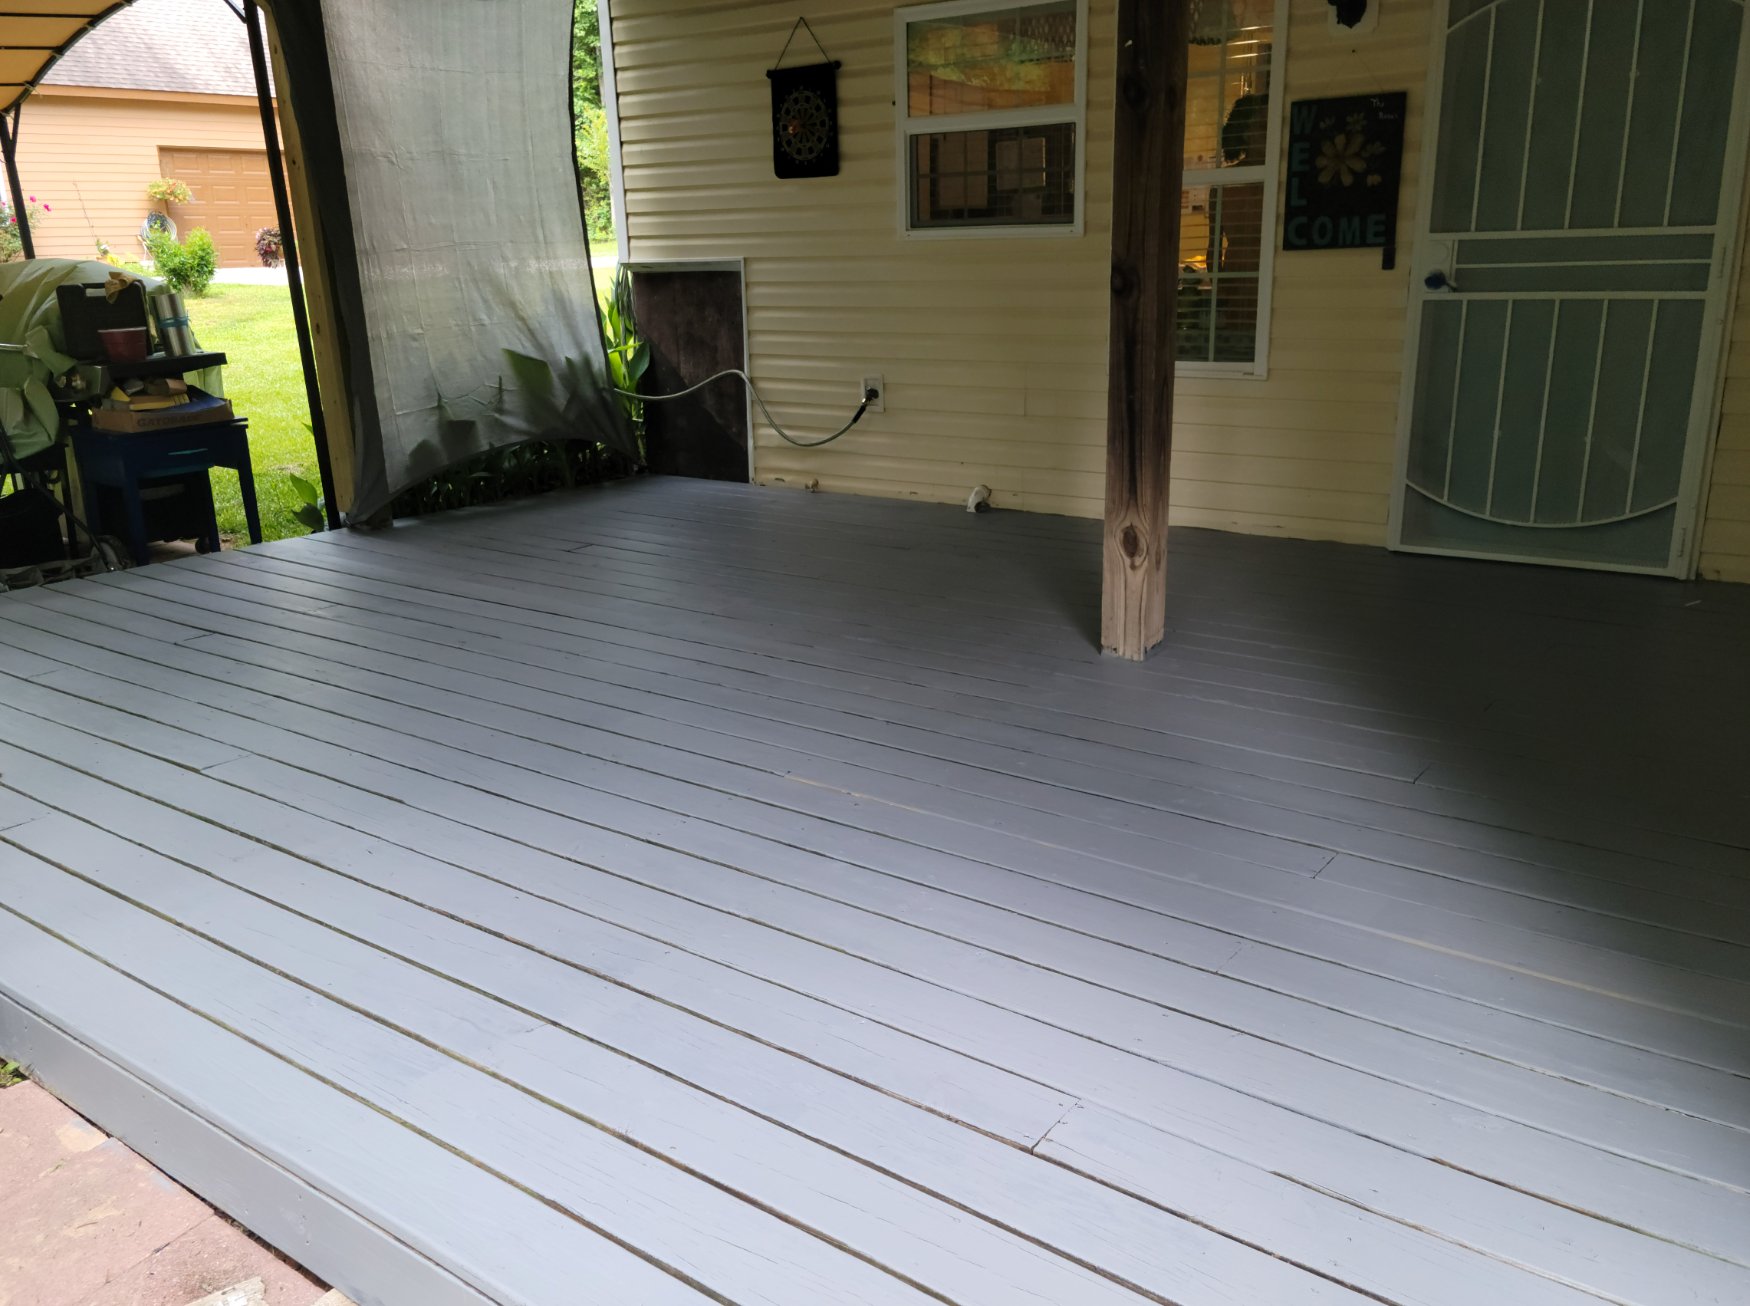
Concrete floors are also paintable, but they need some extra TLC in the prep department. You’ll usually need chemical etching and special primers for good adhesion. I’ve got painted concrete in my garage that’s been holding up great for years now.
source
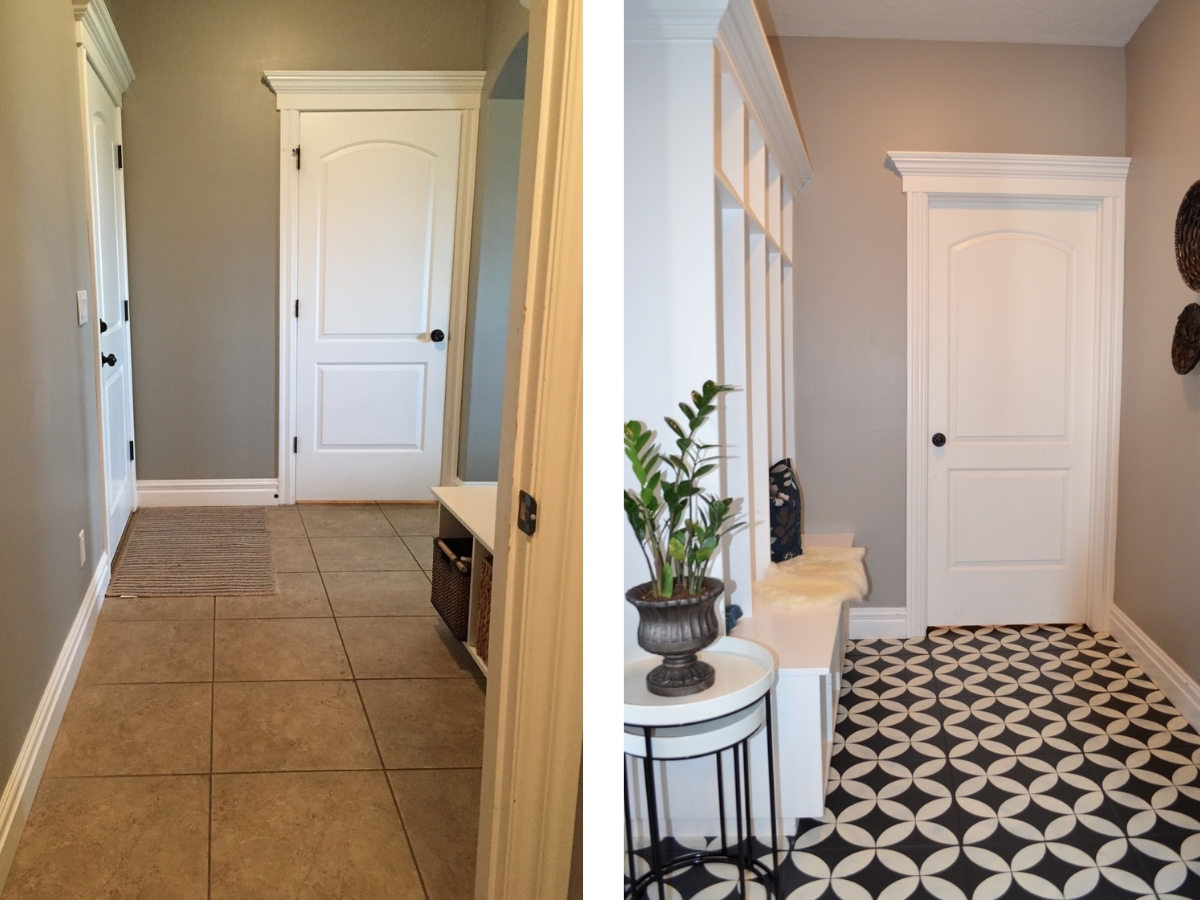
You can even paint ceramic tile – I actually wrote a detailed guide about it. There are some tricks to getting the surface prep and materials right, though.
But here’s the thing – stay away from painting laminate. Sure, some salespeople will tell you it’s doable, but I’ve learned that paint won’t stick properly. Even with perfect prep, the results usually disappoint. You’re better off replacing these floors with something more suitable.
And here’s a crucial tip – don’t try to save money on paint. Get the best brand your budget allows.
Floors take a beating, and cheap paint won’t cut it. Having to redo everything in a couple of years is no fun – it’ll cost you both time and money.
Best Floor Paints and Why
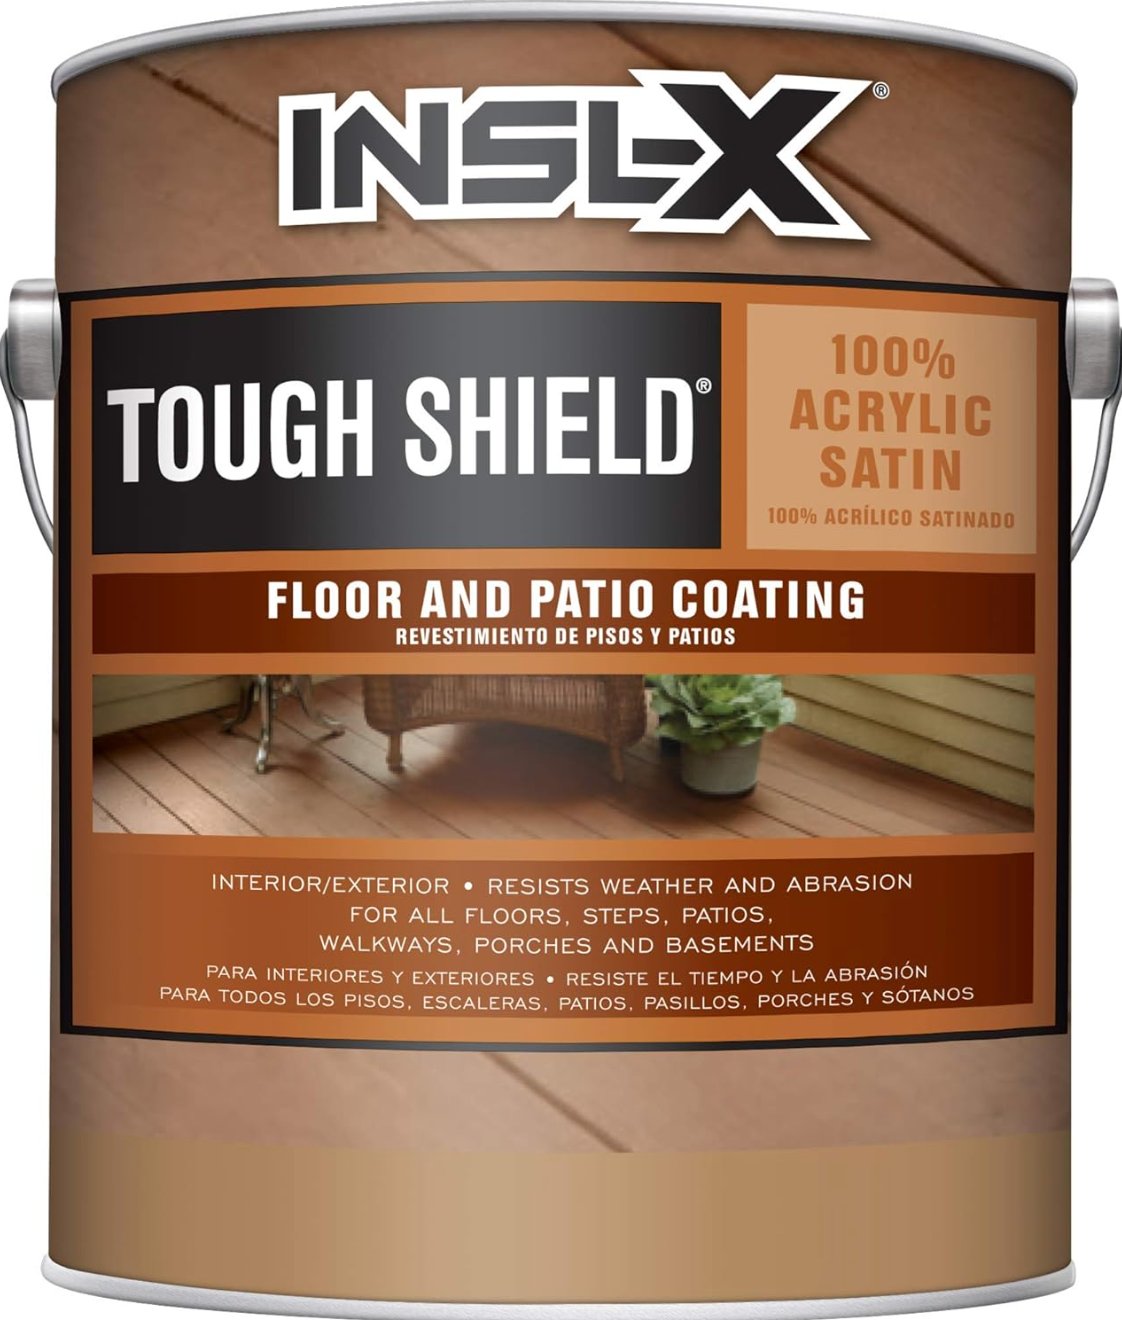
1) INSL-X Tough Shield Floor Paint
source
INSL-X Tough Shield is my top pick for floor paint – it’s an acrylic paint from Benjamin Moore (one of their brands), so quality is guaranteed. It runs about $50, lasts forever, and works great both inside and out.
It’s a water-based acrylic enamel with a beautiful satin finish. One gallon covers 350-450 square feet – pretty impressive coverage.
source
source
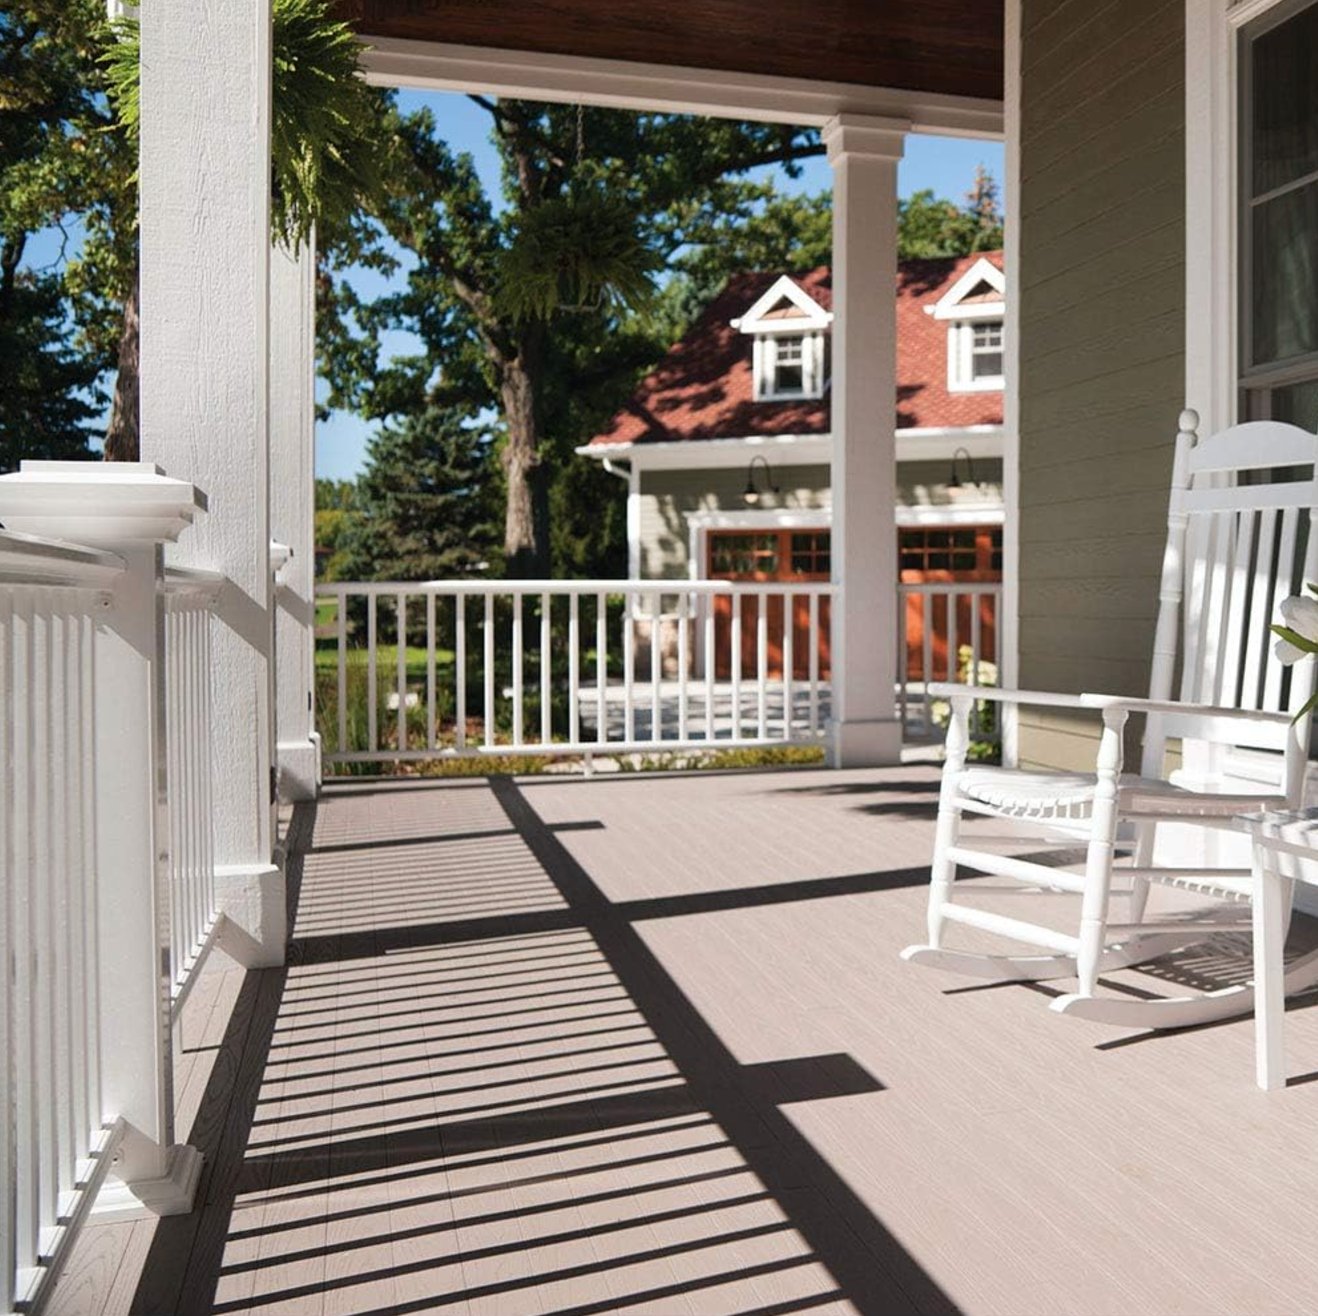
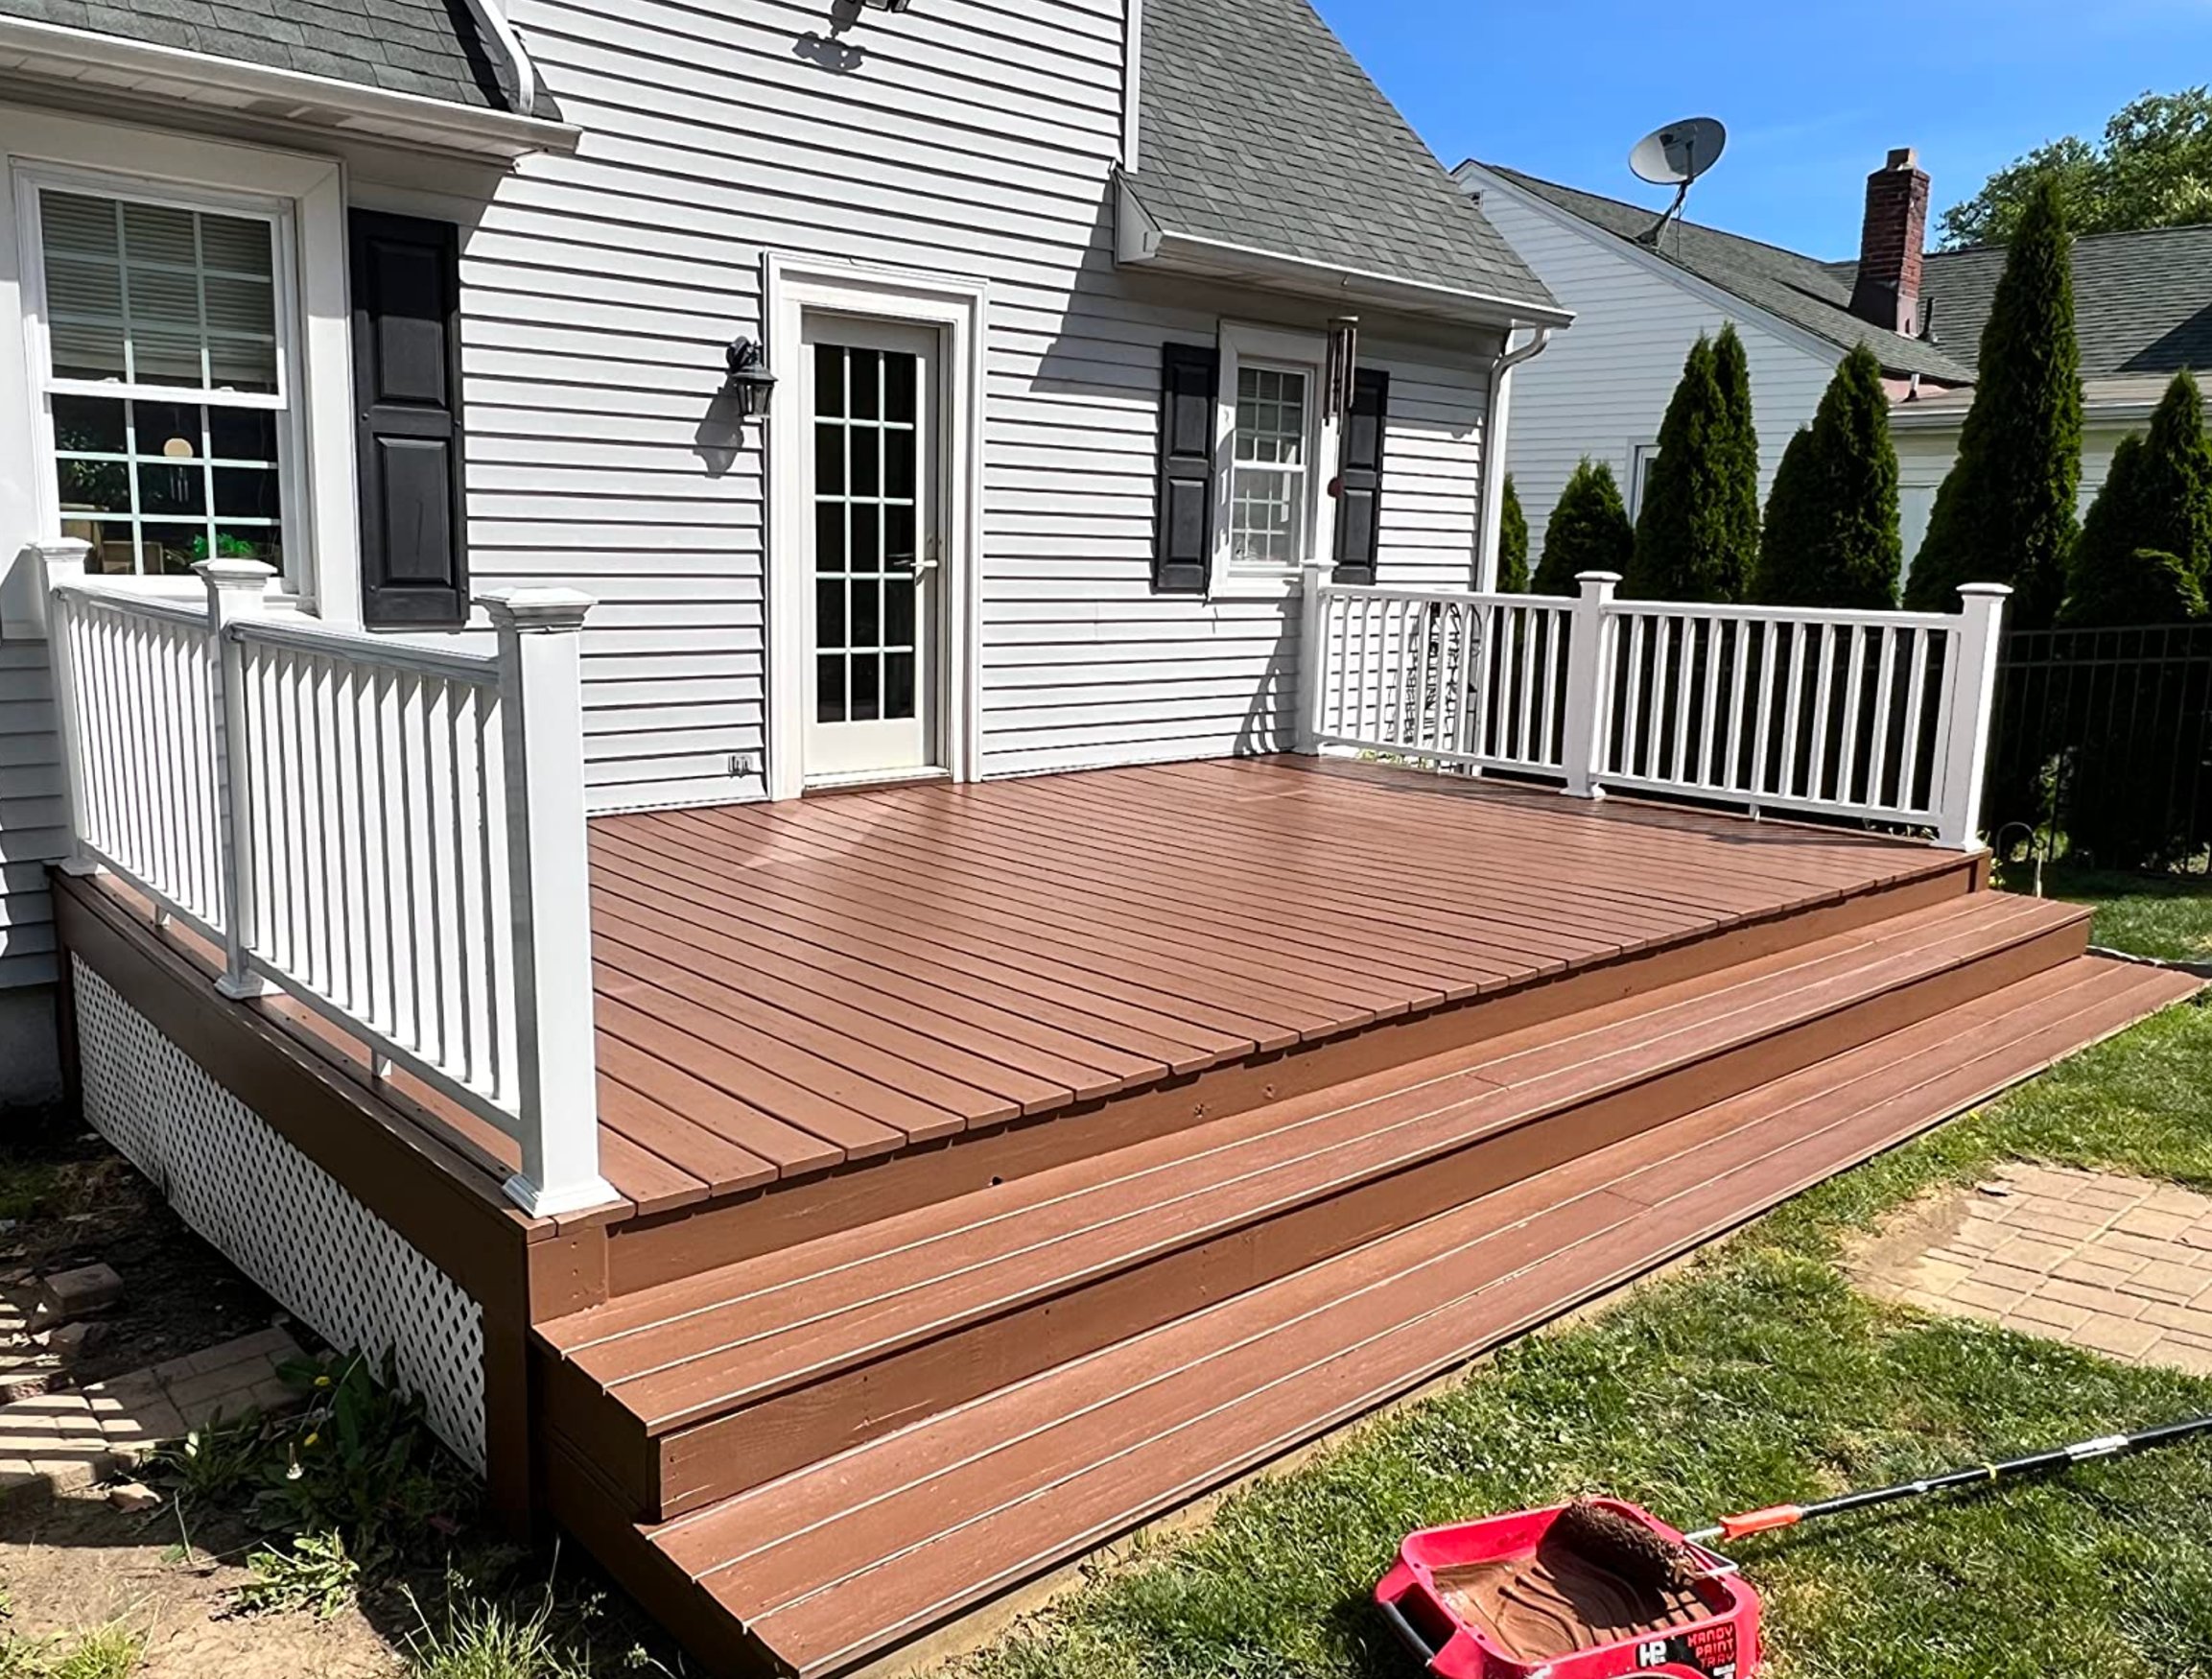
The best part? This stuff is practically bulletproof. It stands up to oils, cleaning products, and water like a champ. It goes on as smooth as butter on concrete, wood, and metal (though metal needs primer first). Only downside? You’re limited to 4 colors, and white isn’t one of them.
Quick heads-up: it’s not meant for garages or parking areas. But for porches, patios, or indoor rooms? Perfect. Also, darker colors are your friend – they hide dirt and scuffs way better.
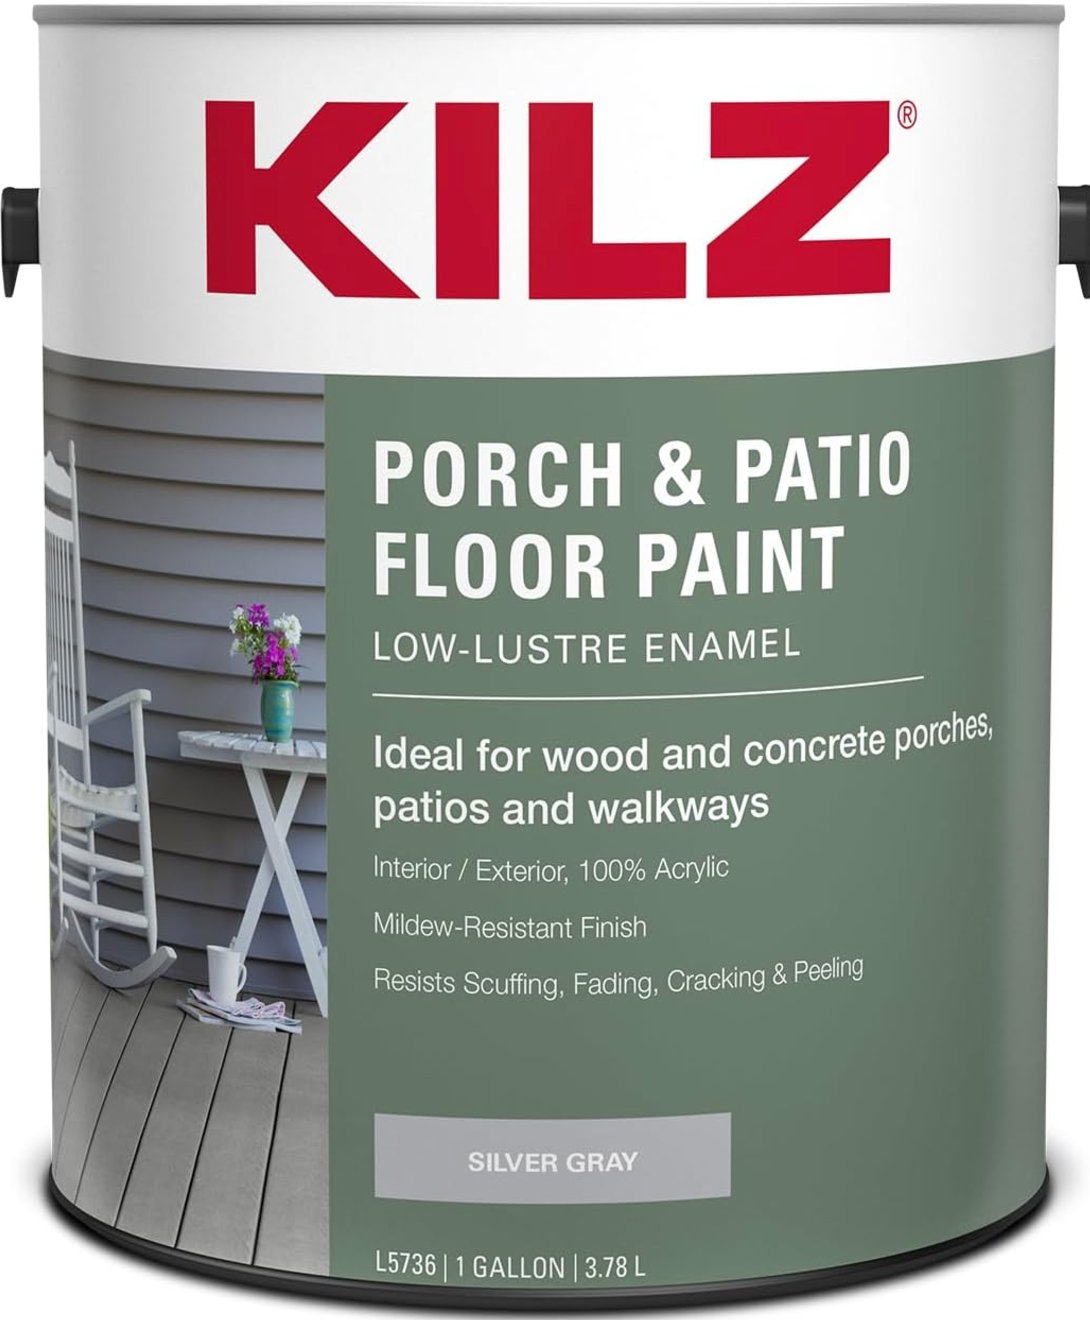
2) KILZ Enamel Latex Floor Paint
source
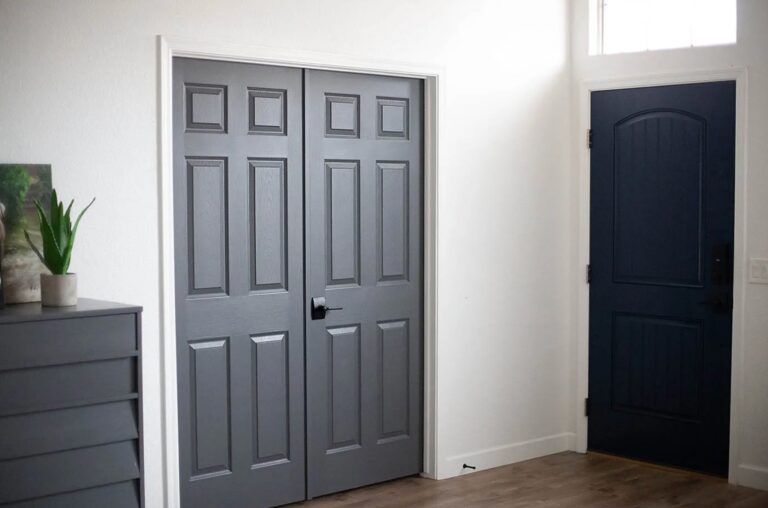
With only two shades of gray to choose from, this acrylic paint might seem limited, but it’s great for both indoor and outdoor use – everything from porches to garden furniture, though it’s not meant for concrete or garage floors.
source
source
The KILZ matte finish gives you a surface that stands up well to moisture, wear and tear, and won’t fade easily. Coverage-wise, you’ll get about 200-300 sq. ft. per gallon on smooth surfaces, a bit less on rough ones – not quite as much as Benjamin Moore / INSL-X.
But the drying time is pretty quick – you can walk on it after an hour, and if you need a second coat, you can add it after 4-6 hours.
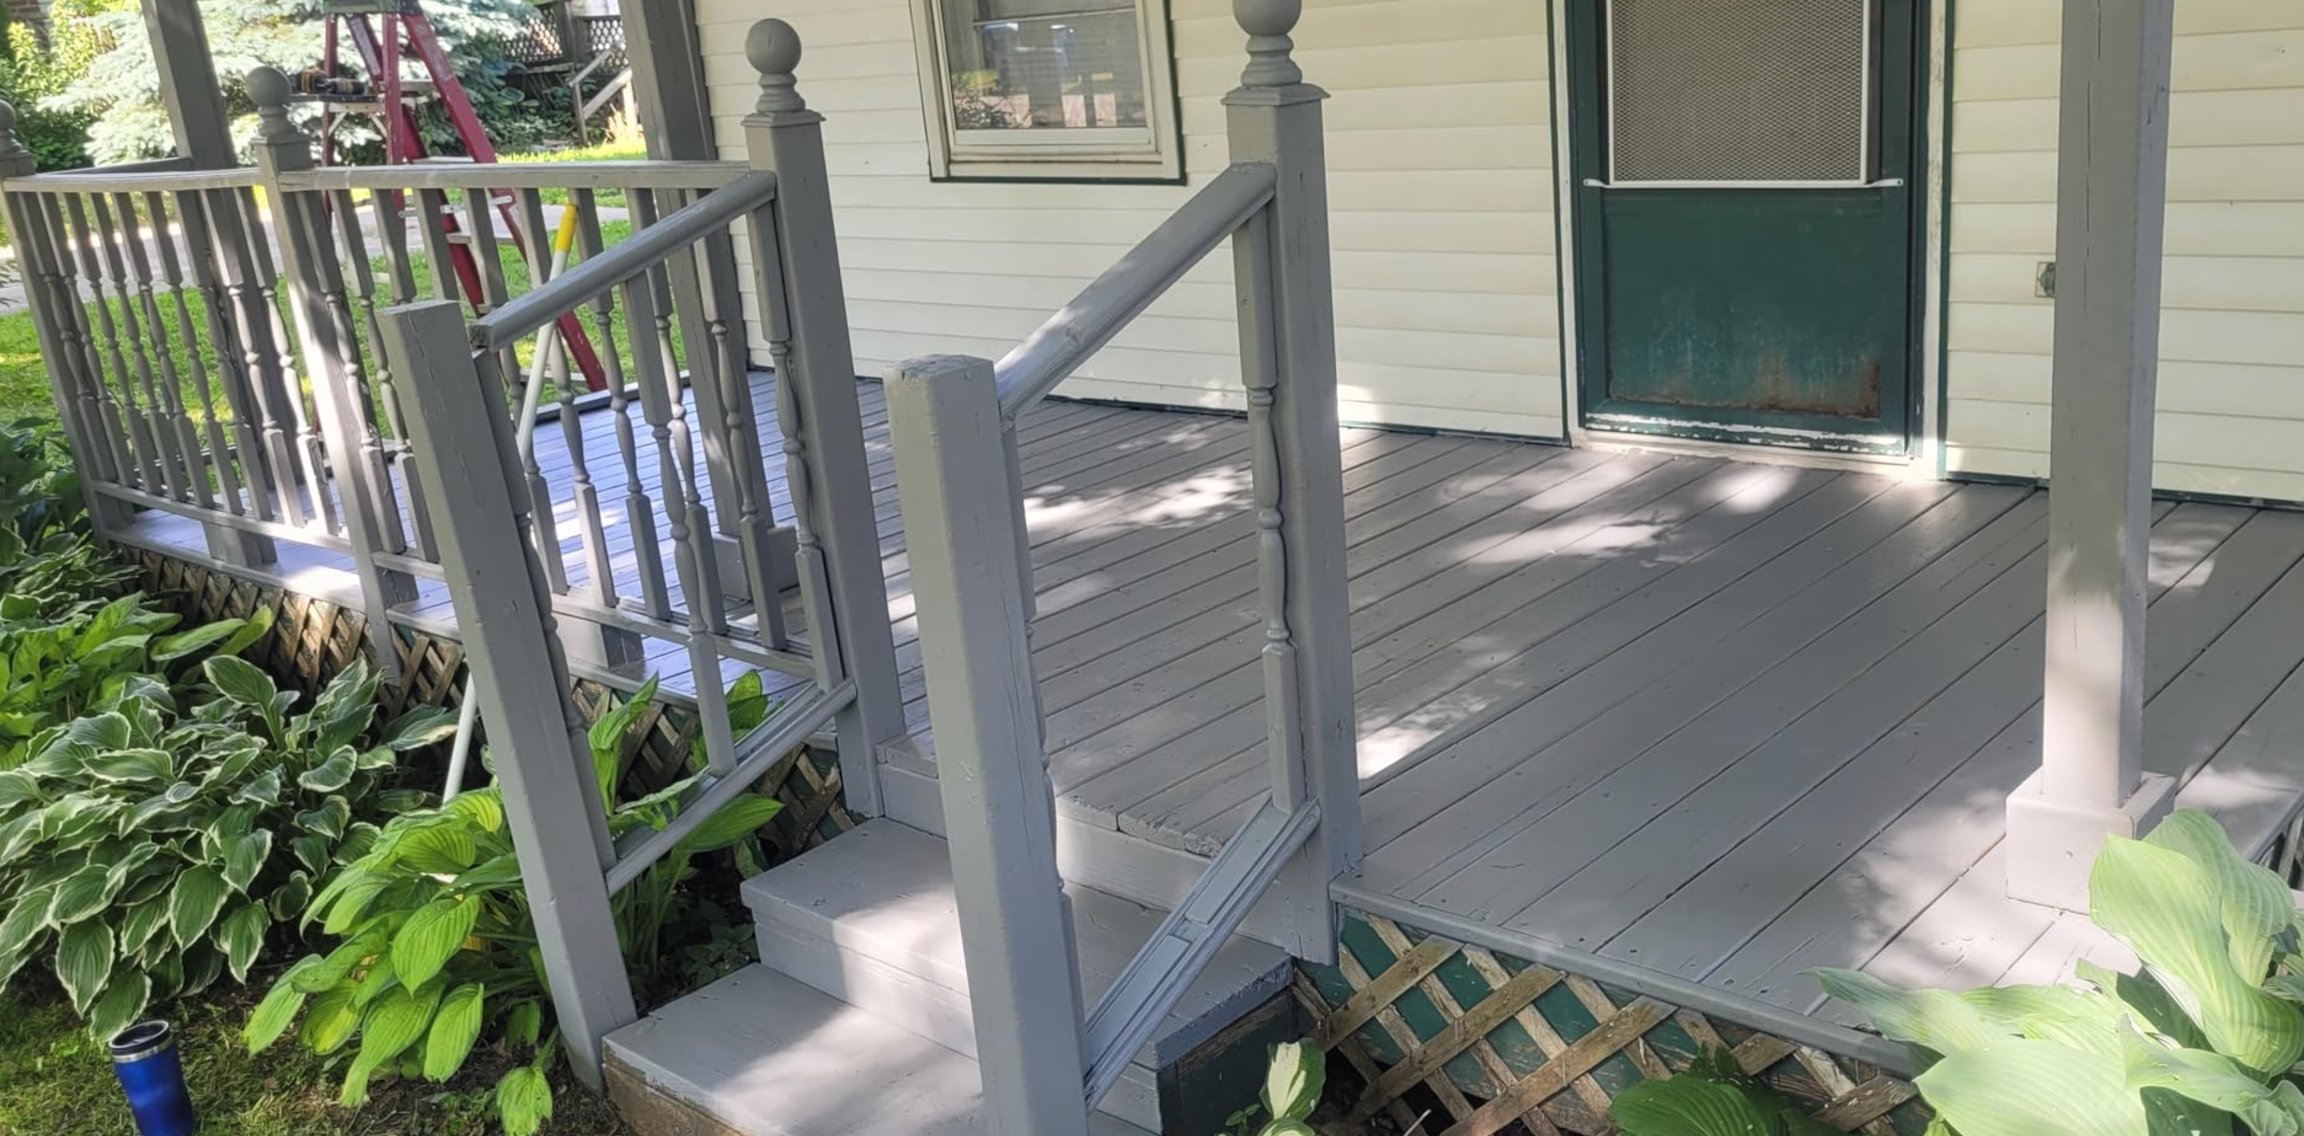
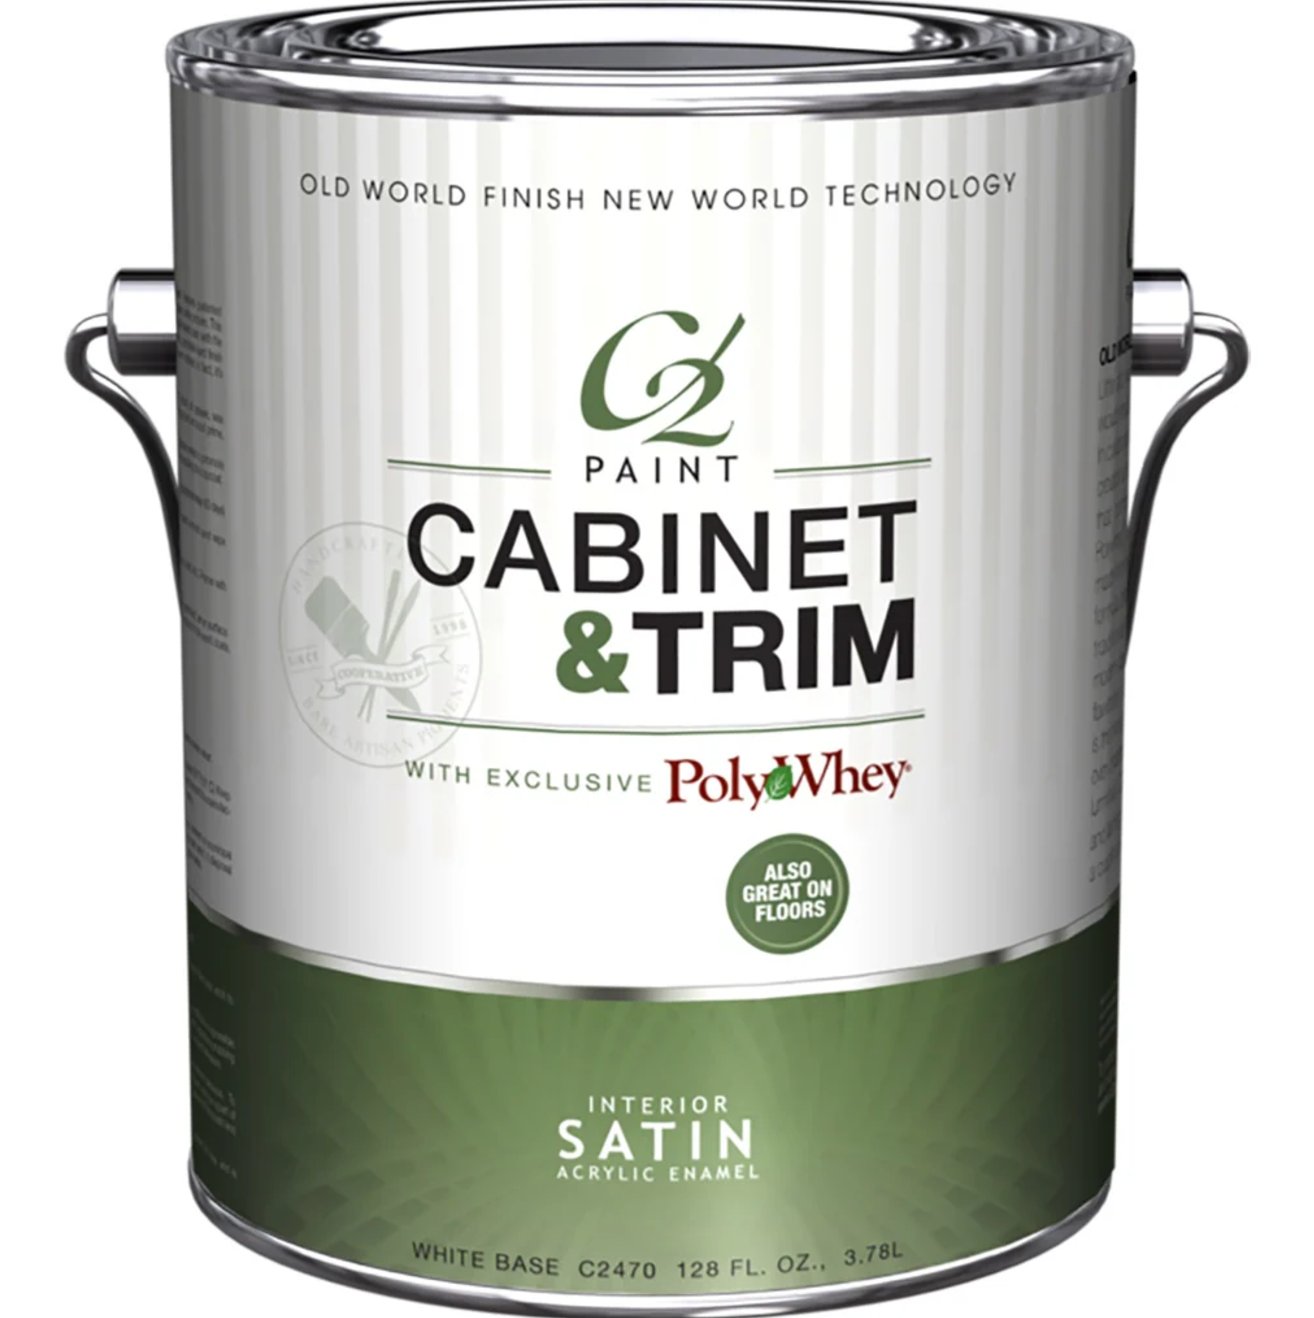
3) C2 Cabinet & Trim Paint
C2 Cabinet & Trim Paint deserves a spot on any list of top-floor paints. Sure, it says “cabinet” in the name, but don’t let that fool you! The manufacturers themselves say it’s “also great on floors,” and I can vouch for that from firsthand experience.
source
What makes it unique is their patented Polywhey® technology, which cleverly uses recycled milk protein. Sounds weird, right? But trust me – it works wonders. You get everything good about oil-based paint without having to deal with those nasty fumes. That’s a huge plus when you’re painting indoors.
Working with C2 is a dream – it goes on as smooth as silk. And talk about quick-drying! While you can technically walk on it after 30 minutes, I usually play it safe and wait 2-3 hours.
One thing I really love is how the finished floor feels under your feet. The coating is super durable thanks to its built-in top coat, and if you do get scratches or worn spots (which happens to everyone), touching them up is a breeze. Wait a day, and you won’t even be able to spot where you fixed it – the color match is that good.
How to Paint Floors
Prep work:
- You need a game plan. If you can’t clear out all the furniture, break the room into sections. Cover anything valuable with plastic sheets and secure them with green painter’s tape – skip the brown stuff unless you want sticky residue everywhere.
- Think ahead about protecting your fresh paint job. Keep some old blankets or cardboard handy for moving furniture back in. Just remember – paint can take a few months to fully cure, especially when it’s cool out.
- Your surface prep can make or break the job. Strip off any peeling paint and sand down rough spots, starting with coarse grit and working your way to medium. For leveling, grab some floor compound and tackle cracks with the right sealant – injection type for the big ones, cement-based for smaller cracks.
- Cleaning needs to be thorough and systematic. Start from where you’ll finish painting. Vacuum first, then mop, and finish by hand-cleaning those corners. Every bit of dust that stays put will end up in your paint and might cause problems down the road.
- Concrete’s a whole different ball game. You’ll need to rough it up by sanding or etching – I stick to eco-friendly etching products since they’re safer. After that, give it at least 2-3 good rinses.
- Some surfaces absolutely need primer. Alkaline floors, especially fresh concrete, need a special masonry primer to create a barrier between the floor and the paint. And if you’re working with new concrete, give it at least a month to dry before you start.
Now for the painting itself:
- Map out your escape route first. Take it from someone who’s done this plenty of times – the last thing you want is to paint yourself into a corner. Start from the far end and work your way to the door.
- Get all your edges and corners first. A good brush works just as well as tape for this. Don’t cheap out on brushes – the cheap ones leave bristles everywhere, and picking them out later is no fun.
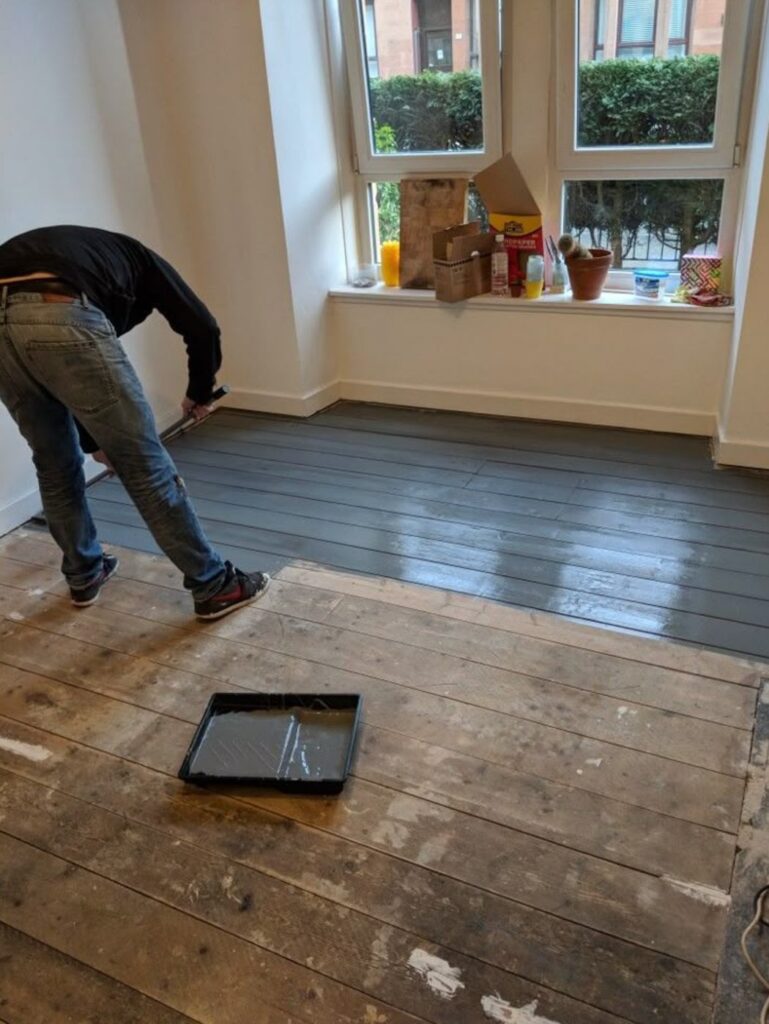
- For the main floor, go with a roller. I like a 3/8-inch roller nap, and I just pour paint directly onto the floor. Get yourself a telescopic roller handle – your back will definitely appreciate it.
- Let everything dry properly. You can walk around in socks the next day, but the paint’s still soft. If you’re doing a second coat, don’t wait too long – the layers need to bond well. Check how it looks under good lighting.
- Make sure it’s completely dry before bringing the furniture back. Do the fingernail test – if it leaves a mark, give it more time. When you do bring furniture back, try to spread the weight out instead of having it all on pointy legs.
- Think about whether you want a clear coat. In my experience, it makes the floor last longer but can be a pain when you need to repaint later. I only use it when I’ve added decorative chips to the paint.